DON’T HAVE TIME TO READ THE ARTICLE? DON’T WORRY, LET ME SEND YOU A COPY
PowerPoint timelines are a common feature of any virtual business presentation.
I’m sure you will have had the opportunity to use them, or at least see them on your screen.
They are very powerful graphical tools that allow you to visualize the sequence of events over time.
Sequence over time?
Don’t panic, let me explain.
Every time you have to report the progress of a project, or present a work plan, you need to show the activities that will happen over time.
In these cases, the wrong way is to use a table – the smartest way is to find a visualization that communicates the events at a glance.
Here are two very useful and recurring designs that come into play in presentations:
- Timelines, the subject of this article
- PowerPoint Gantt diagrams (I’ll tell you about them in the linked guide)
Thus, a timeline is a graphical representation of a list of activities that follow one another over time.
Let’s build a PowerPoint timeline from scratch.
When was the last time you built a timeline?
I found myself having to show the planning of our Training, the lessons, and what the complete educational program was.
Guess what I needed?
Exactly, a timeline!
If you’re curious to see what I’ve realized, you’ll still have to be a little patient – before showing you the graphics, I want you to understand the reasoning that led me to realize it.
First of all, Lean Presentation Design is a methodology that not only teaches you how to communicate effectively, but also makes you much more productive.
So, the timeline has to be effective and Lean.
Wait, what do you mean by Lean?
I mean essential.
Every action you perform in PowerPoint requires clicks, and I want you to limit your clicks to the minimum number needed to get the message across.
Shall we get started?
My basic template for the course presentation was the following.
As you can see, it’s very simple.
Now let’s draw the timeline in PowerPoint together.
Insert the timeline and give it a direction.
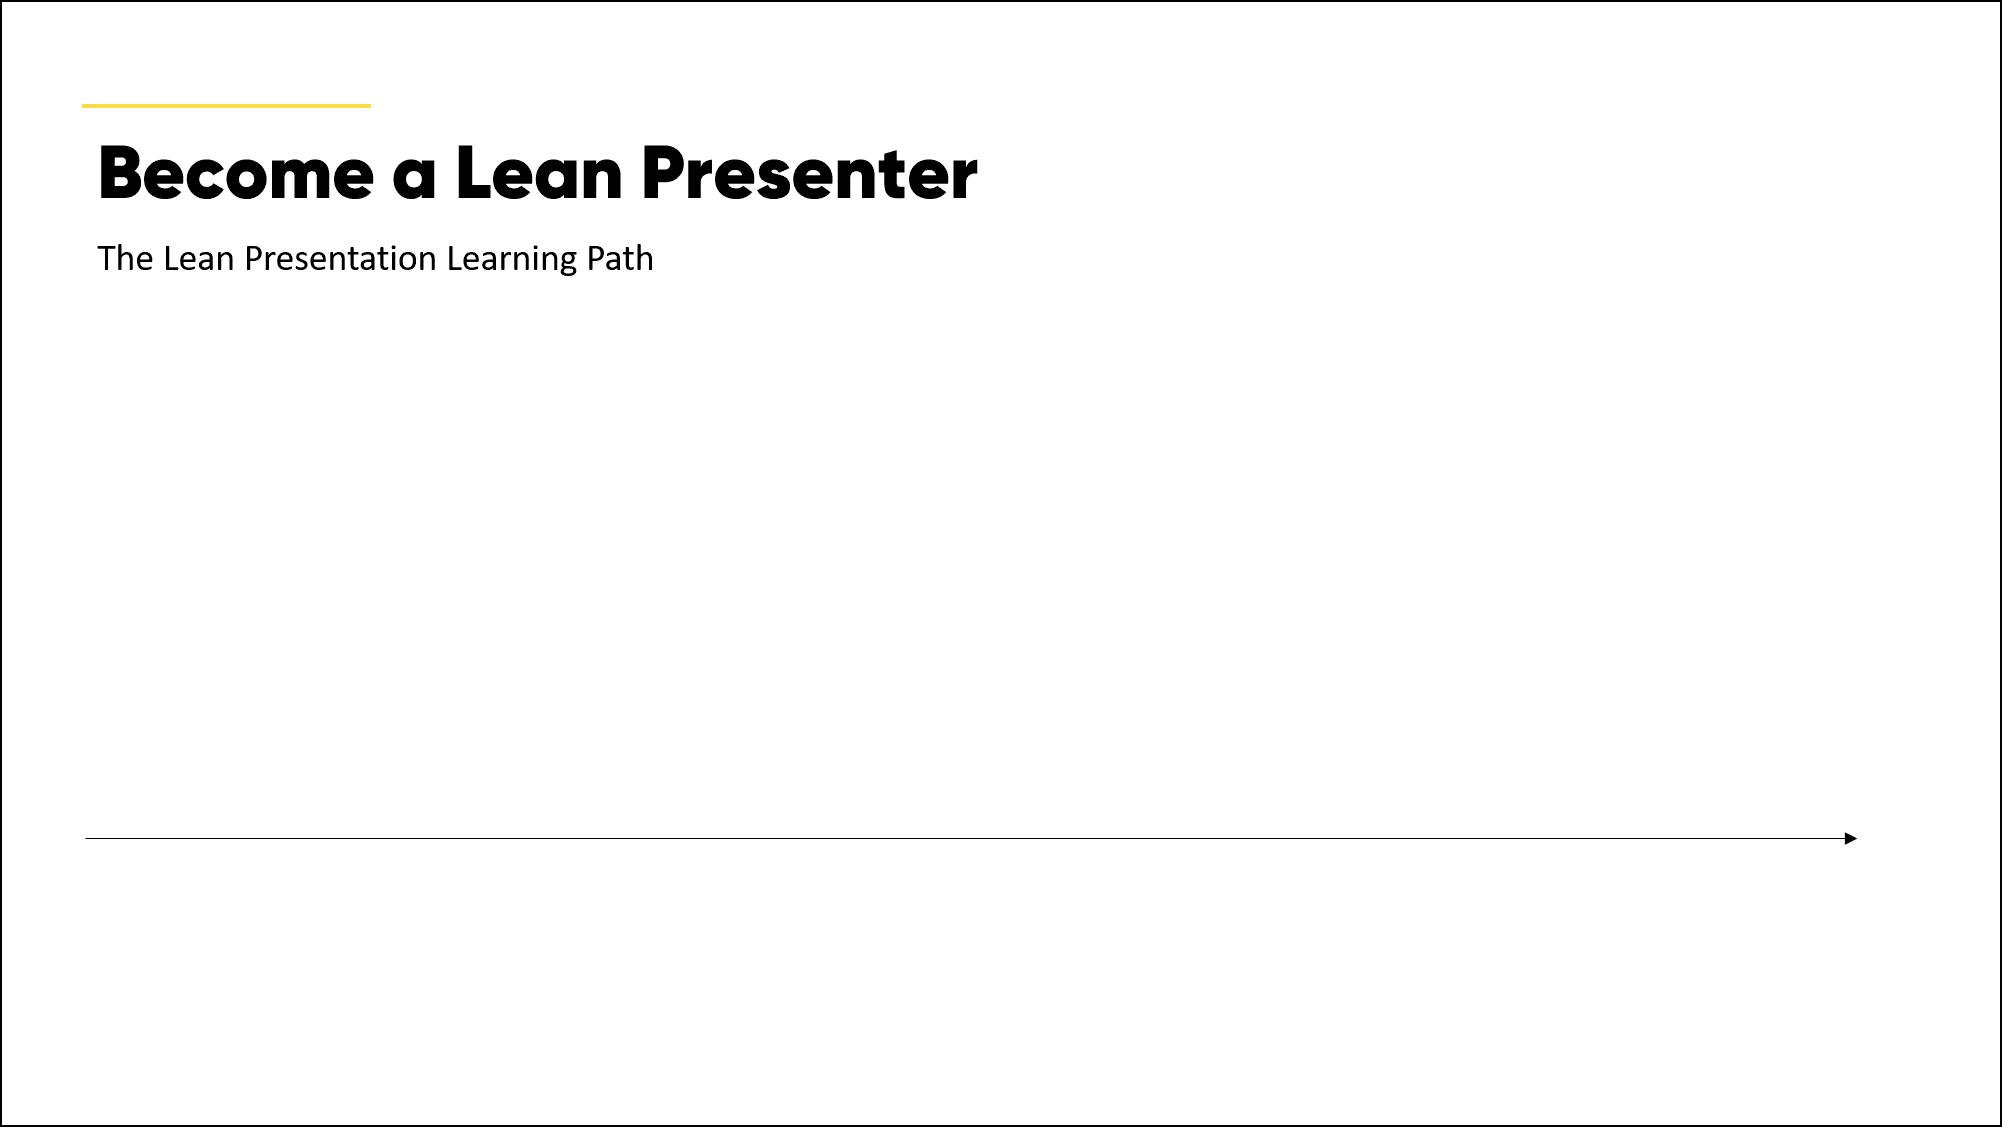
It is important to give the timeline a direction because it instructs the audience’s eye to the correct use of the slide.
The arrows are directional elements that combined with the other techniques of UX and NeuroPresentation Design, they will help you design truly effective slides.
Wait, UX NeuroPresentation? What are you talking about?
I guess you haven’t read my article yet: Create effective PowerPoint presentations with Neuro presentation design.
Let’s go back to our slide.
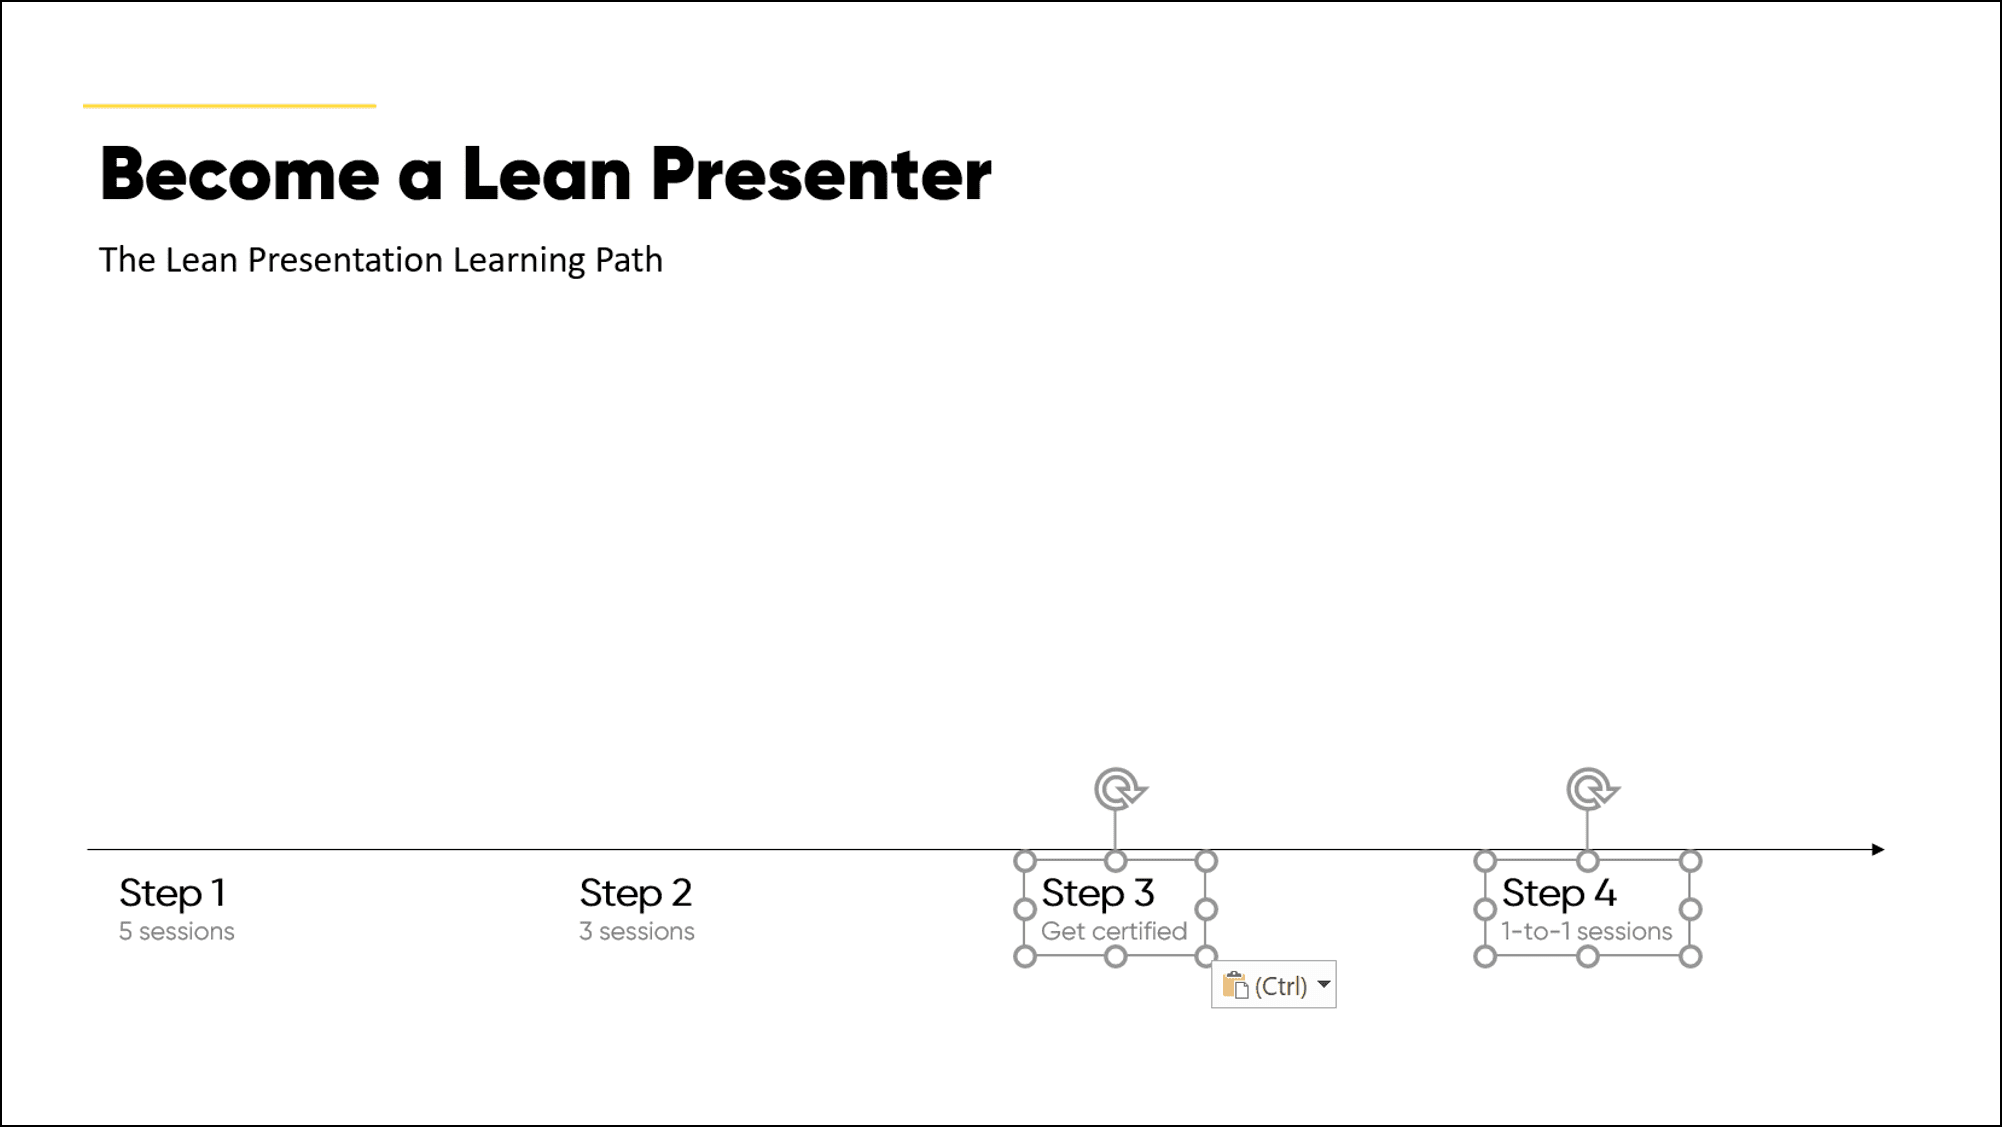
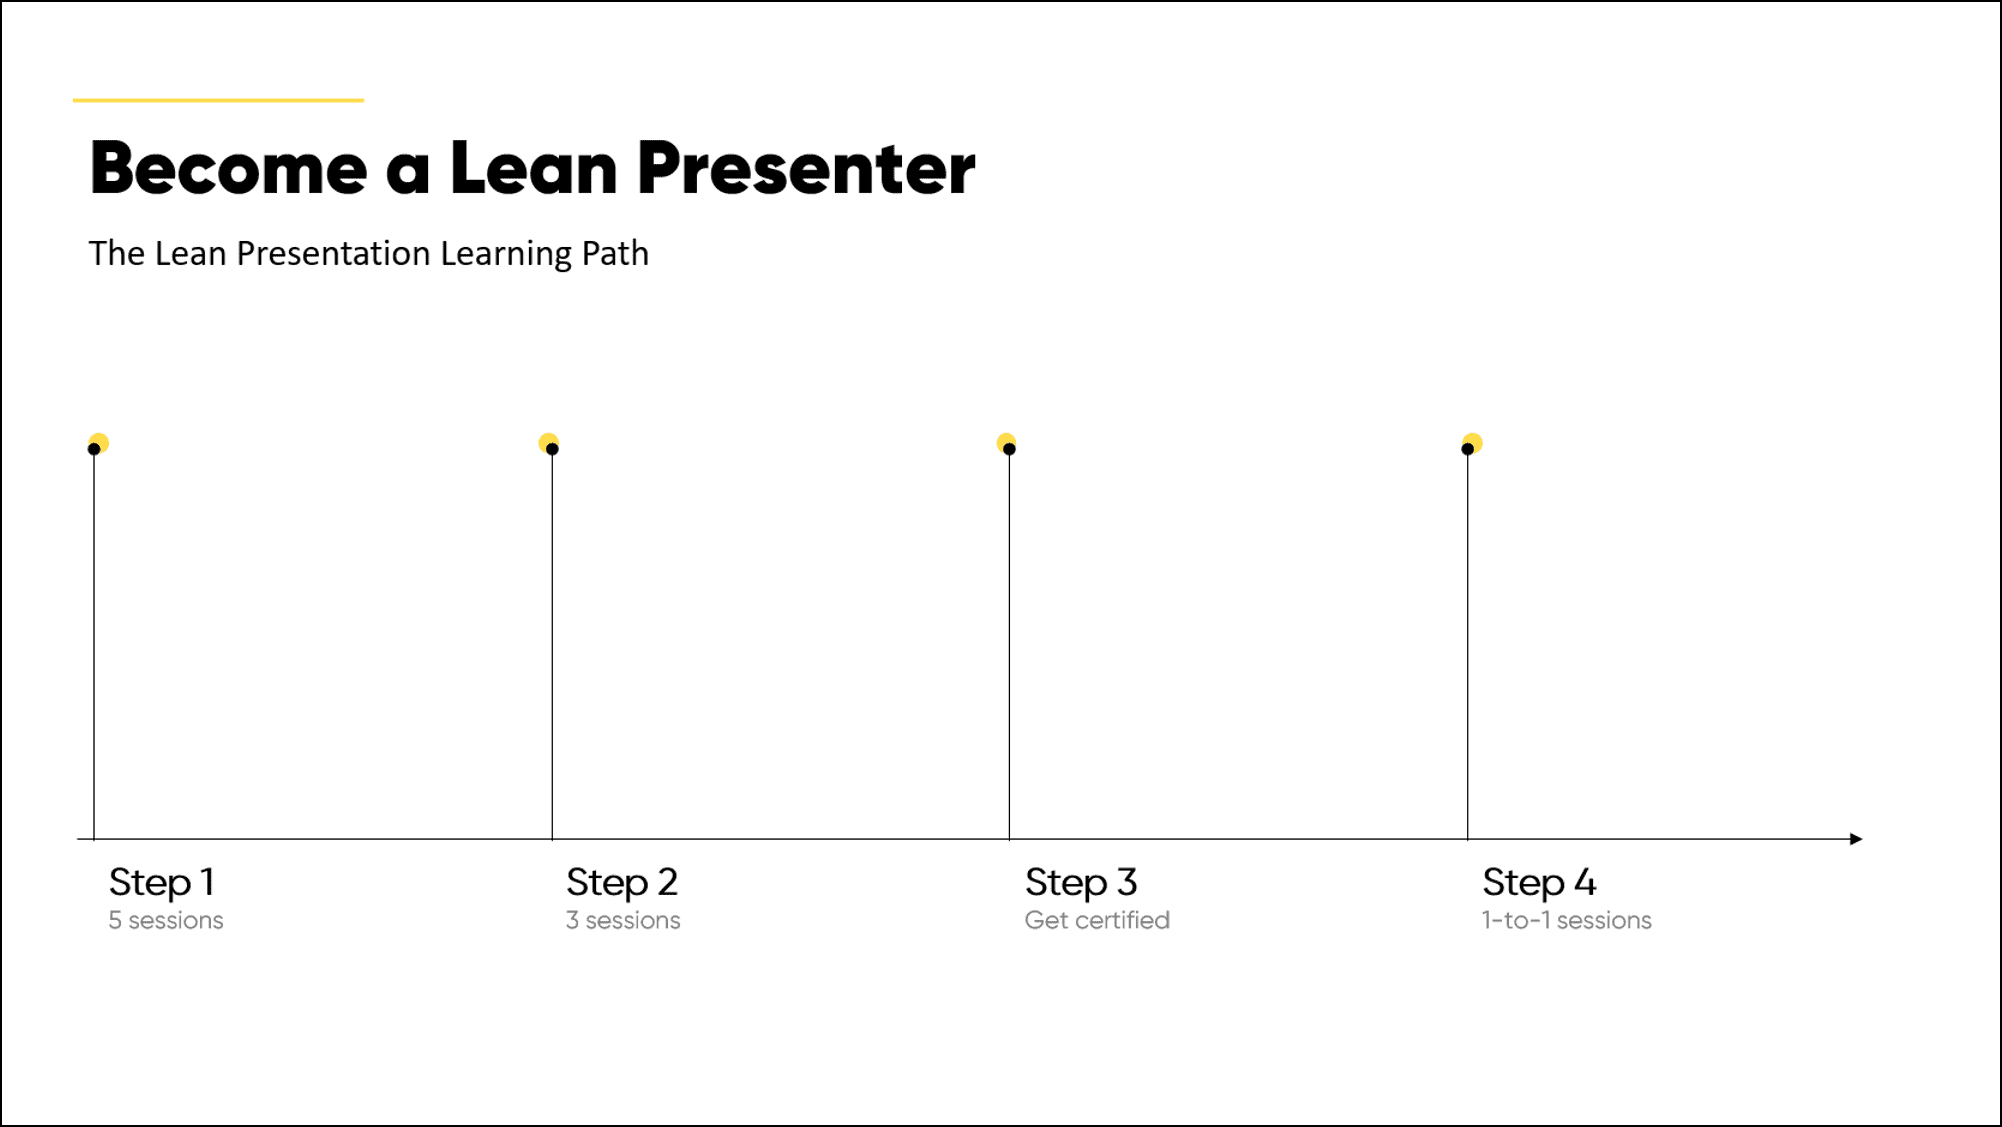
You have to define the milestones, which are the points in time you want to trace.
In the case of the Lean Presentation Design course, this one includes a basic and an advanced level before you can get the official certification and access the 1-to-1 Presentation Coaching sessions during which you’ll be able to work with me on your presentation, applying what you’ve learned during the course.
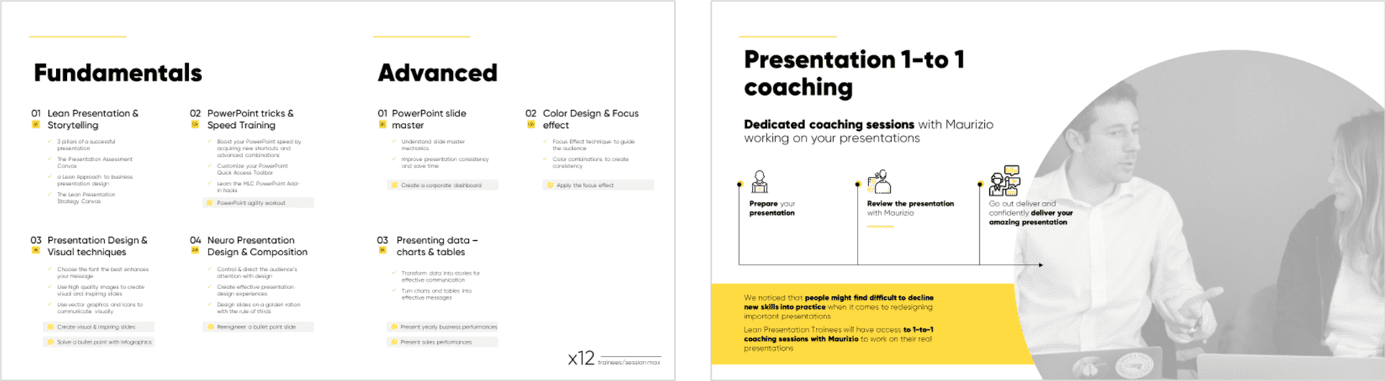
To summarize, the steps are:
- Basic course
- Advanced course (which has as a requirement having attended the basic course)
- Certification
- Presentation Coaching 1-to-1
Insert the first textboxes to mark the steps.
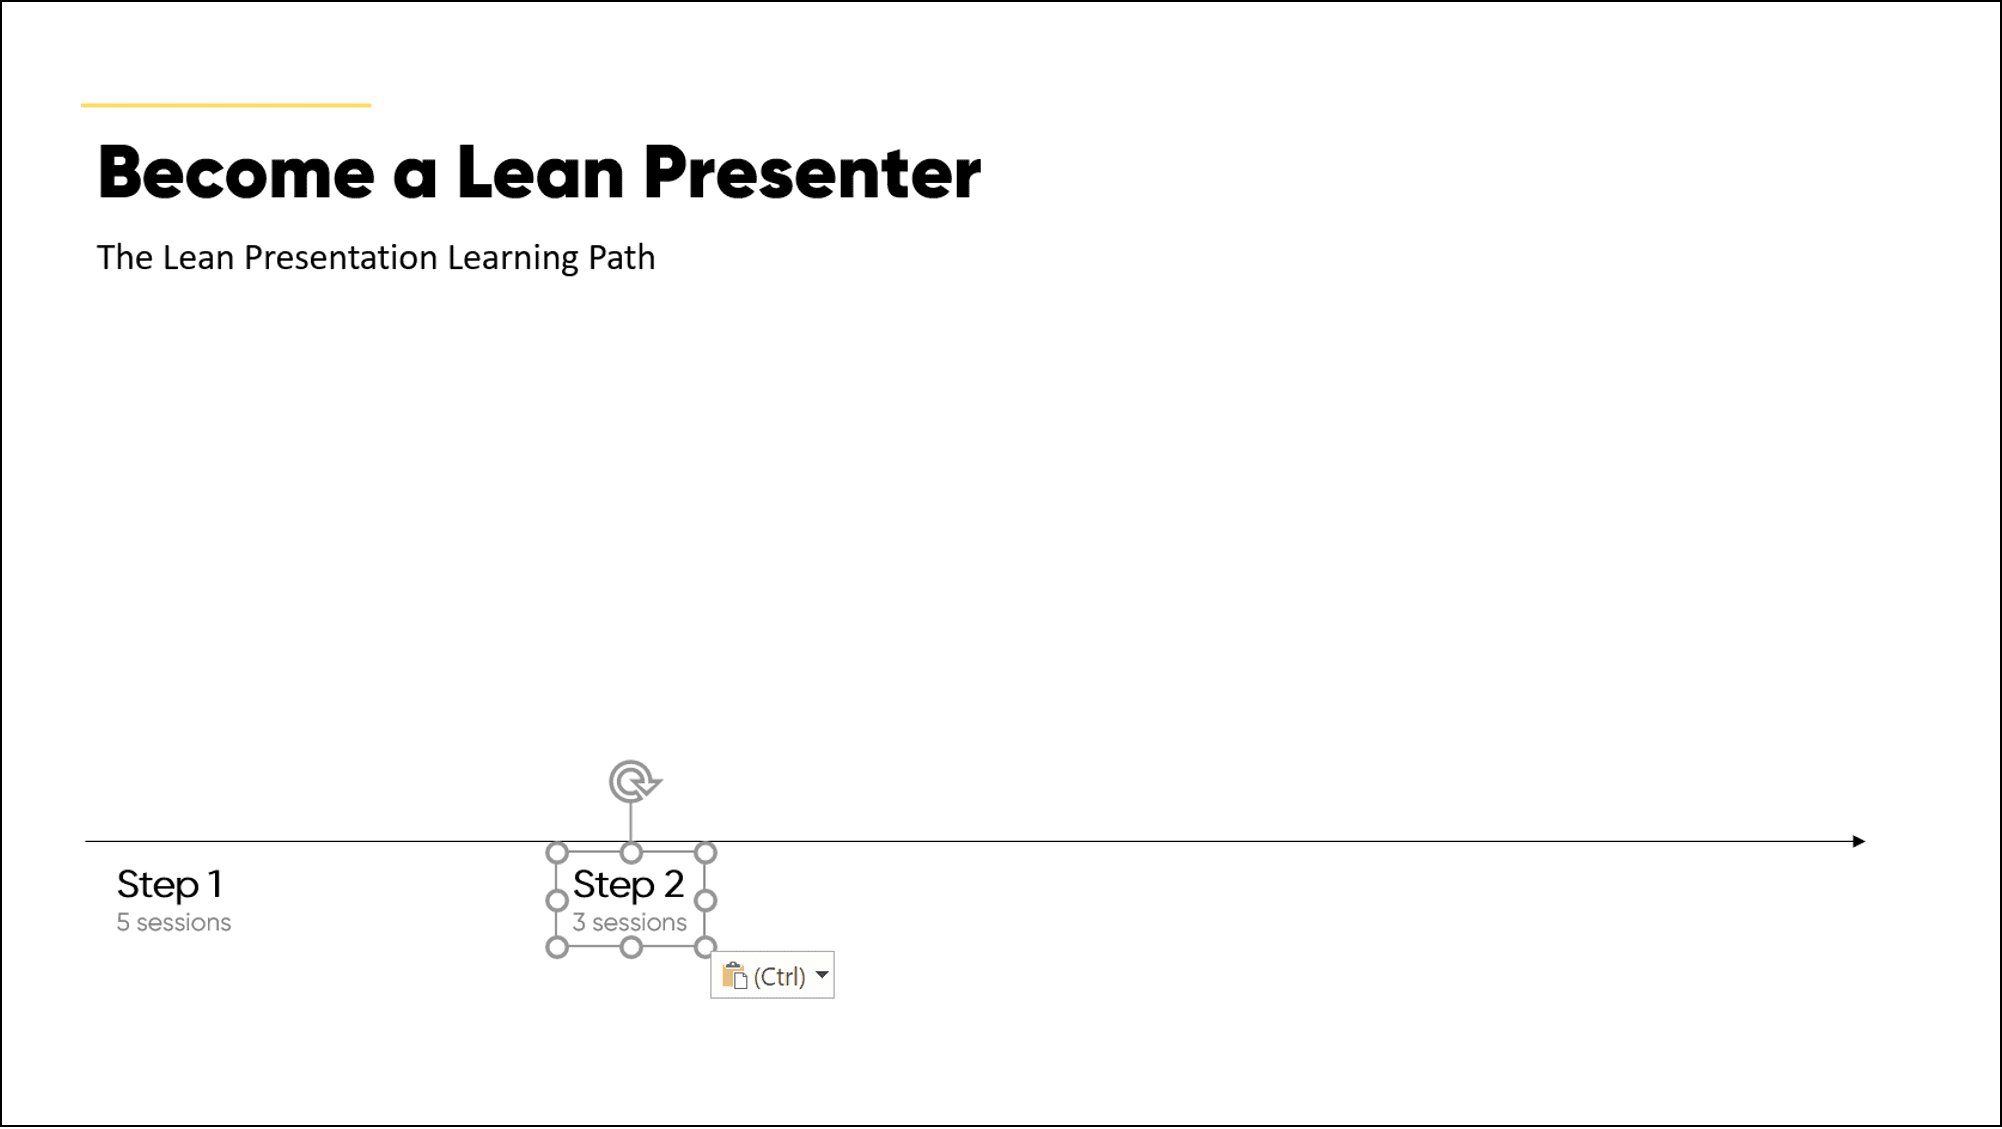
How did you insert the second textbox?
To do it quickly, you need to use that key combination that allows you to duplicate on axis.
What does this mean?
Let’s do it together:
- Select the Step 1 textbox
- Press and hold CTRL (to duplicate while dragging) and SHIFT (to lock the shift to the horizontal axis)
- Drag with the mouse and then release
See?
Now, before you do anything else, use the CTRL + Y combination to repeat the action.
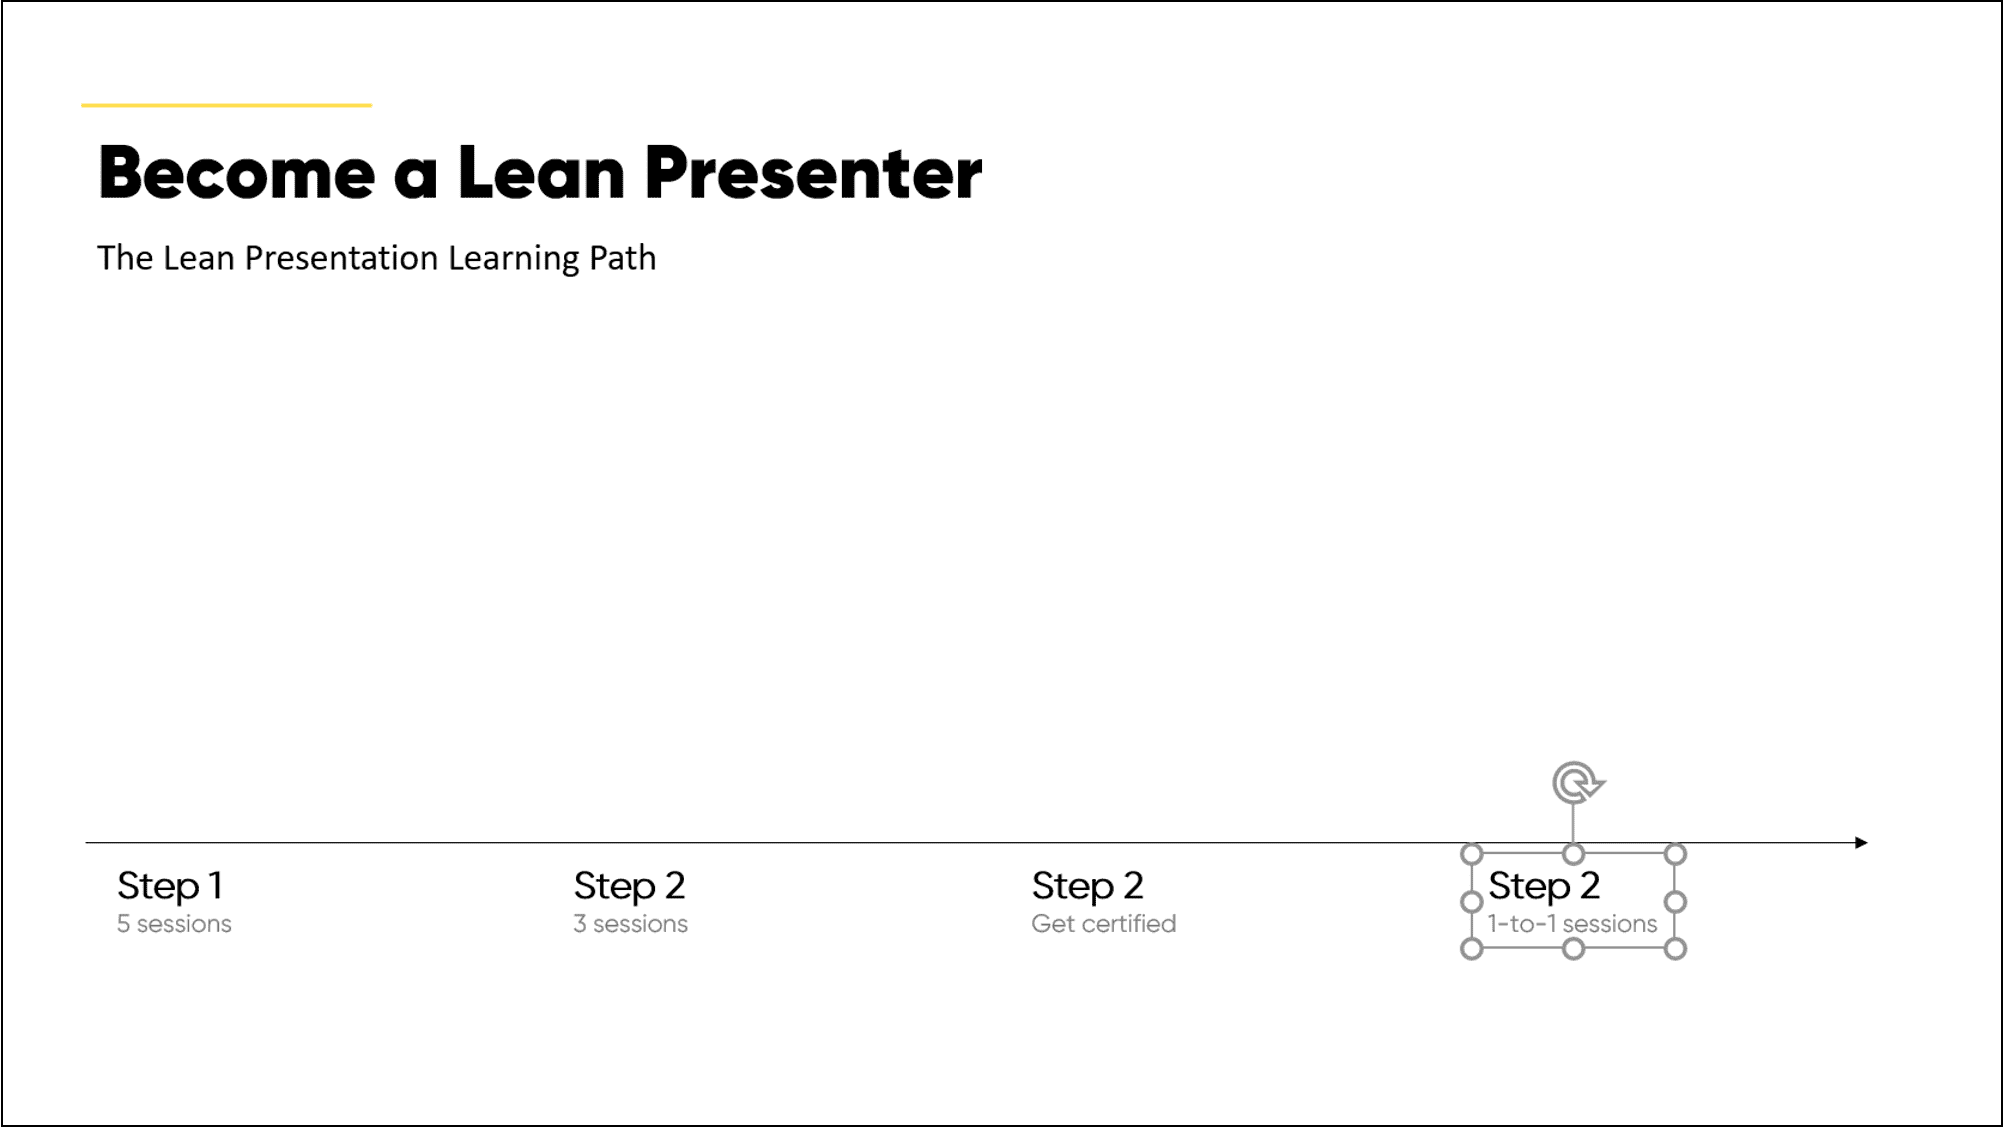
The Step 2 box has been replicated in order to keep the spaces between boxes equal, so your distribution is already done.
Rename the boxes giving the right numbering to the steps.
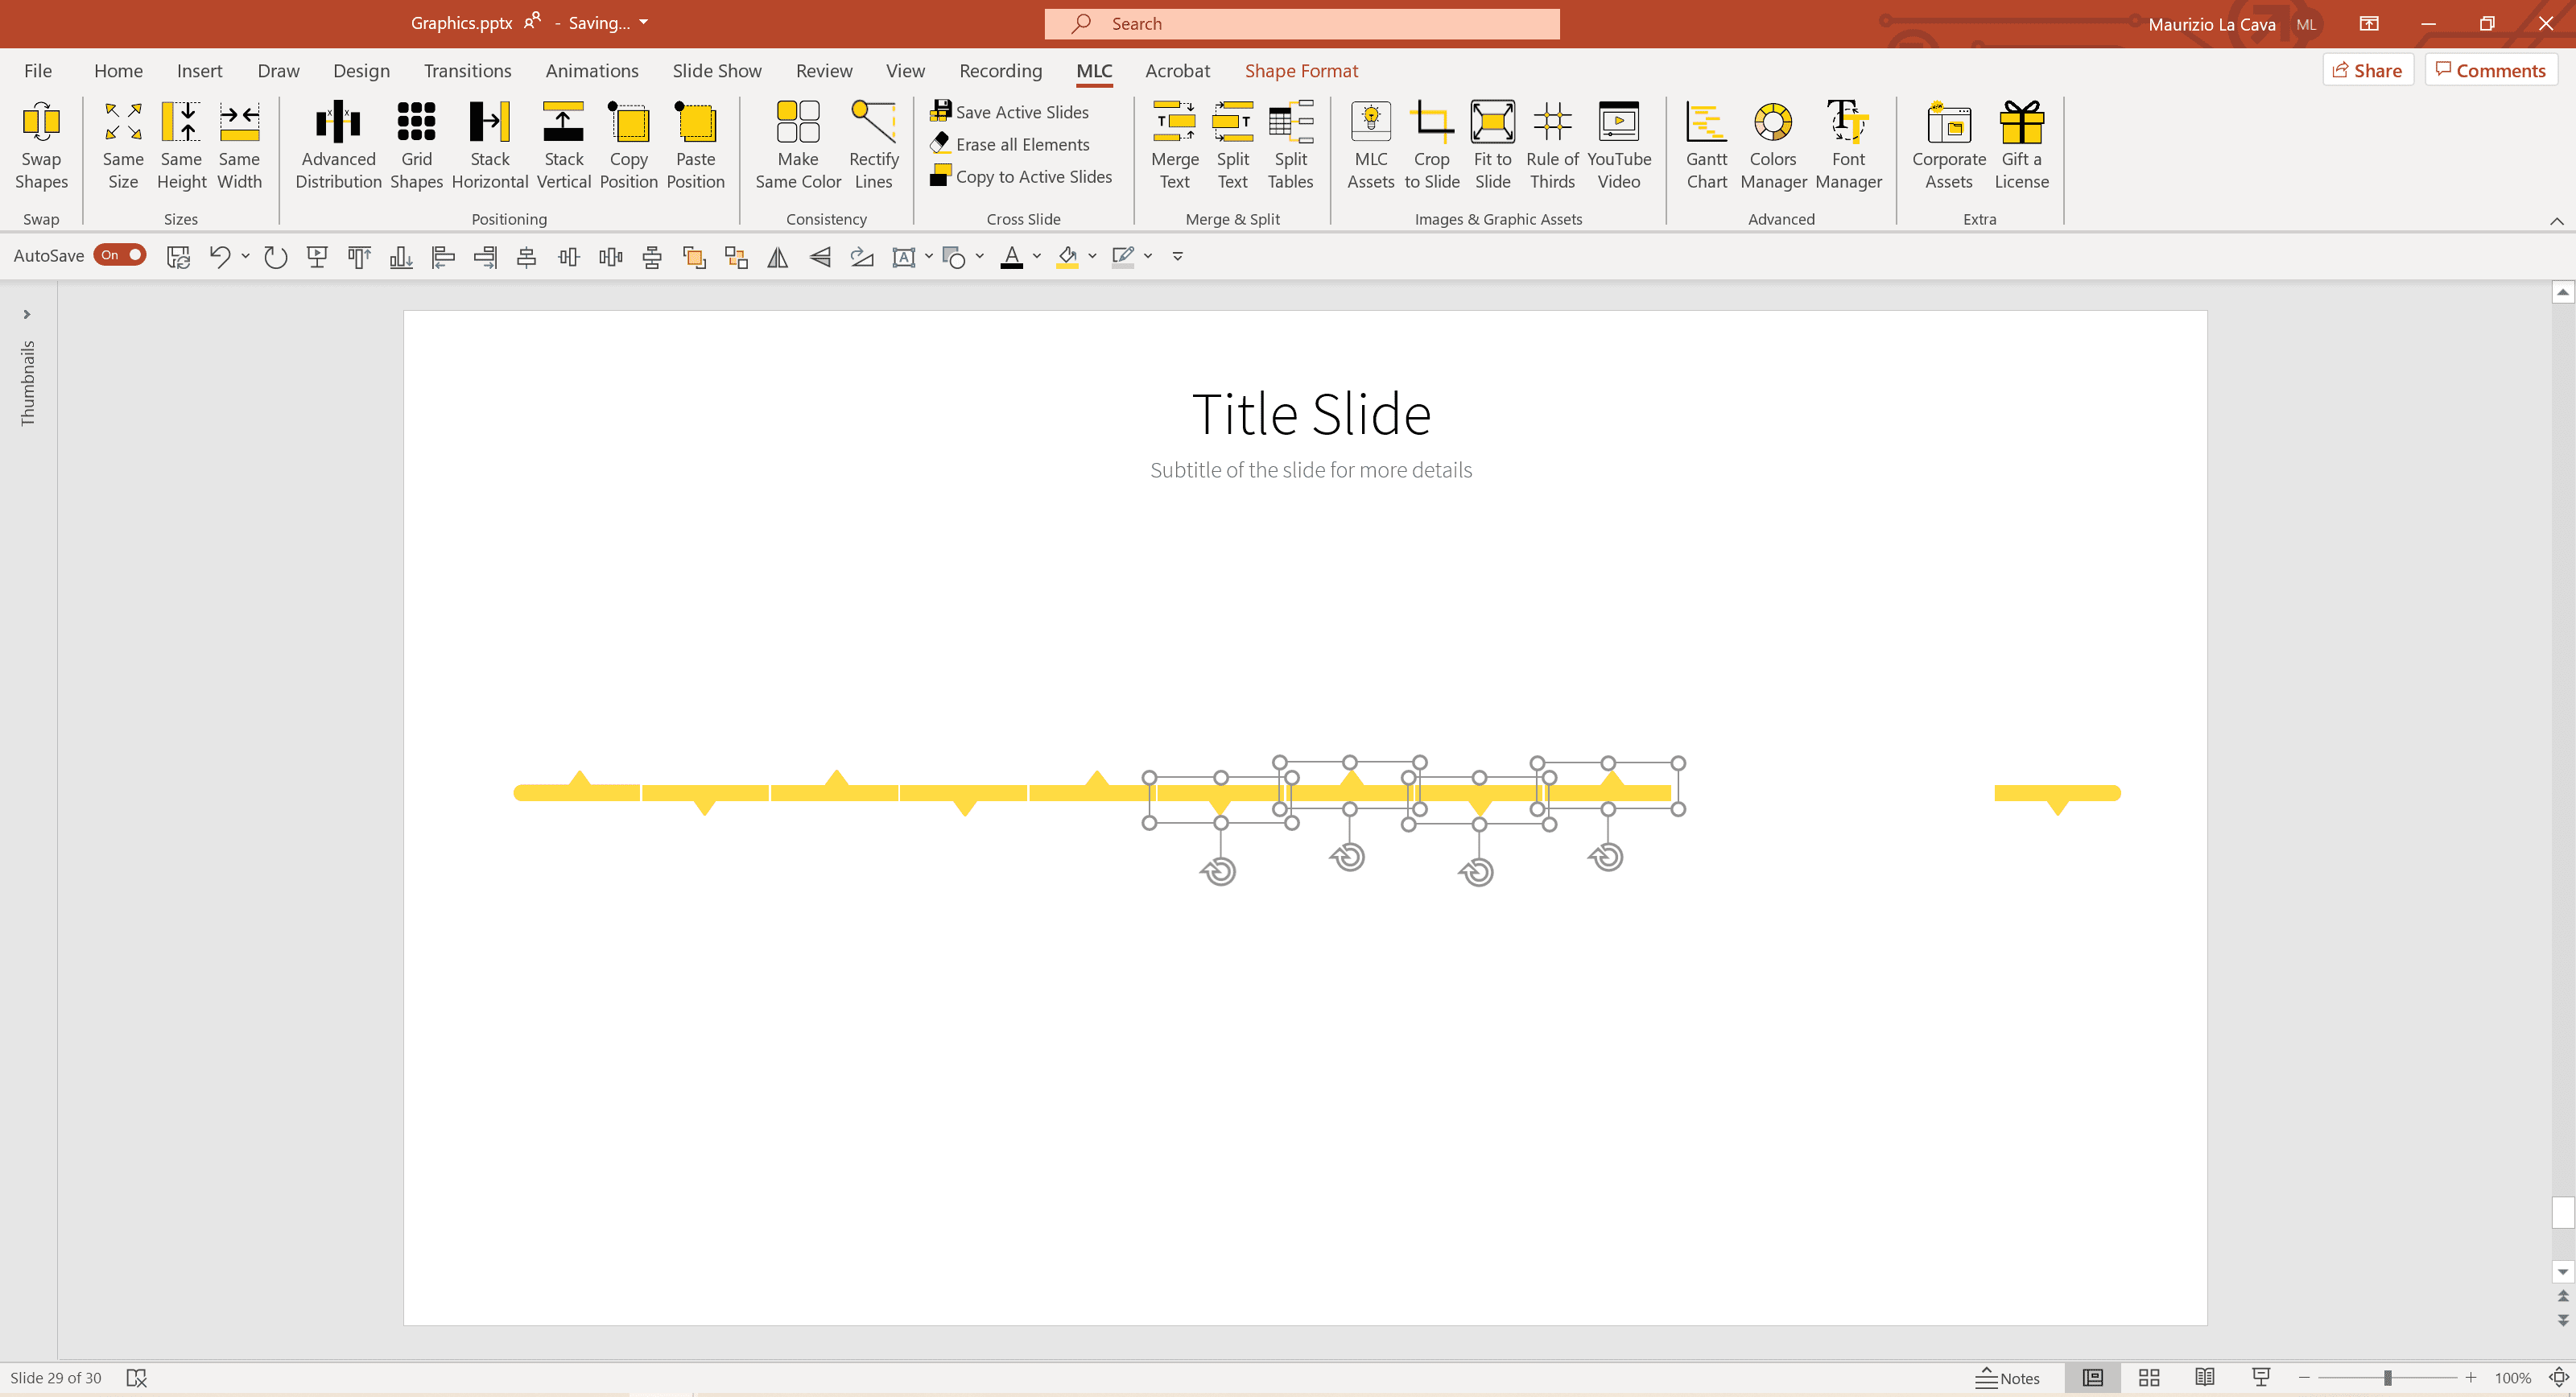
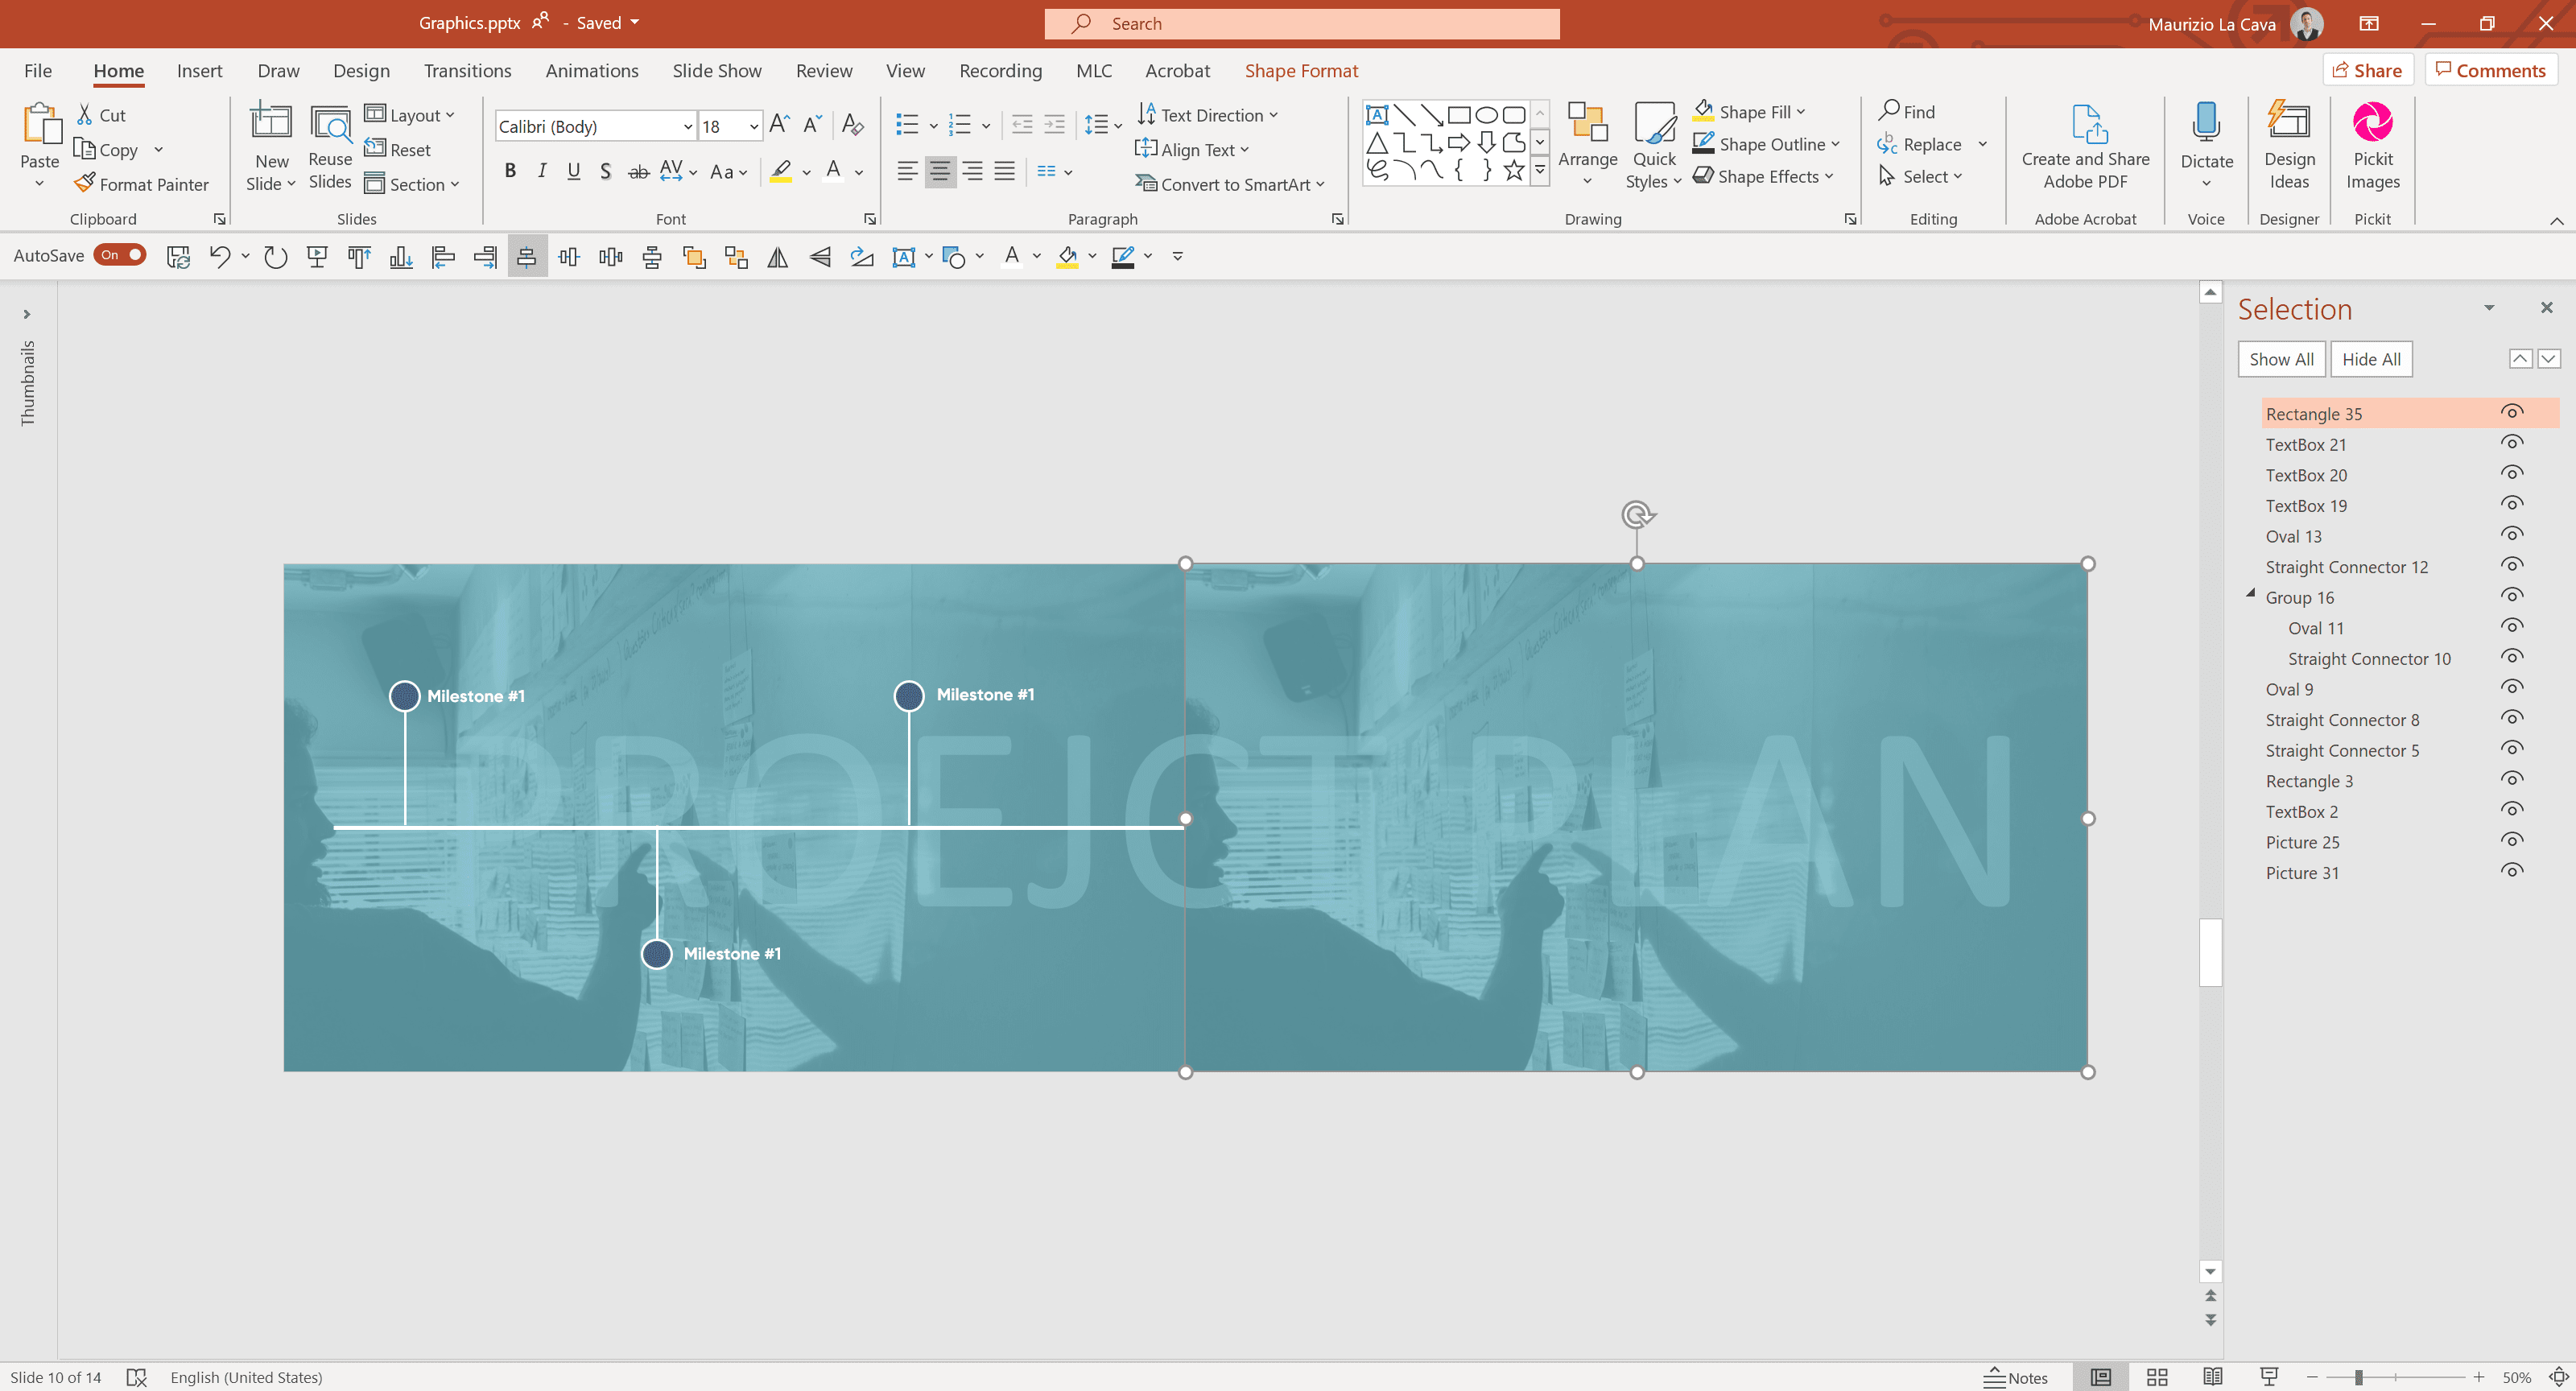
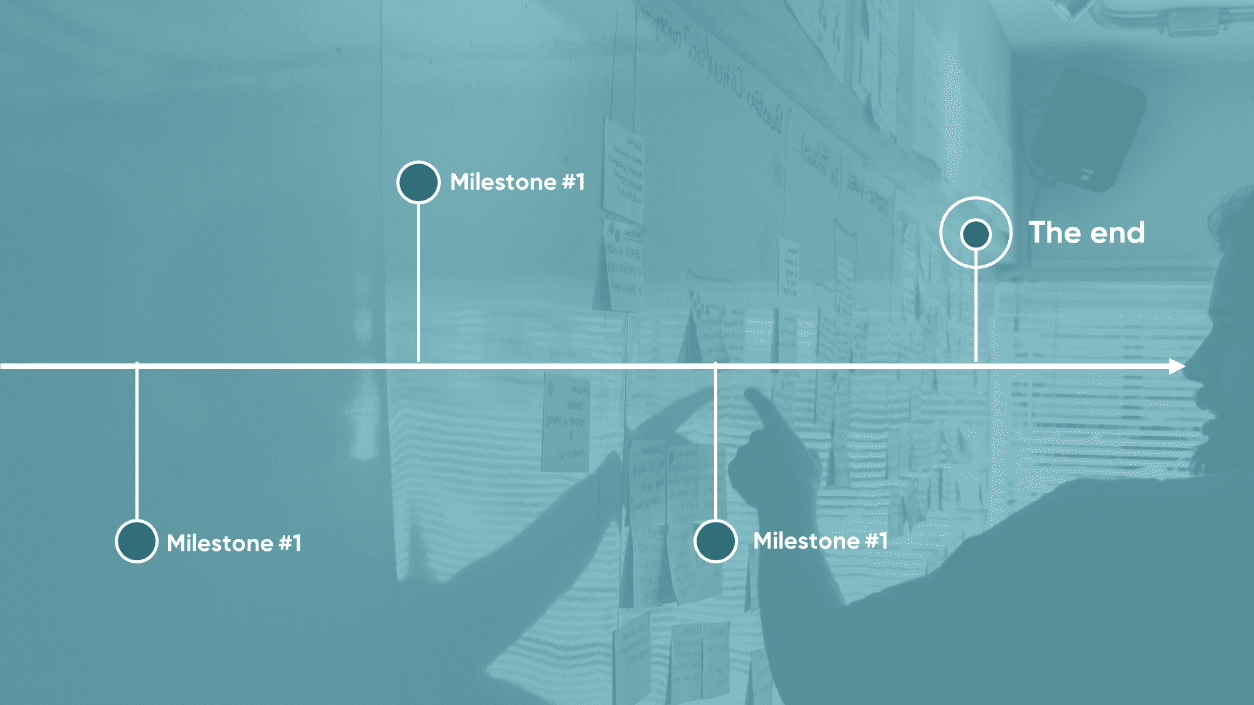
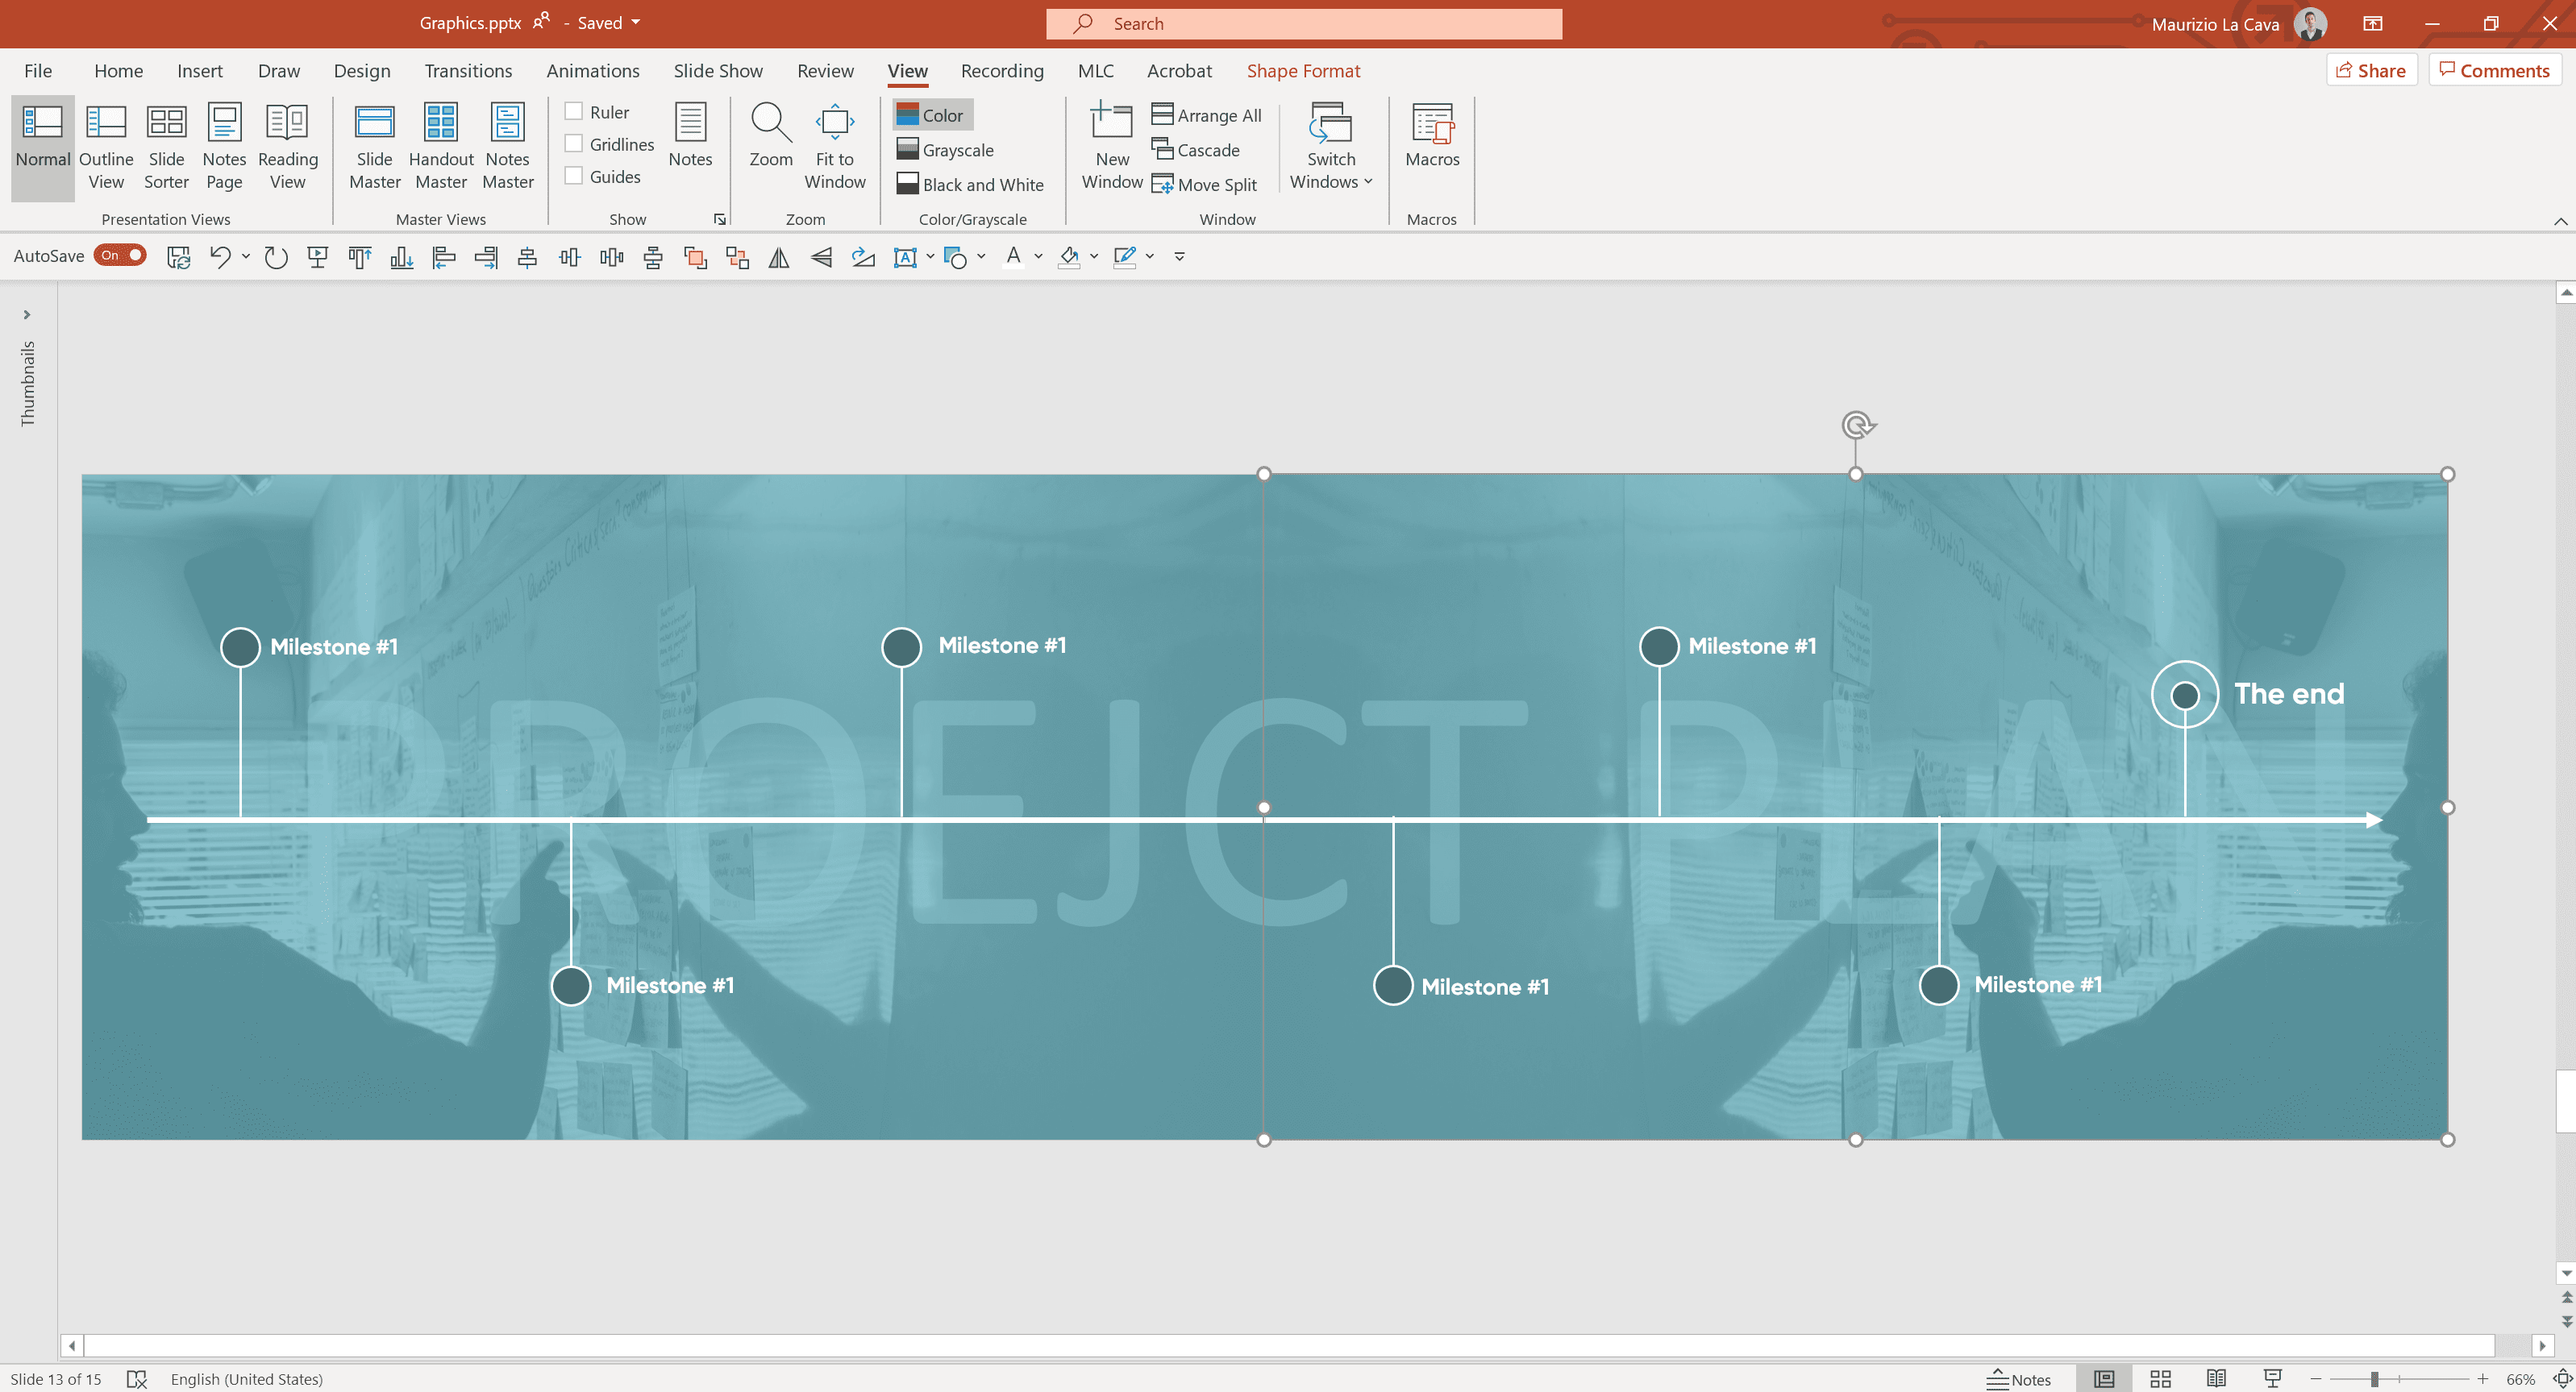
Let’s move on to the graphic elements to visually recall each milestone.
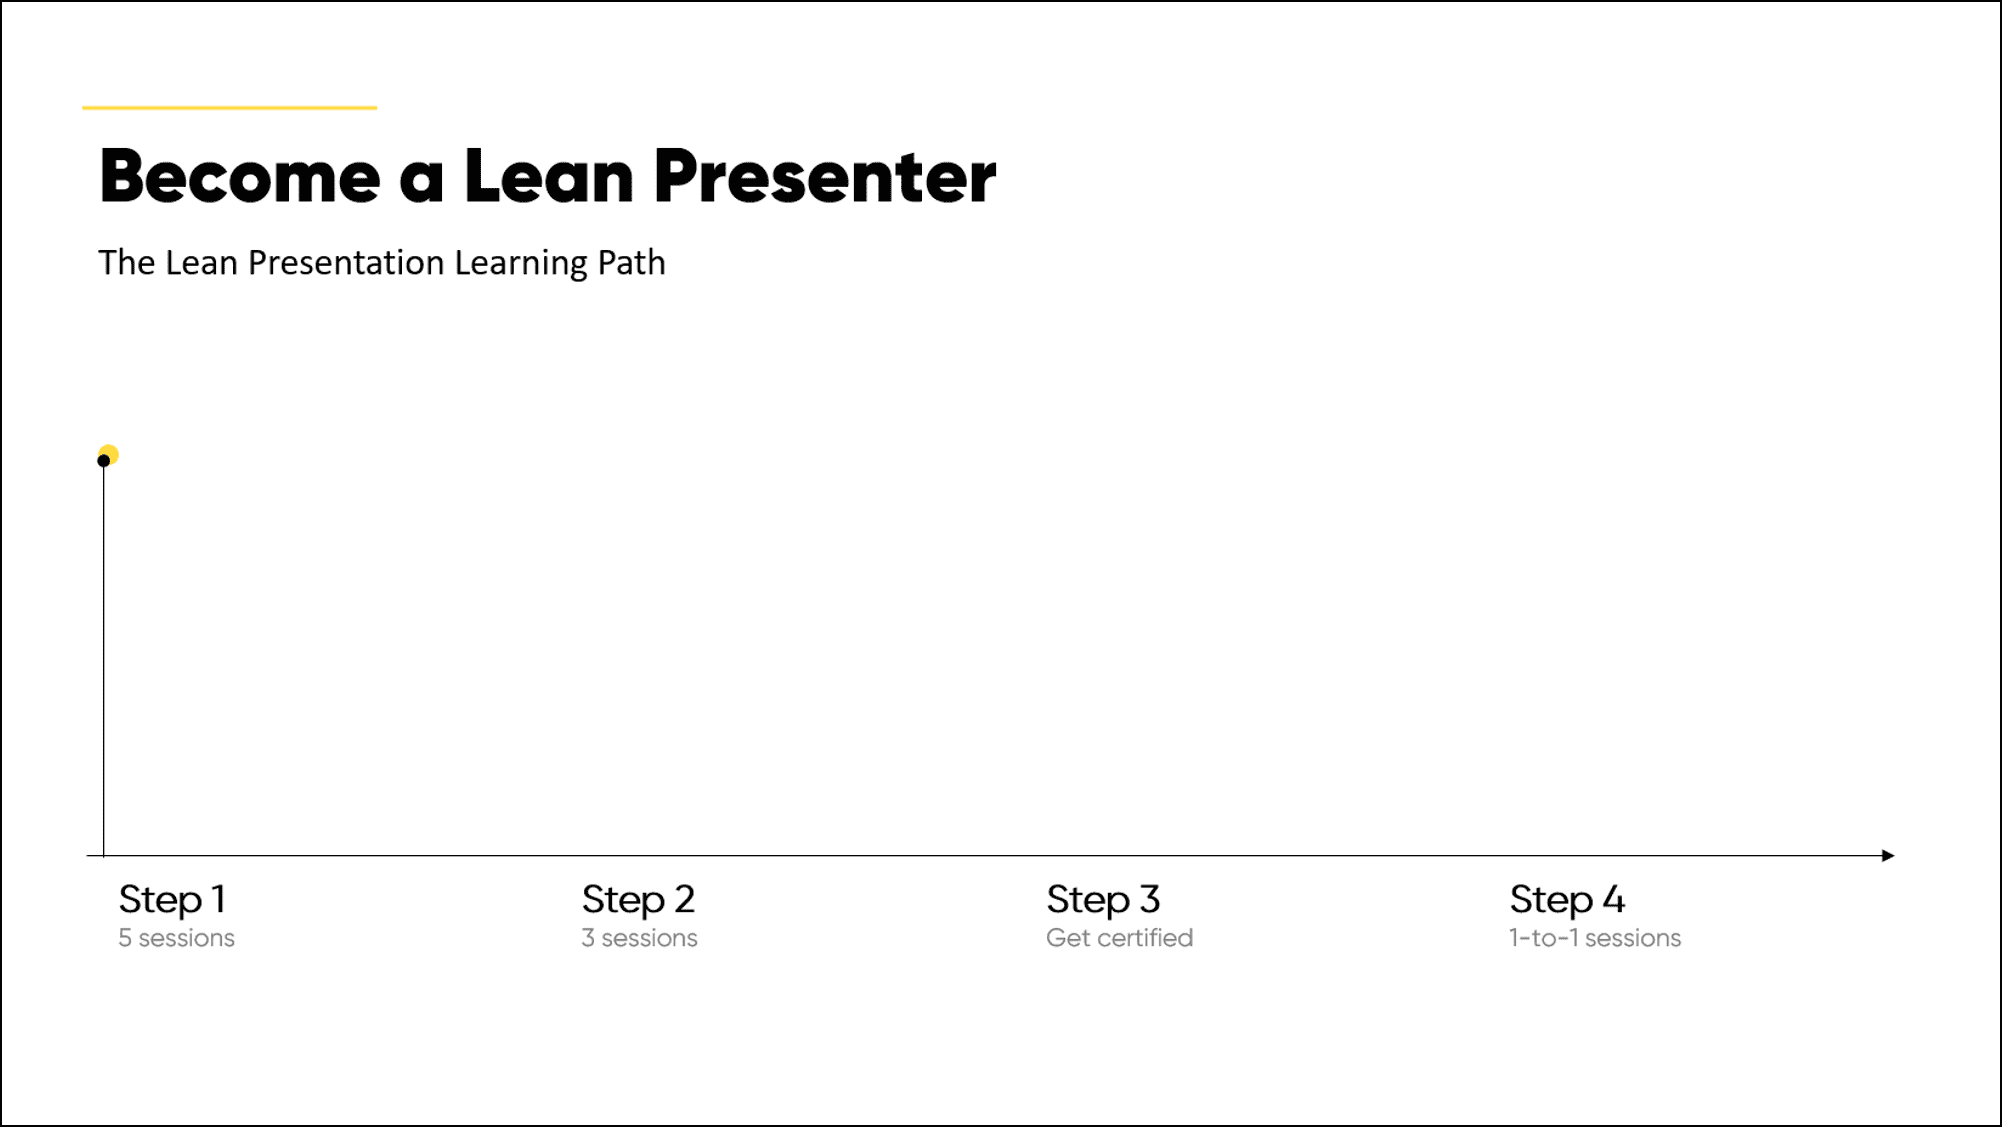
I used a small yellow circle on the back for consistency with the company branding. The most important choice, however, is the height of the milestone line.
Have you noticed that it is quite high?
I did it to obtain a vertical space for inserting content.
Why do I want to specify it?
To make you understand that each choice I make in PowerPoint is not random but calculated according to the next one, in order to minimize the number of clicks needed.
Replicate the milestone on each step with the combination:
- Duplicate on axis: CTRL + SHIFT + Drag & Drop
- Repeat duplication: CTRL + Y
Add details for each milestone:

Duplicate again with the combination we just used.

Replace the texts of the different milestones to finalize the timeline.

I also added an attention banner to explain that participation in the advanced course requires having attended the basic course.
I wanted to show you how to build an essential but very functional timeline using only keyboard agility techniques.
There are combinations that can really save you a lot of time in PowerPoint, you just need to know them.
If you’re curious, I’ve summarized them all in one handy document that you can download for free from the Presentation Tools.

To learn shortcuts, print it out and keep an eye on it during your next presentation-making. In a few days you will know them by heart, and you will have speeded up the way you work forever.
Creating PowerPoint timelines with ready-made templates
The timeline concept is not difficult.
If you think about it, it is a directional design that goes from left to right in which you add a name and maybe a description for each event.
Yet, to create an effective and original layout, you often need inspiration.
You can certainly go online and look for ready-made templates – but then you’ll waste a lot of time reworking and adapting them, because often ready-made templates are not of high quality.
That’s why I decided to design the MLC timeline library.
There, you will find my fine selection of lean timelines ready for your presentations.
How can you access it?
Install MLC PowerPoint Add-in.
Wait, Maurizio… I don’t have your software.
No problem, you can download the free version here.
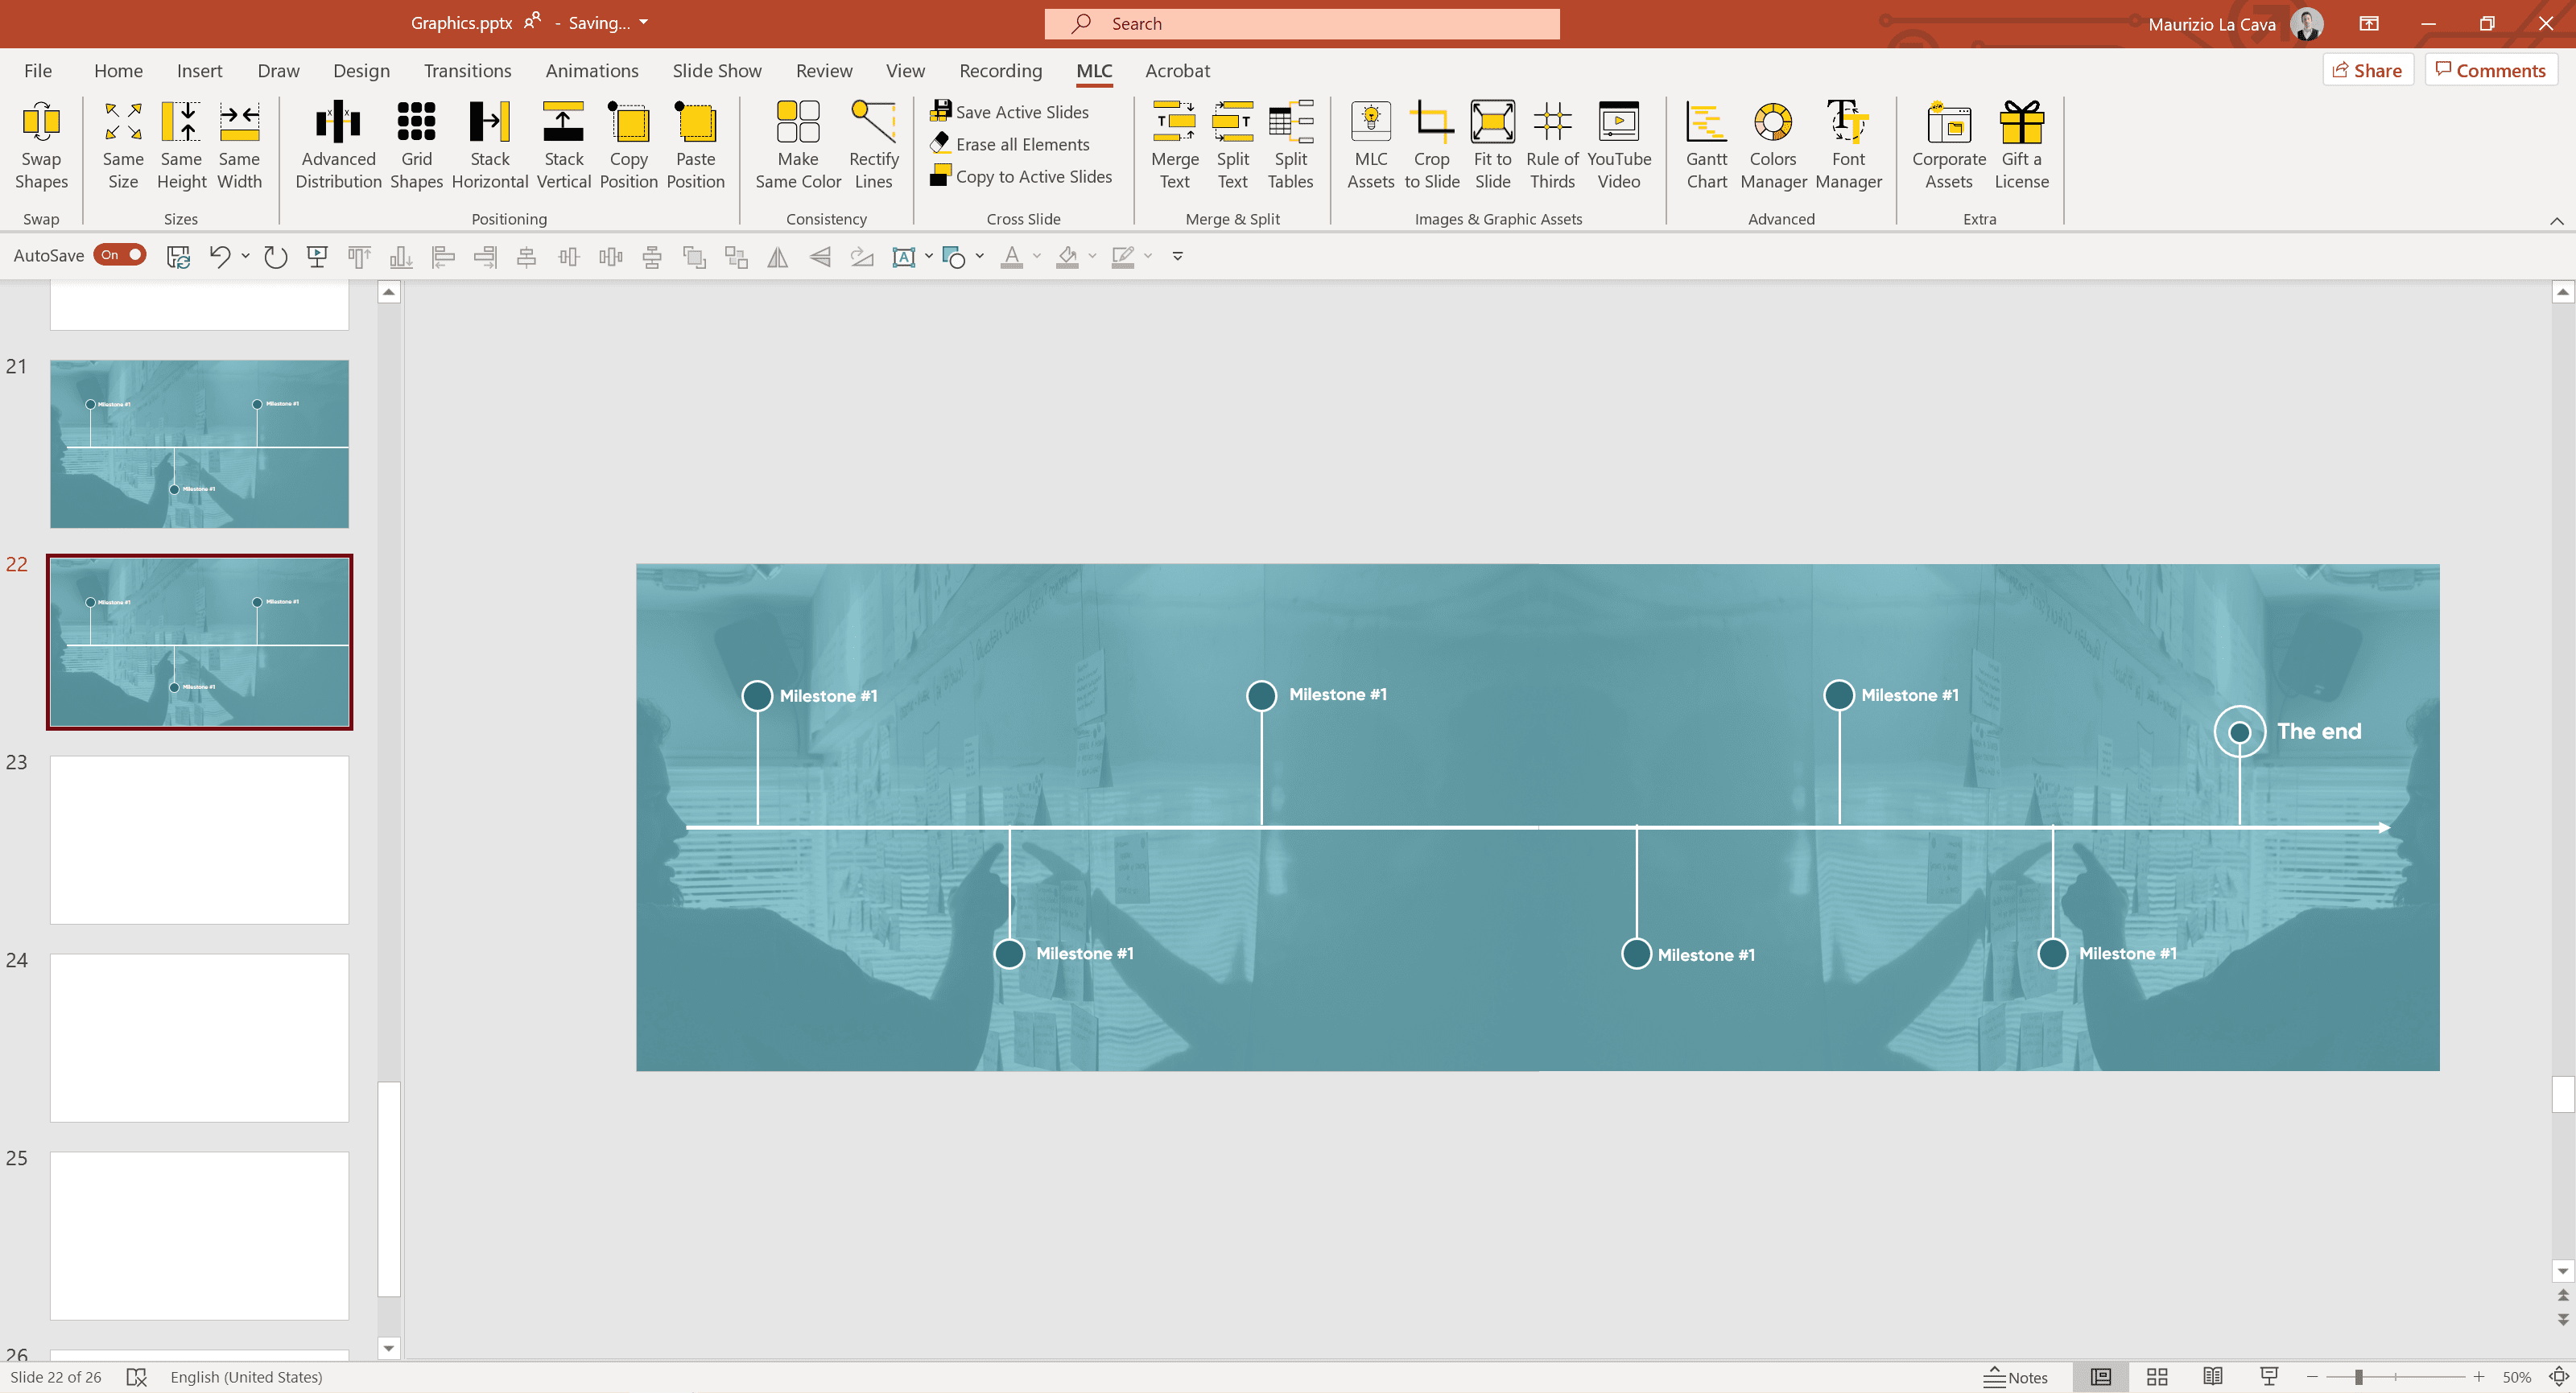
Access PowerPoint, click on the tab MLC > MLC Assets > Timelines
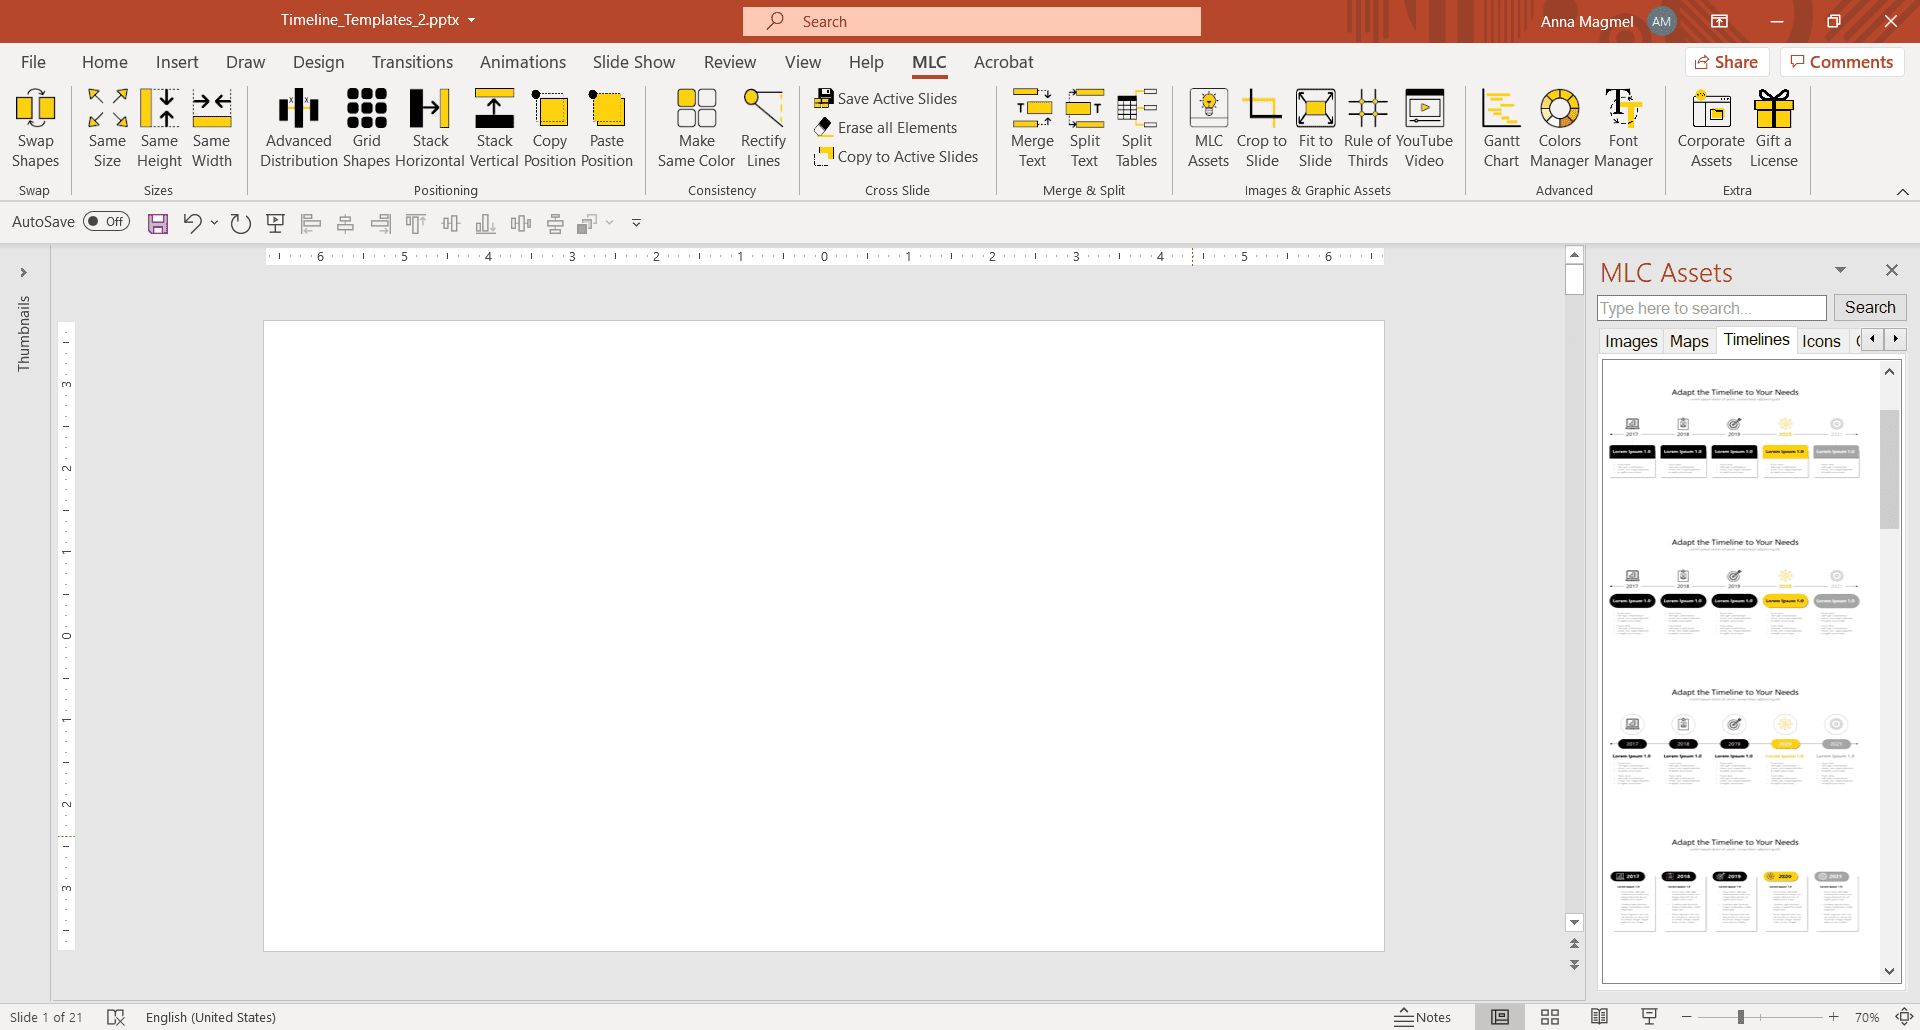
Simply click on the timeline you prefer to insert the layout directly into your presentation and start working on it.
If you are curious to see how it works, follow me.
Let’s put this collection into practice right away with a first concrete example applied to the build-up technique.
Building a PowerPoint timeline with the build-up effect
Sometimes a timeline is so long and full of information that you can’t put everything in the same slide, or you end up condensing all the information and making the content incomprehensible.
Suppose I ask you to help me visualize my company’s design approach to Lean Presentation Design.
There is usually a client who contacts the MLC Team and shares a project where the need and importance of communicating effectively emerges.
Simple, isn’t it?
Actually, the difference is the ability to approach the project in a structured way.
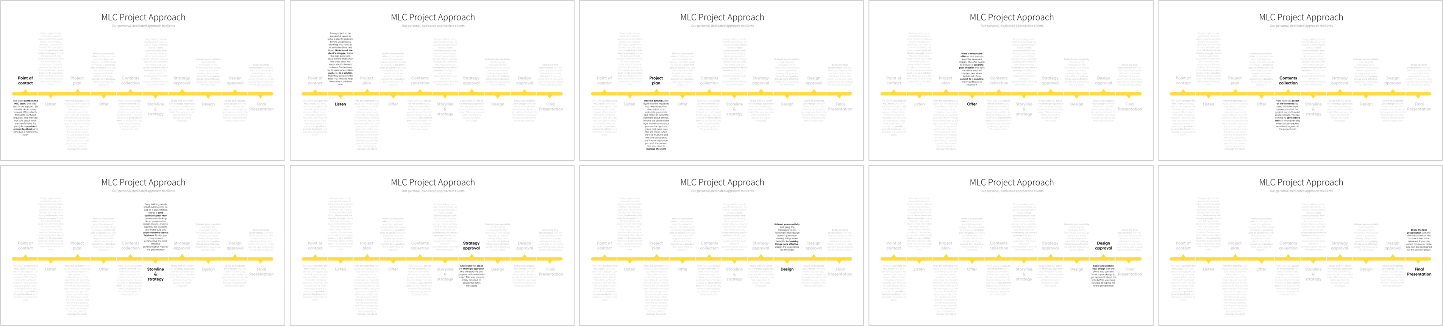
So, I have prepared this approach step by step imagining a project like this:
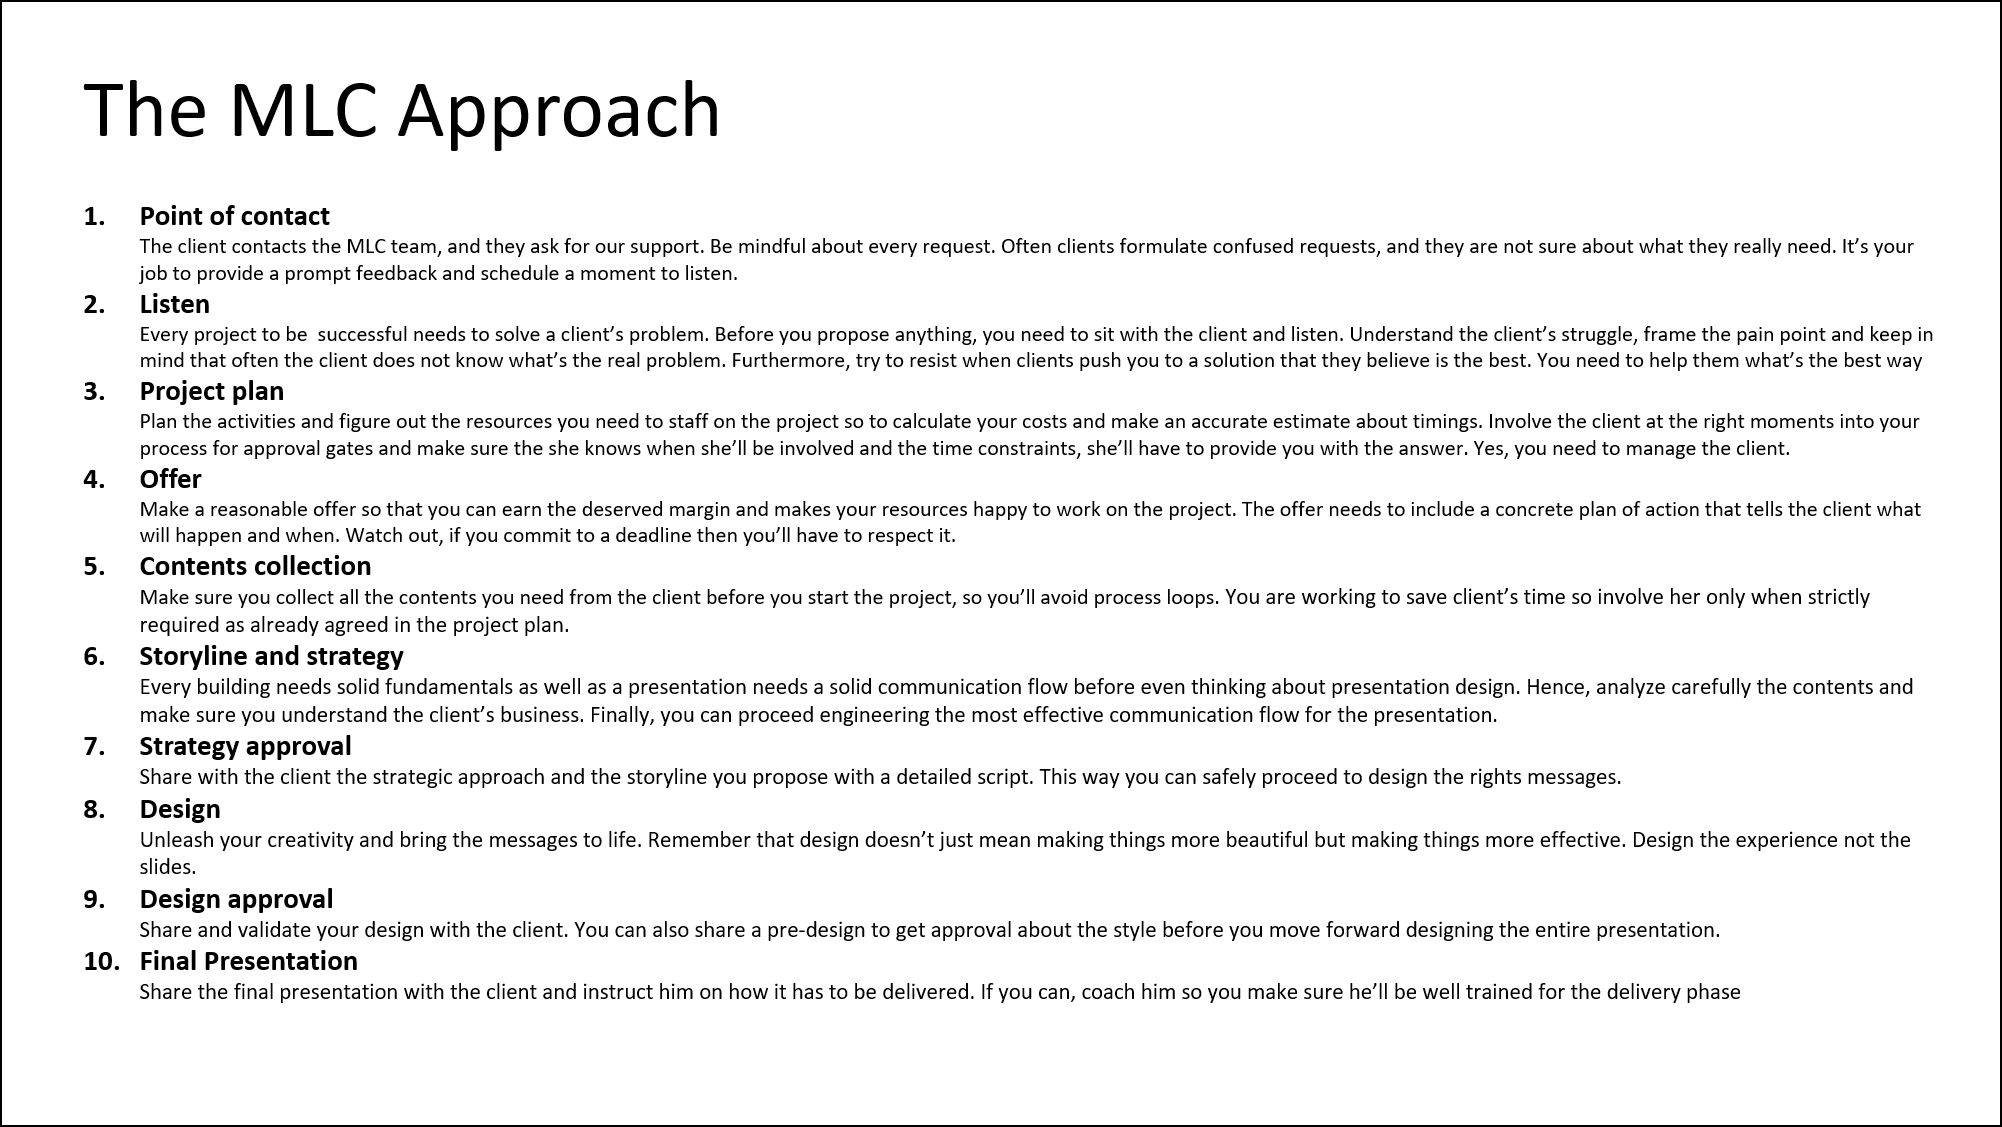
You can’t present something like this, right?
Come on, help me transform this slide!
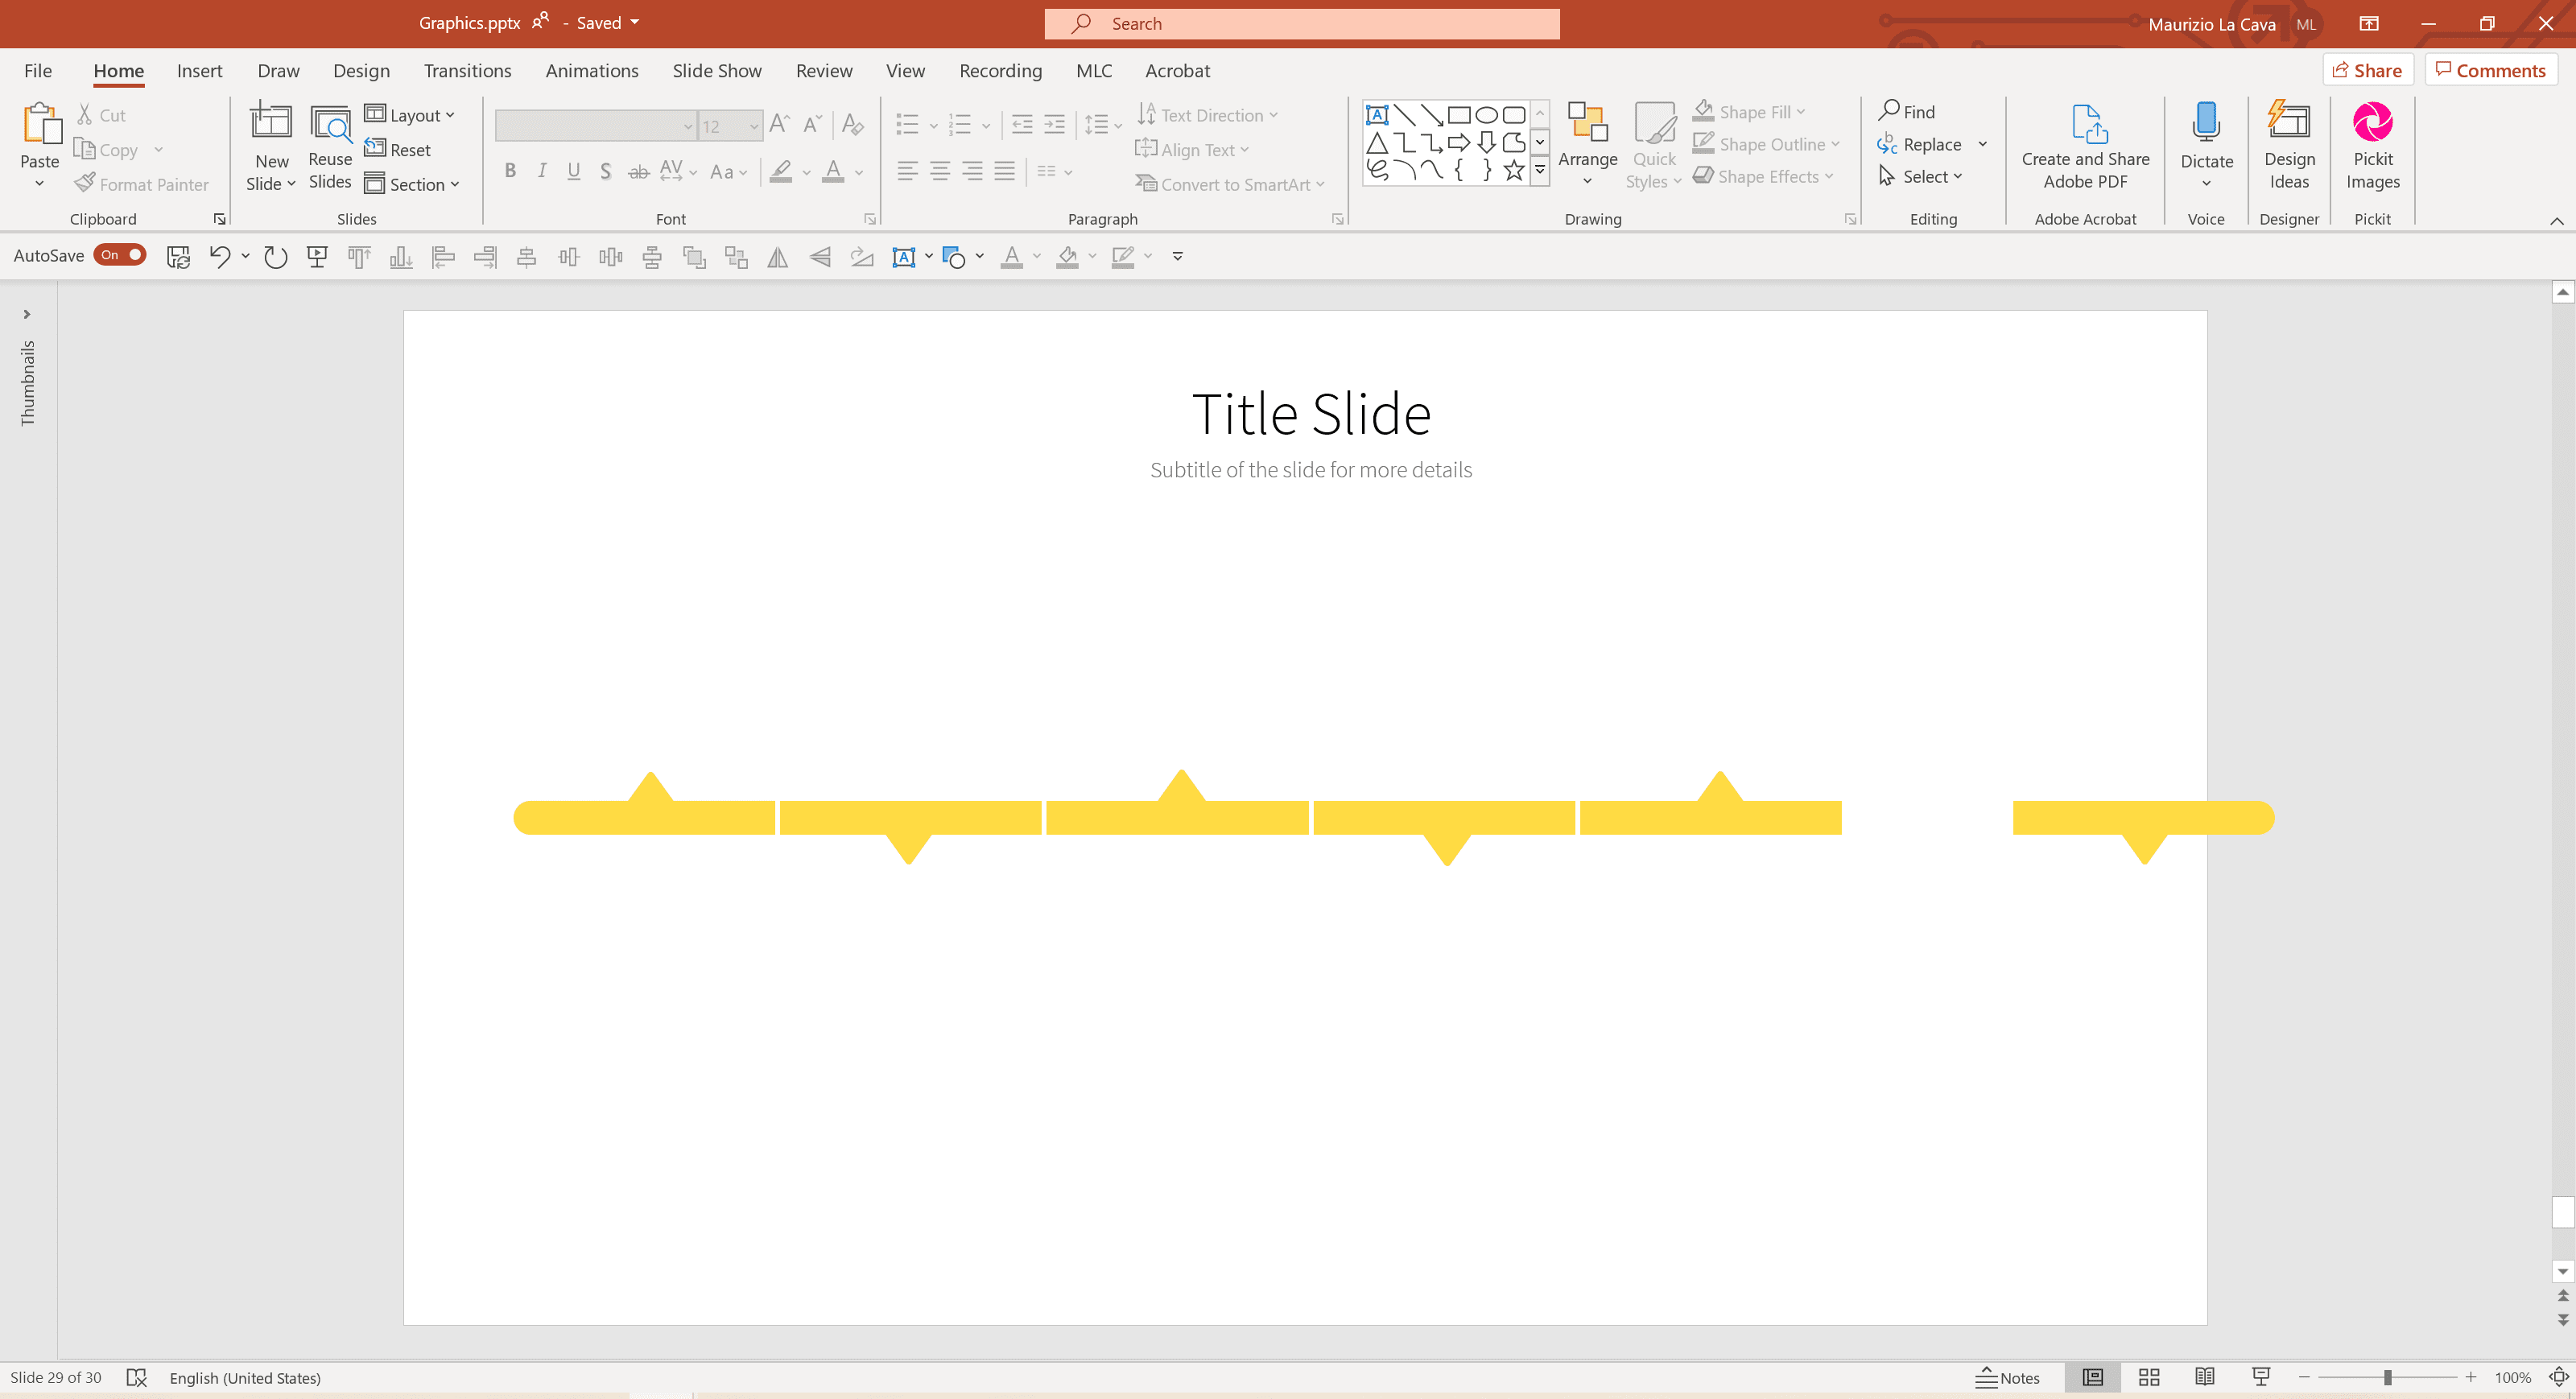
Launch MLC Assets and choose a timeline layout that is well suited to present this process.

After choosing the layout and cleaning the slide, you can start aligning the filling with my brand’s main color.
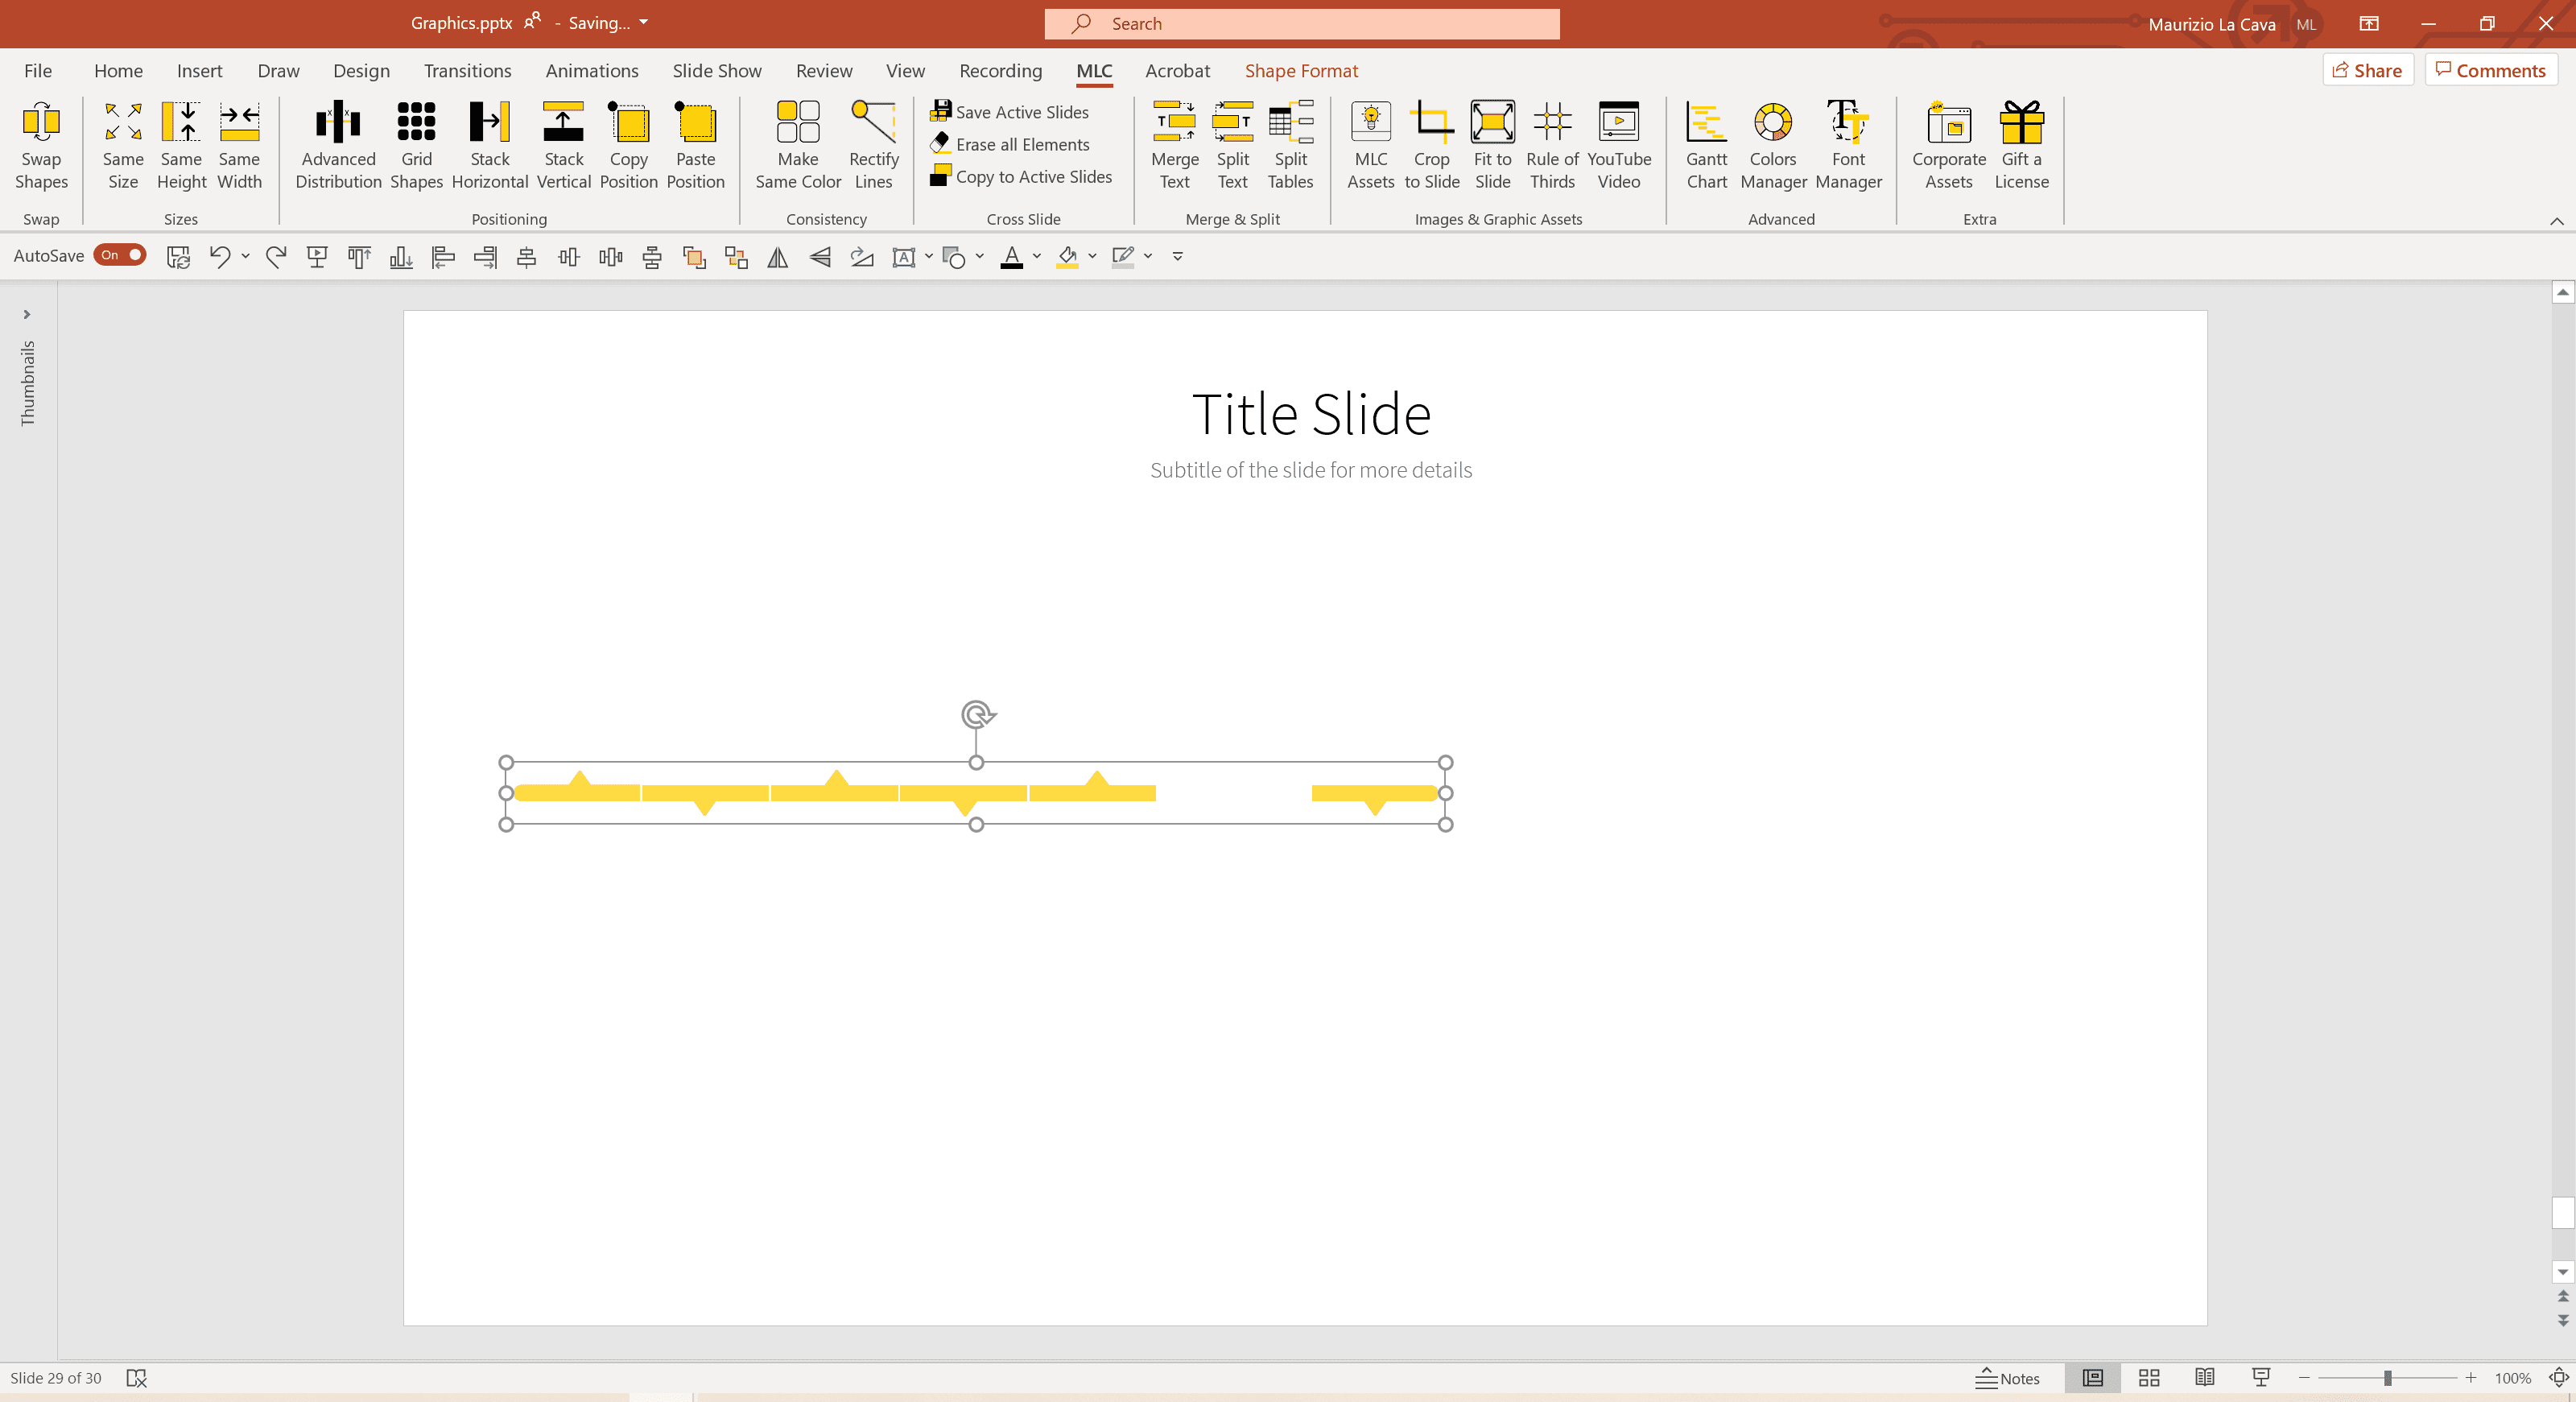
The layout gives you 6 steps but you need 10 so you will have to make space and insert the missing ones.
Group all the blocks and shrink everything to get the space needed to add the missing steps (CTRL + G, or CTRL + SHIFT + H in the Italian version of PowerPoint).
Separate the group and select a block of 4 starting with the down arrow (since you have to connect it with the one with the up arrow). Drag and duplicate the block on axis (CTRL + SHIFT + Drag&Drop).
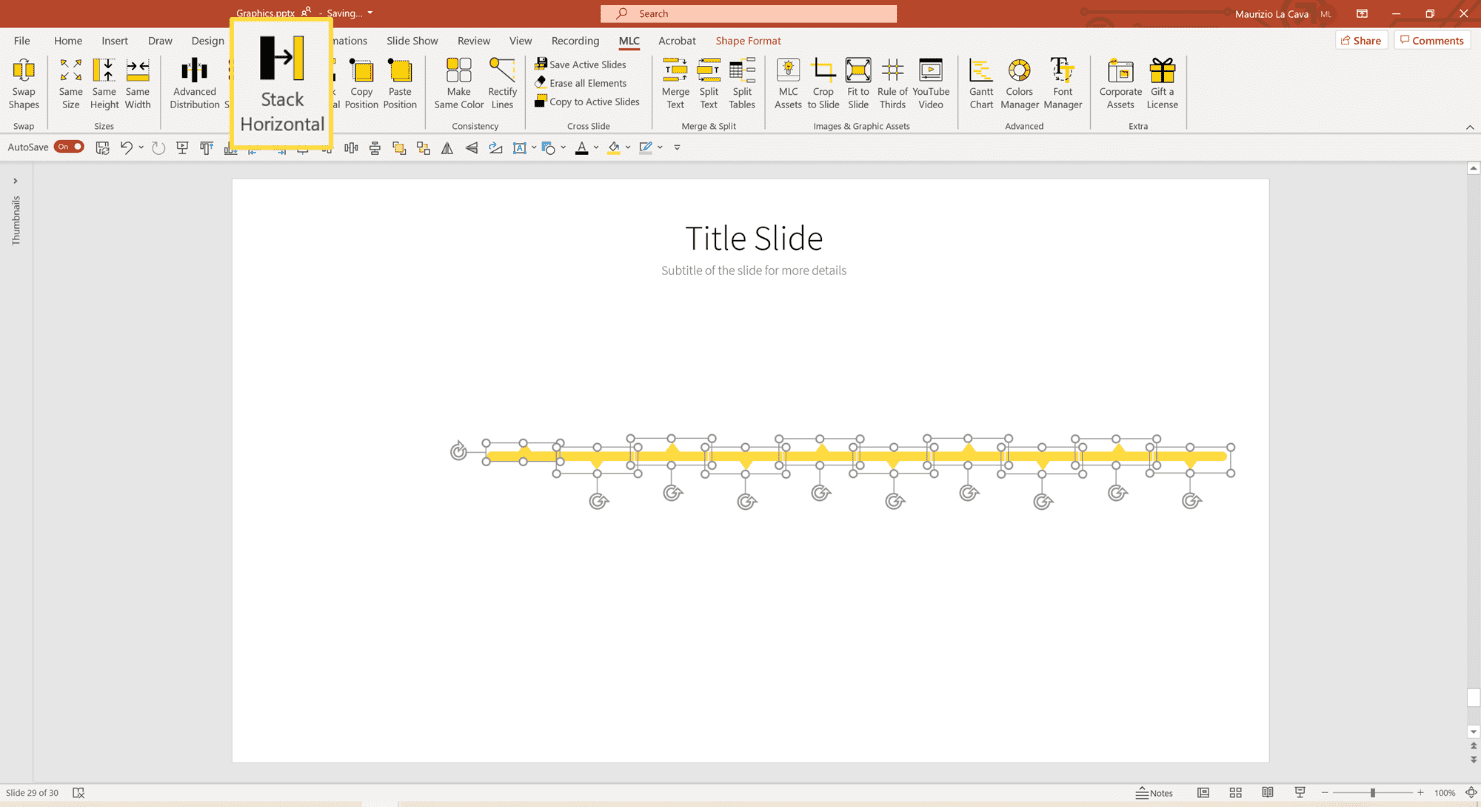
Use the horizontal stack from MLC PowerPoint Add-in to compact blocks.
Group together, enlarge and use all the space at your disposal.
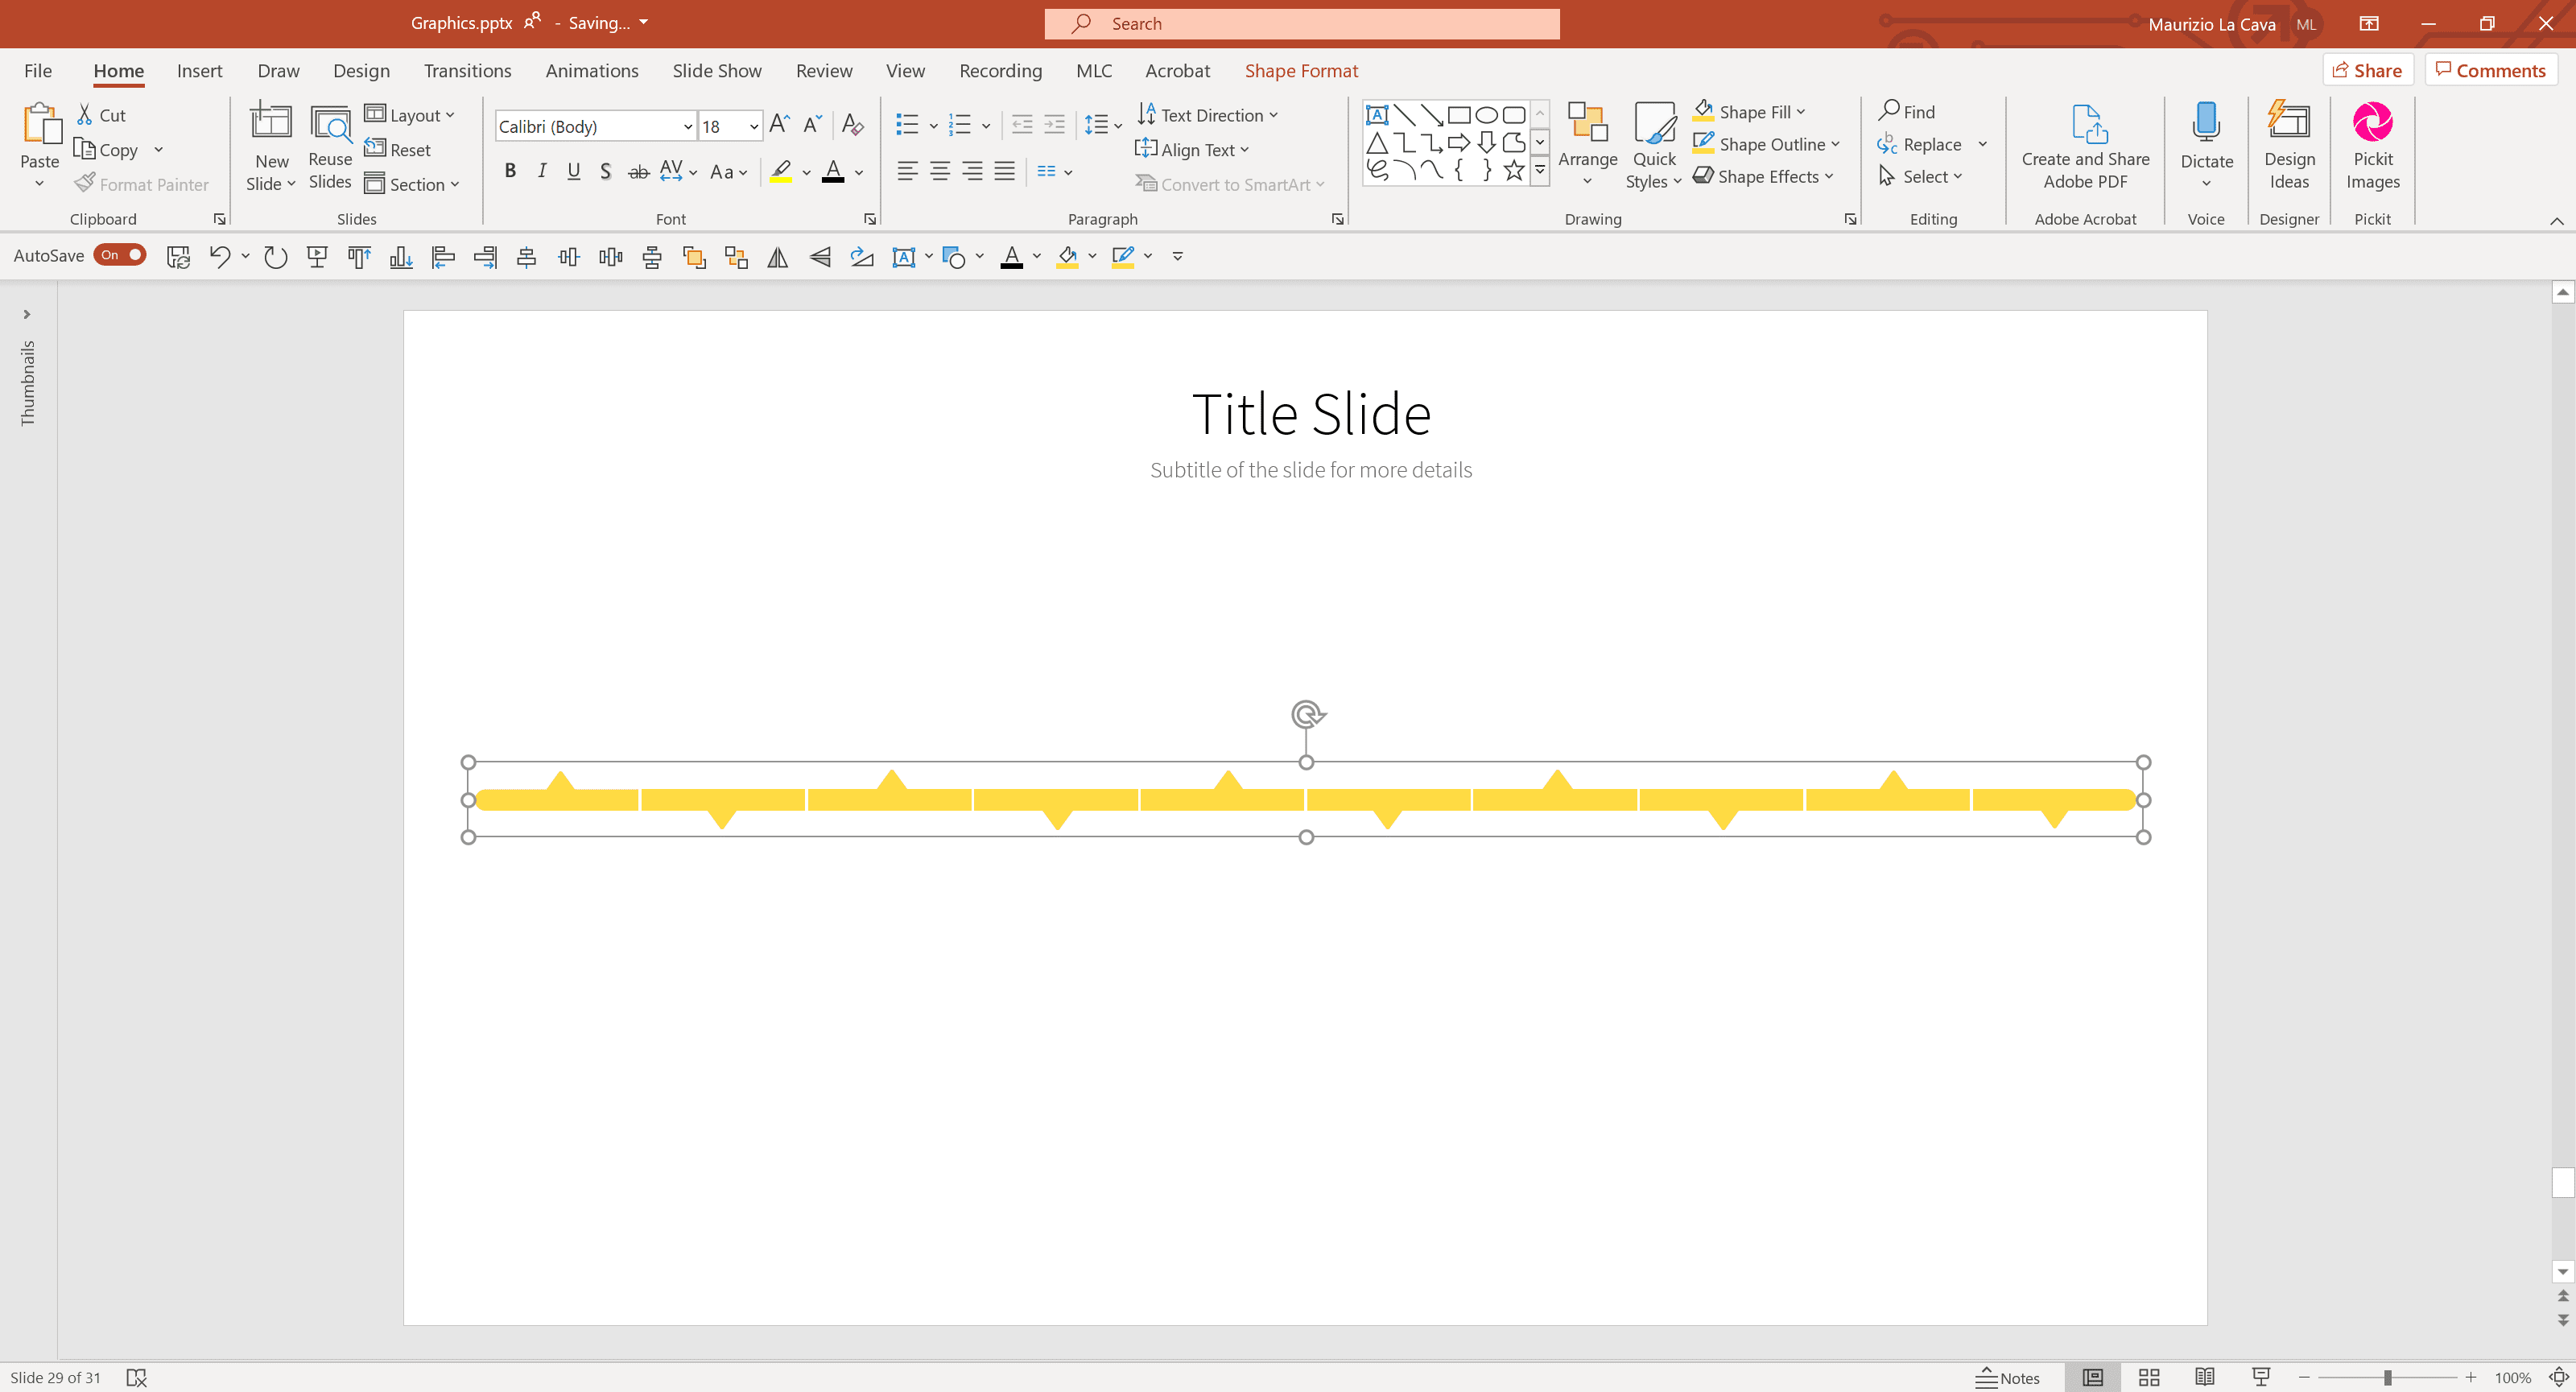
Now you can proceed with the titles.

Complete with title and subtitle.
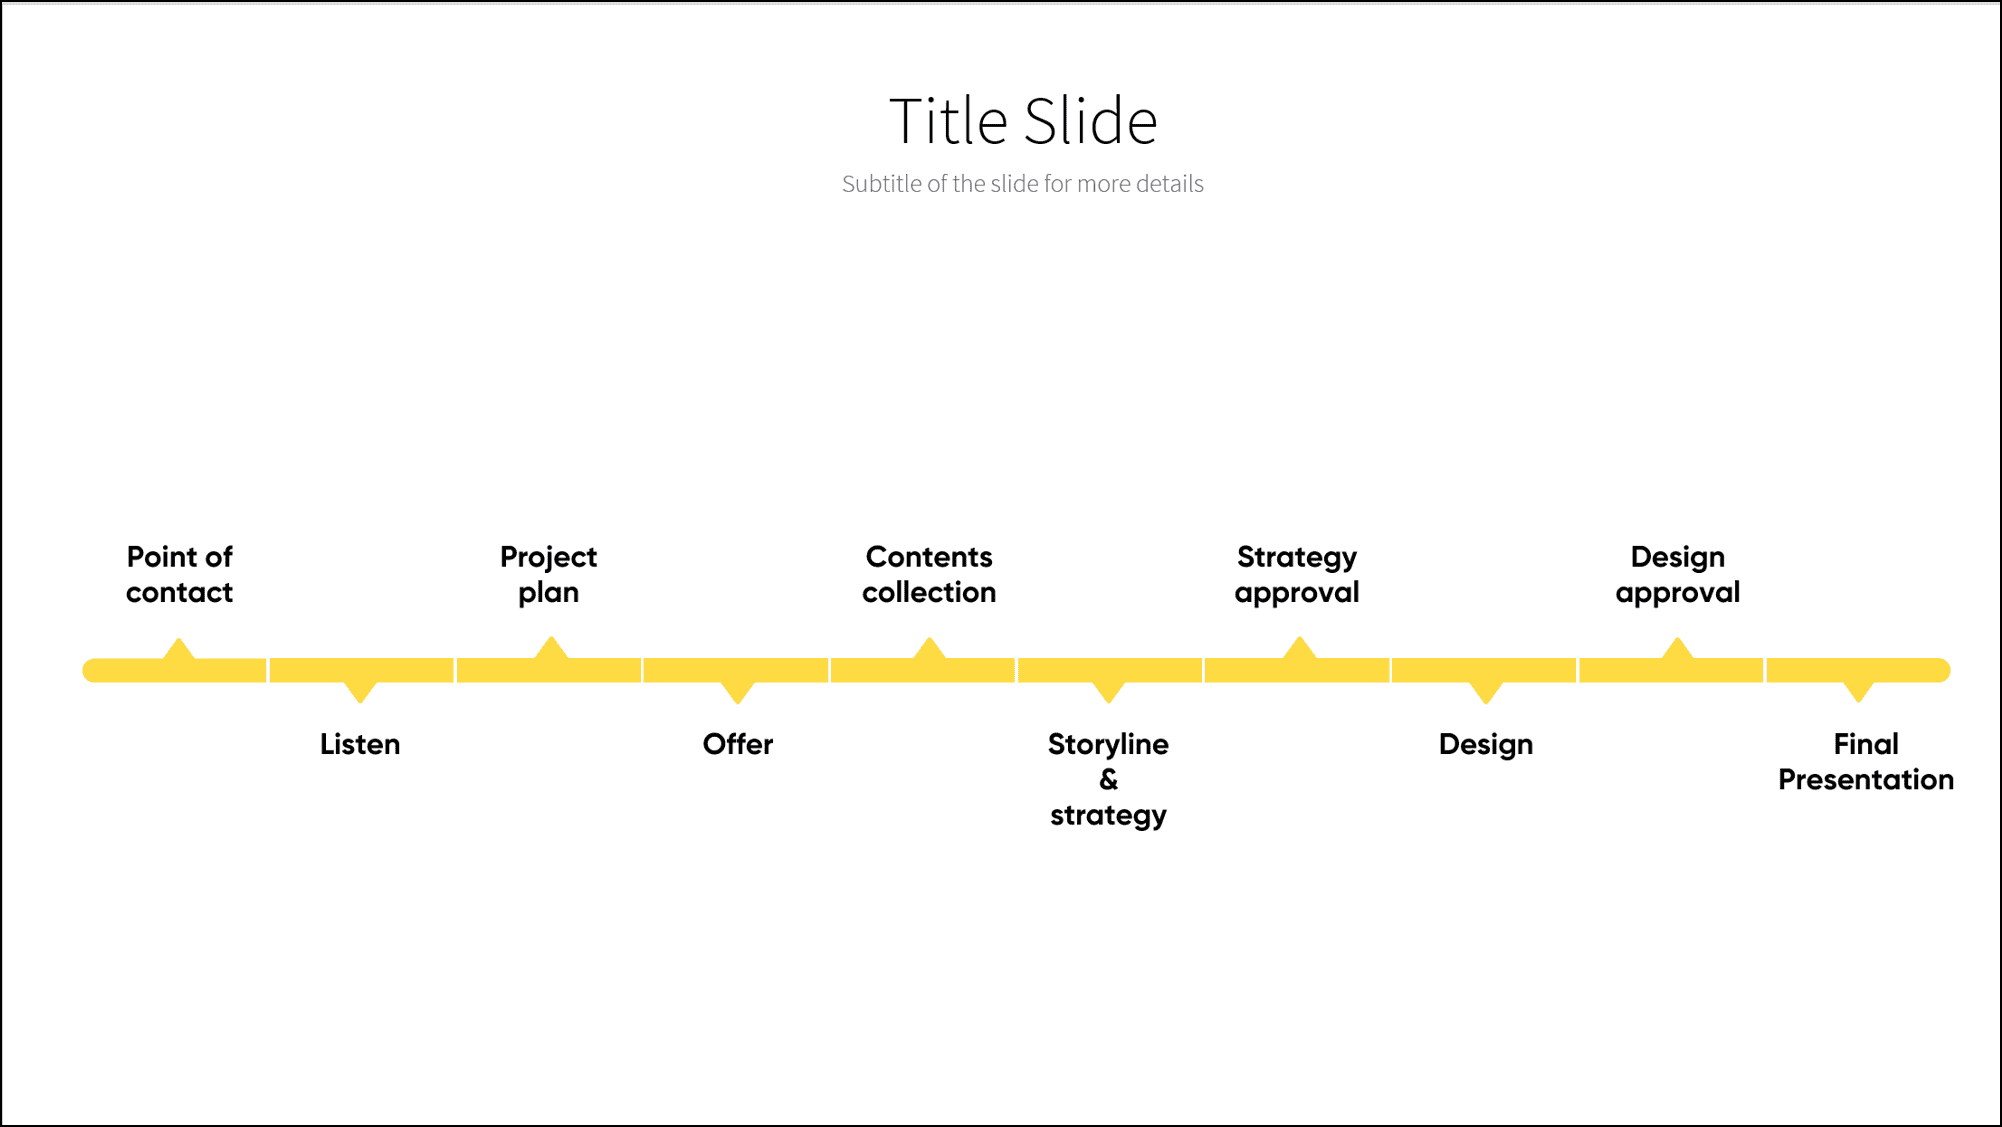
Enter the detail content for each step.

Definitely too much content to present at once, don’t you think?
If you leave it like this, this slide will not be very effective.
Think about how you could solve the problem.
First of all, you could introduce bold type in order to highlight the keywords for each step and facilitate skim reading.
What is skim reading?
Skim reading is the fruition of a text for keywords, which is different from the complete reading. Basically, it helps your audience to quickly scroll through the content and quickly catch the message.

Not bad, but it’s still too much.
What else can you do?
It is time to introduce the concept of buildup.
Since you can’t present everything together, you will present each step, one at a time.
Duplicate the slide 10 times (one per step) and highlight one step per slide sequentially.

To do this quickly, when you go to the next slides, select all the text boxes and press F4 to repeat the last action you performed, which is applying color to the text.
This way, your audience will be able to focus on one step at a time and, thanks to the sequentiality, will easily follow the process.
This is the build-up effect applied to a timeline.

Creating PowerPoint timelines with cinema effect.
The build-up effect is very lean and allows you to create fast transitions in order to always bring the audience’s attention to the focus point.
There is another very effective and particularly scenic alternative when the information on the slide is too much.
Yes, you got it right, we are talking about the cinema effect.
Why is it called that?
I’ll explain it now, see how it works.
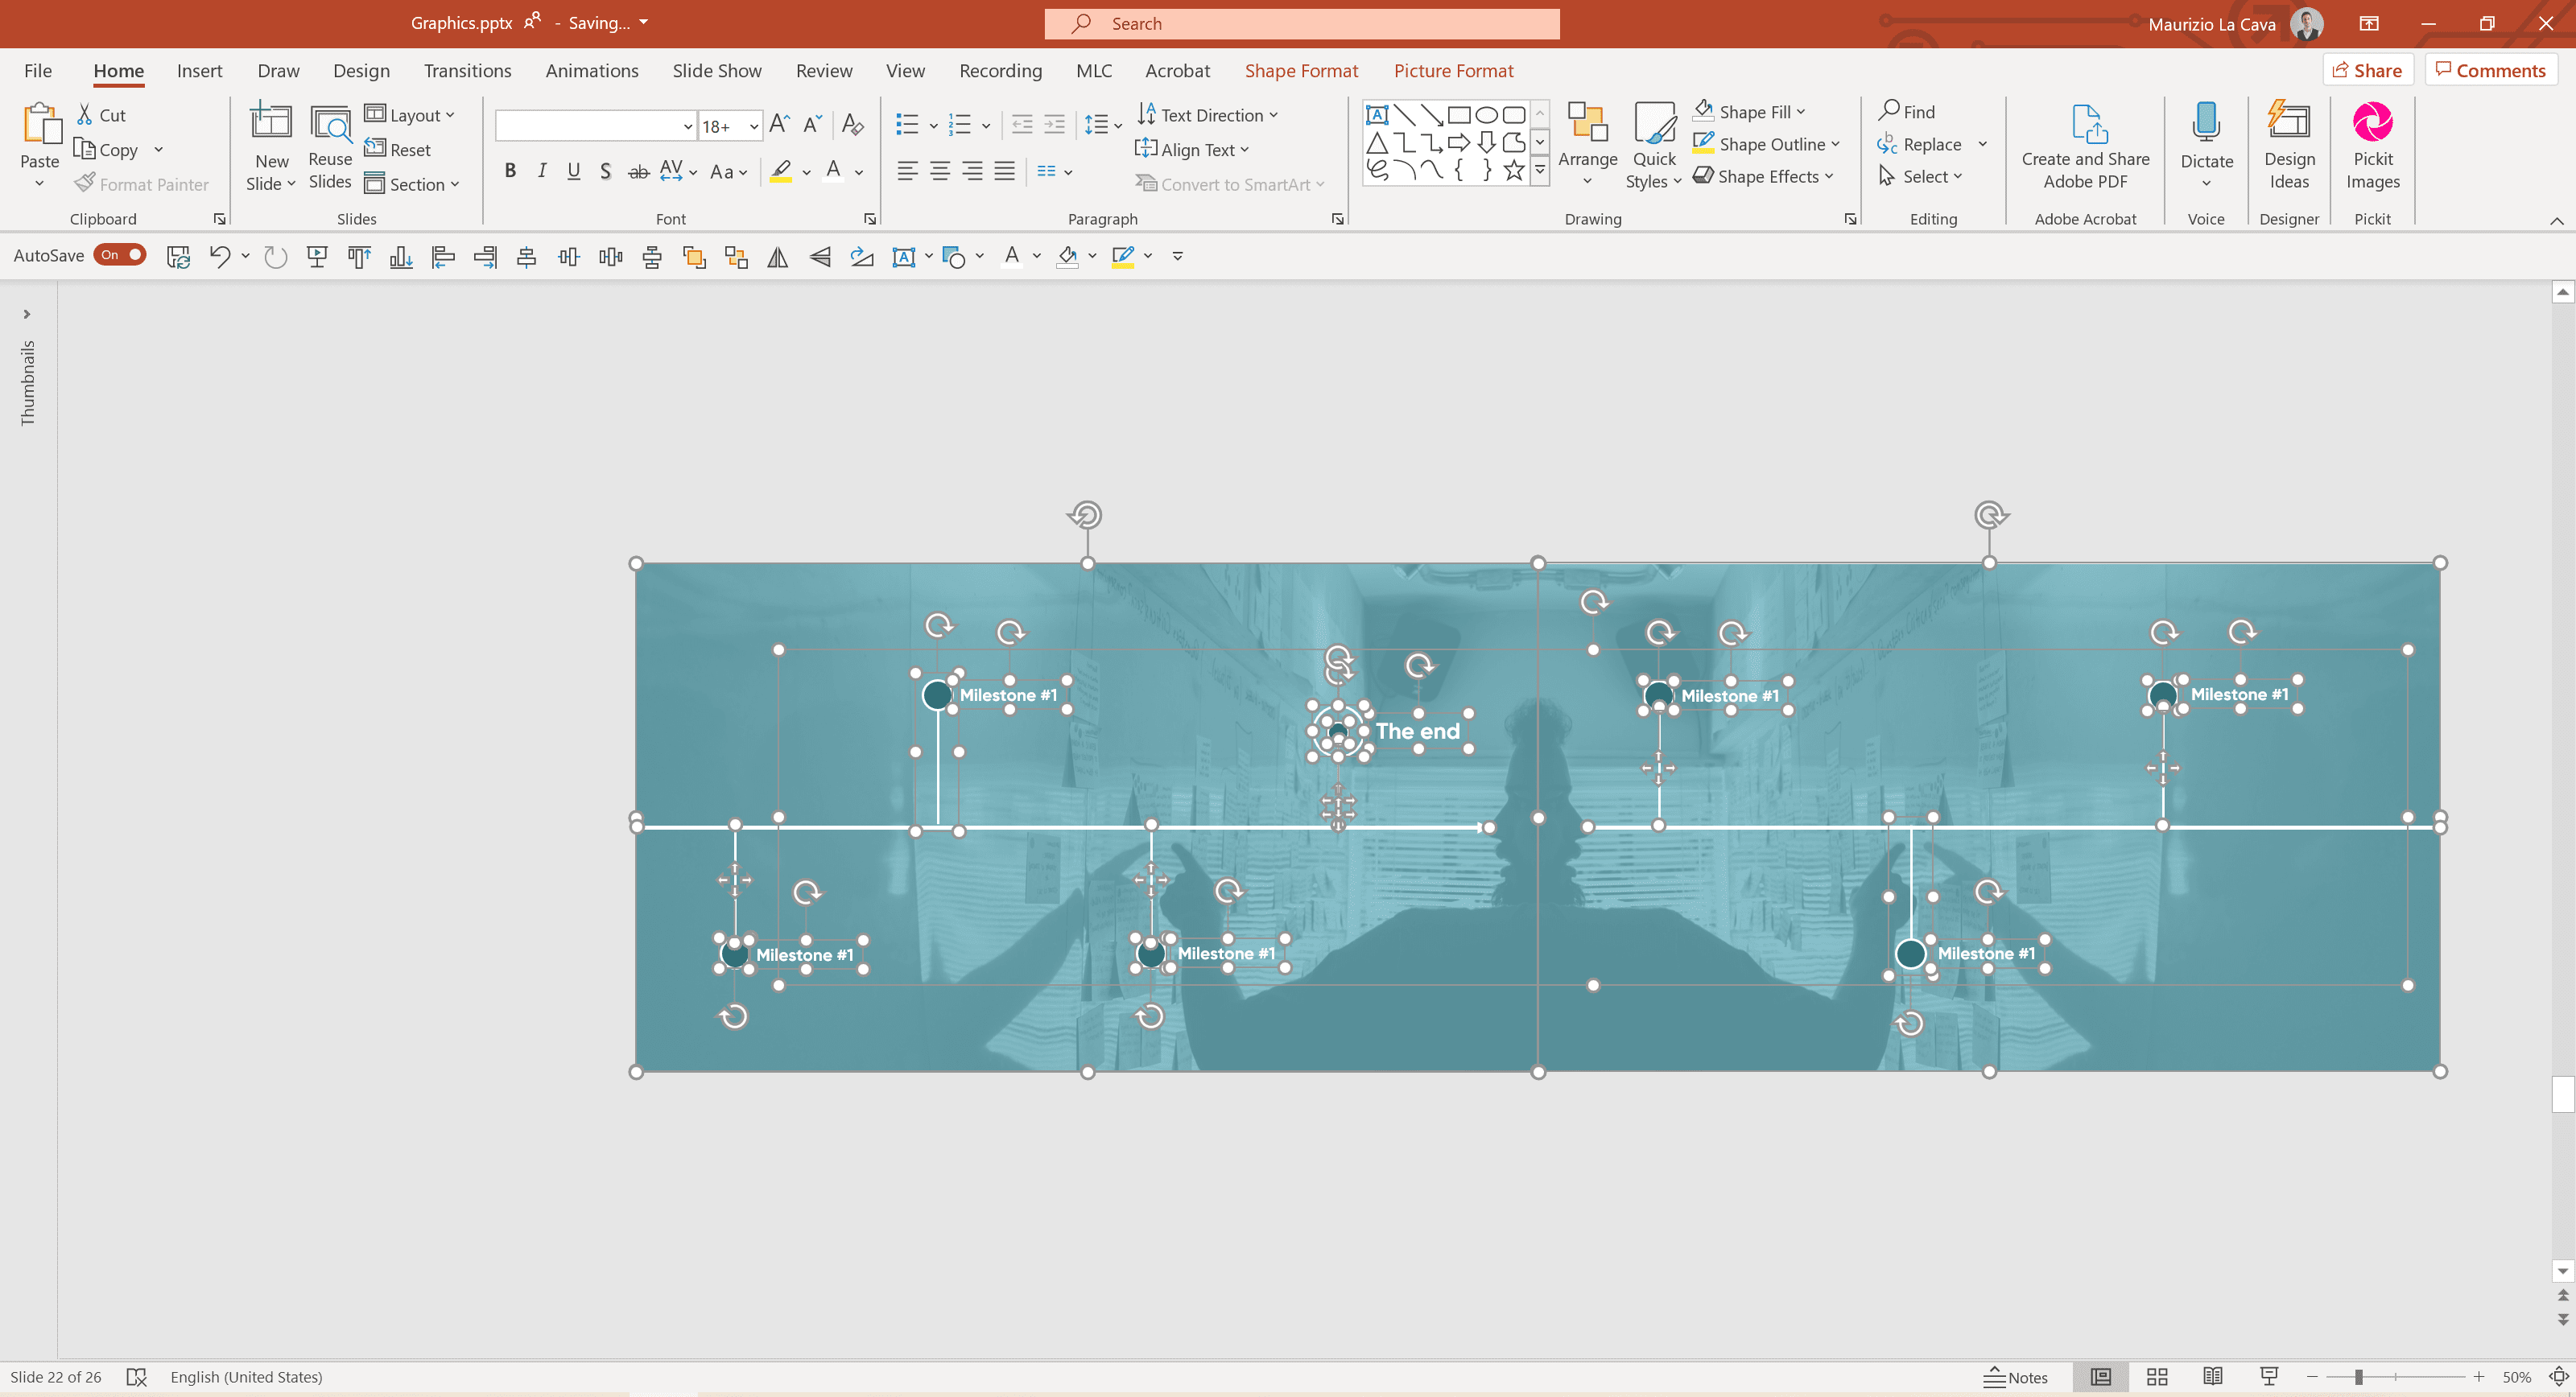
Build the first part of the timeline getting to the edge of the slide. Don’t worry about the second part slipping off the edge for now.

If you are wondering how I built all the layers of the slide to get transparency with the image in the background take a look at: Presentation images – the complete guide to sculpting the audience’s memory
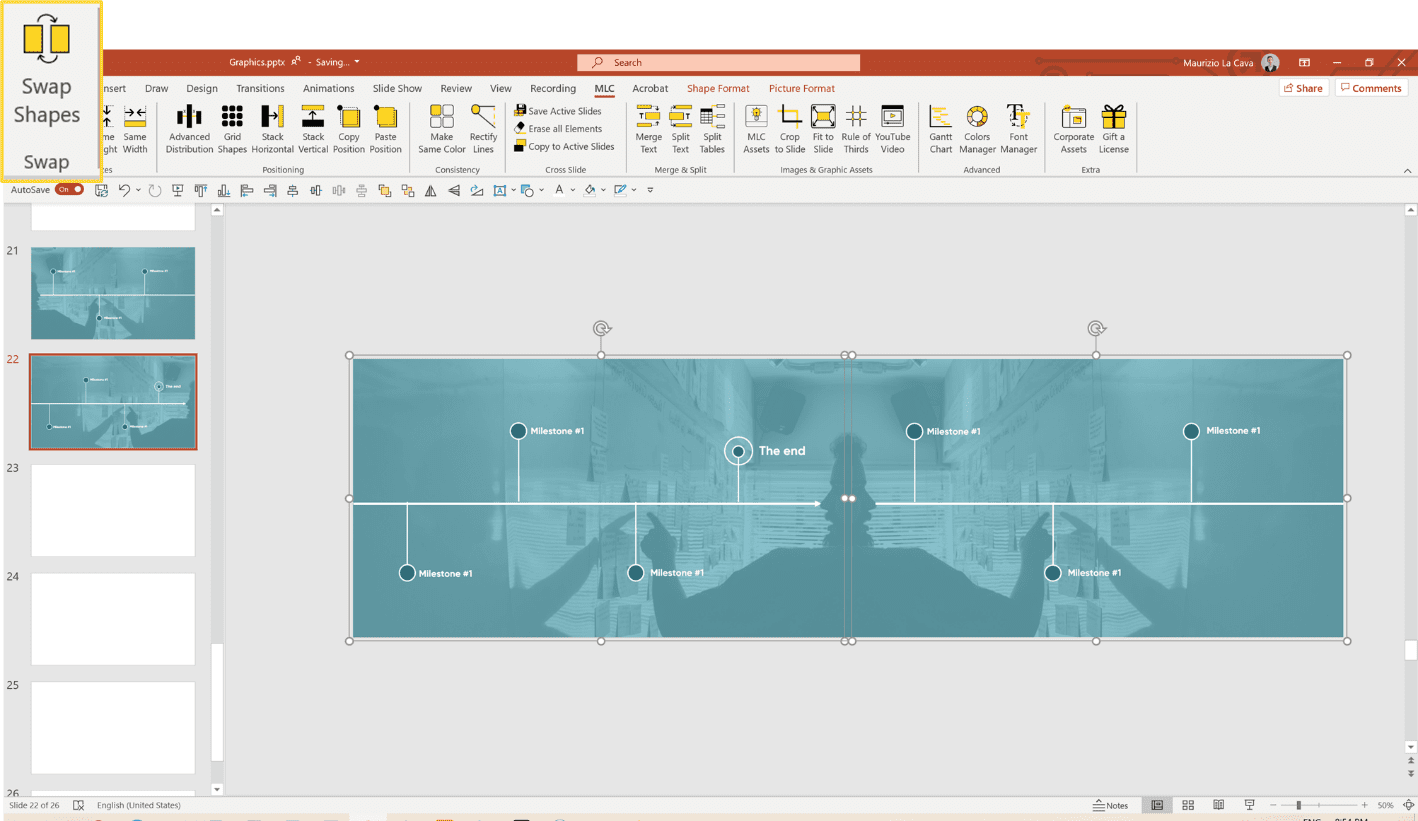
To give you an immediate idea, take a look at the following graphics.
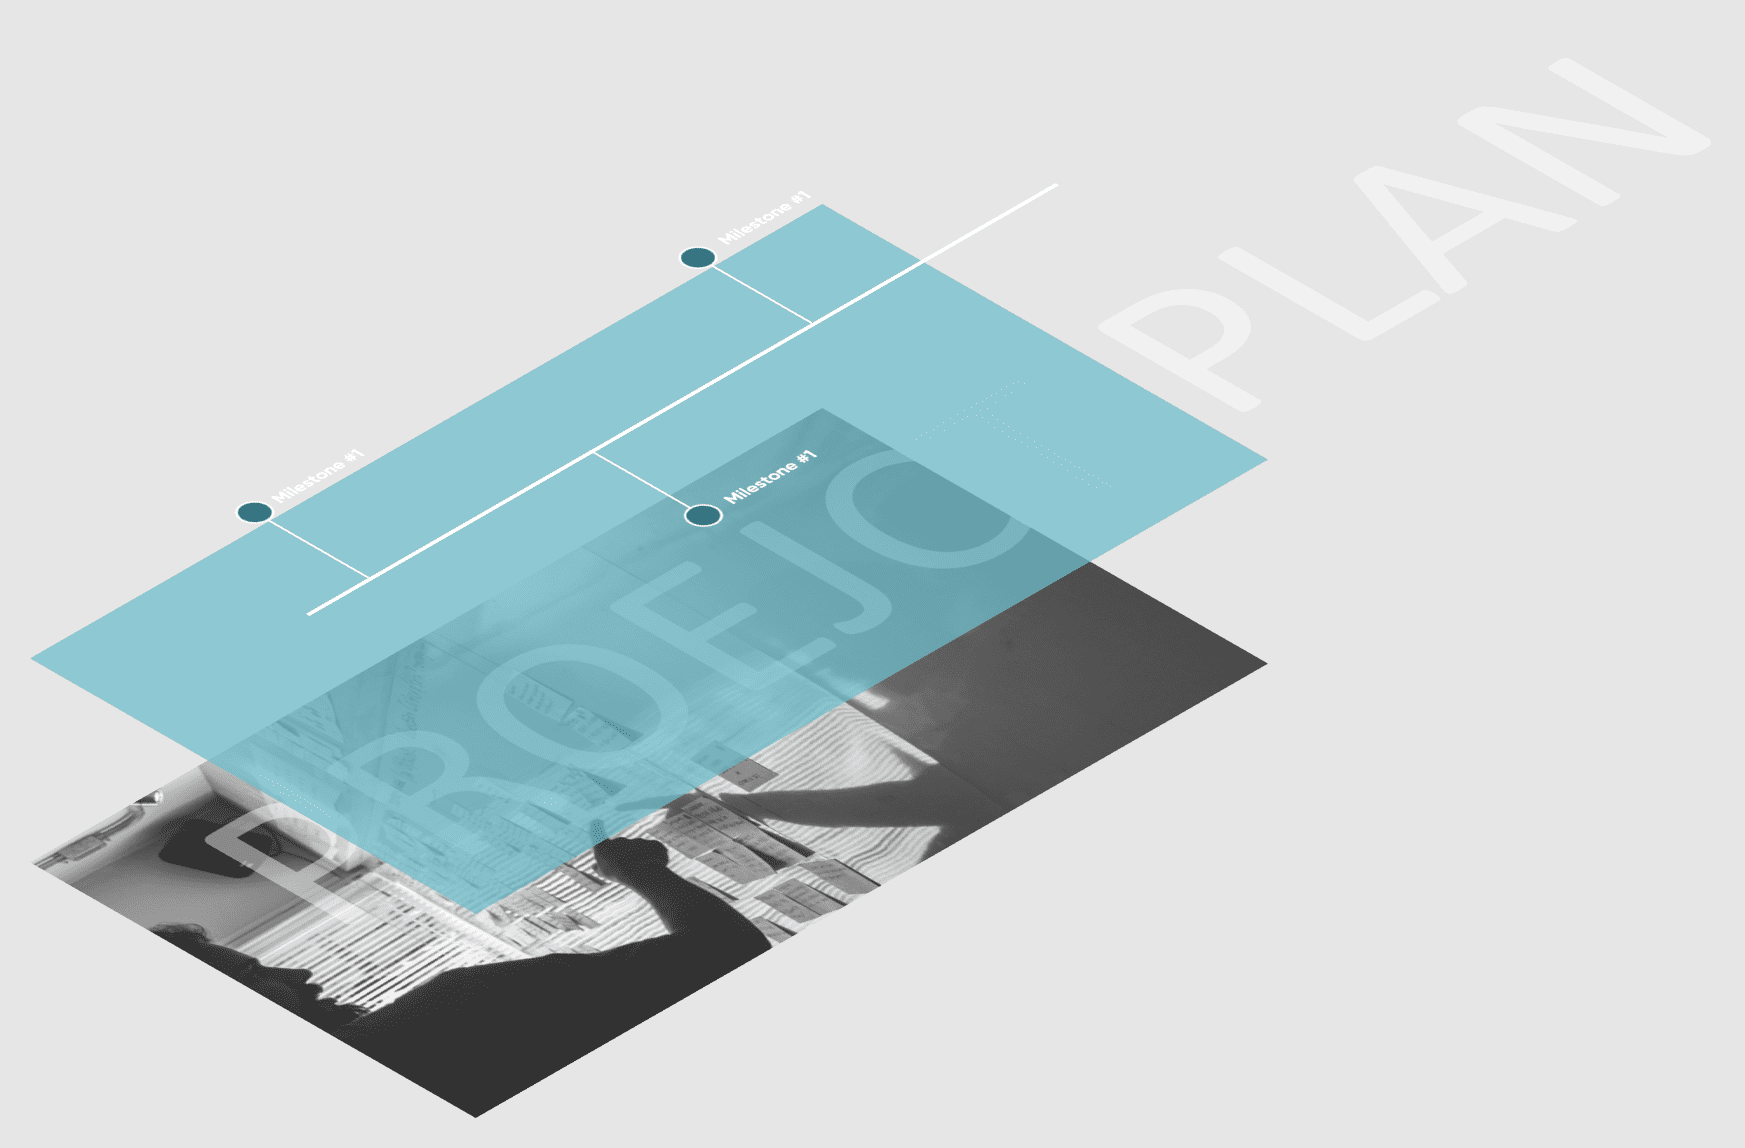
Back to us.
Can you see the big project plan writing overhanging the slide?
I made it on purpose.
Imagine you want to draw the next slide next to it.
Copy the background image so you already have an idea of the measurements of the next slide.
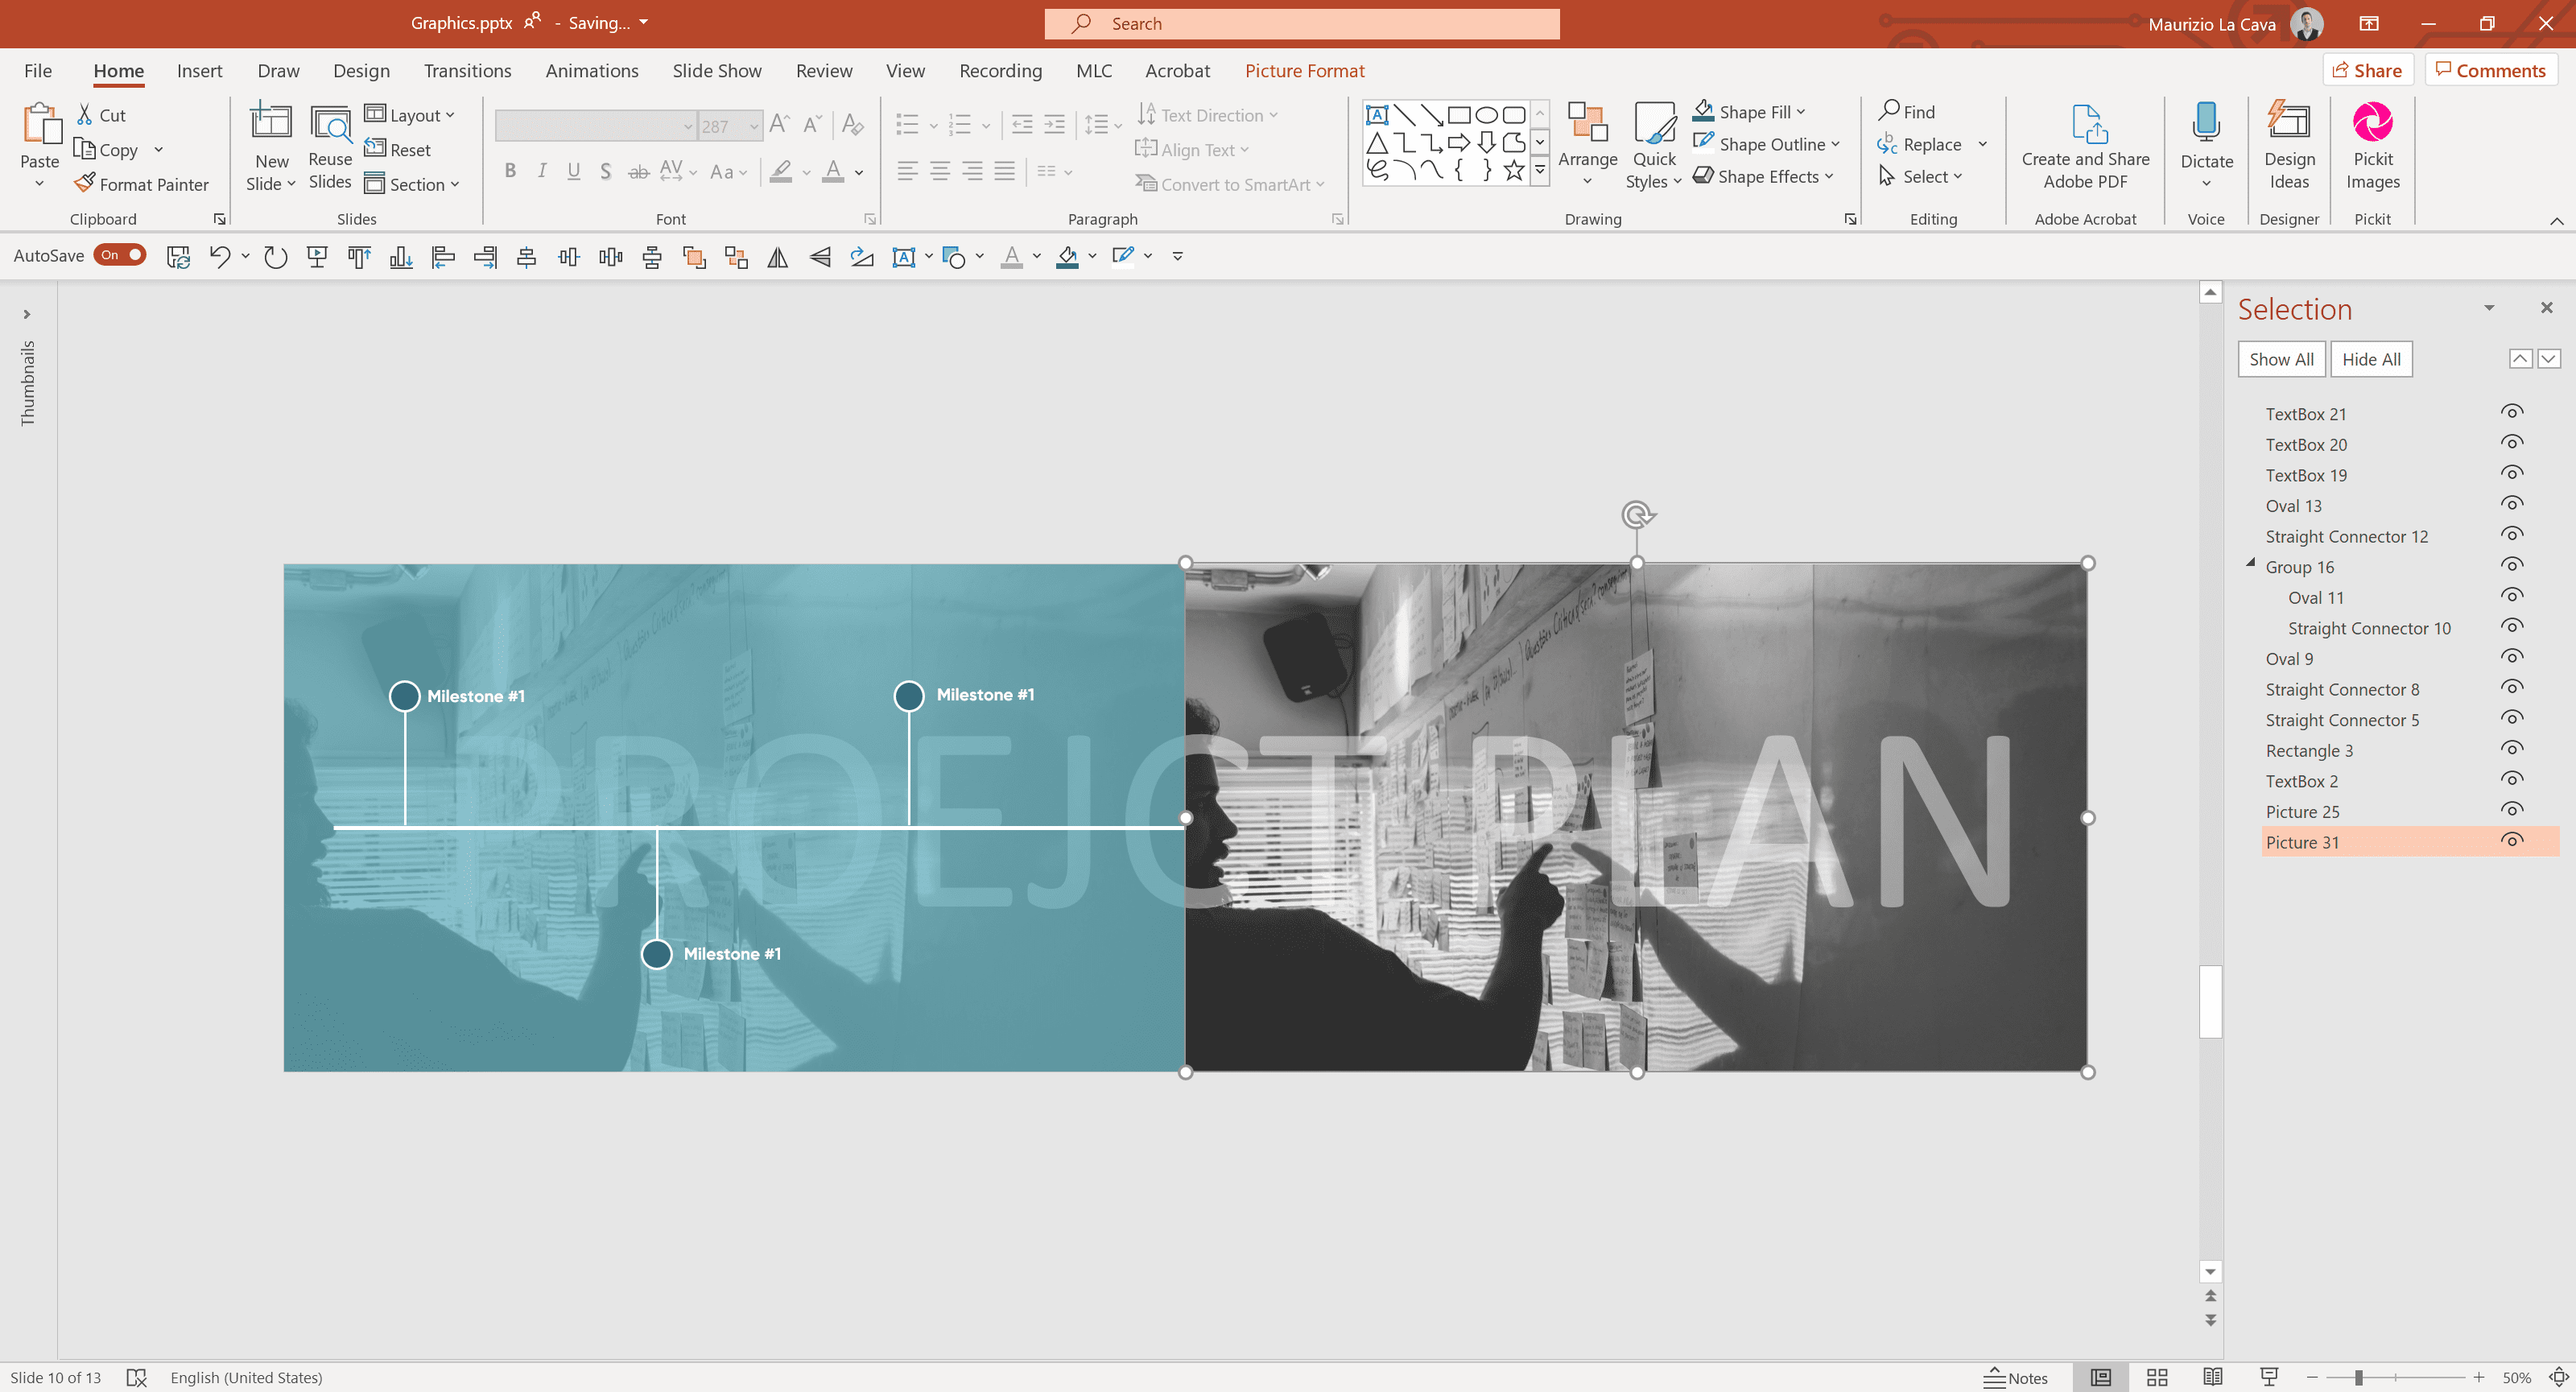
Also copy the semi-transparent rectangle by dragging it onto the image (use CTRL + SHIFT + Drag & Drop).
You can use the Quick Access Toolbar alignments.
What is the Quick Access Toolbar?
It is the tool that allows you to keep at hand all the PowerPoint buttons you use most often.
You can place it under the so-called Ribbon, which is the main feature ribbon.
This way, you have all your favorite buttons one step away from the workspace.
I suggest you set the Quick Access Toolbar exactly as I set it.
In hack #2 of the 10 hack guide to creating professional PowerPoint presentations I’ll tell you how to set it up.
Finalize the timeline.

Now follow me, because this is the transition step.
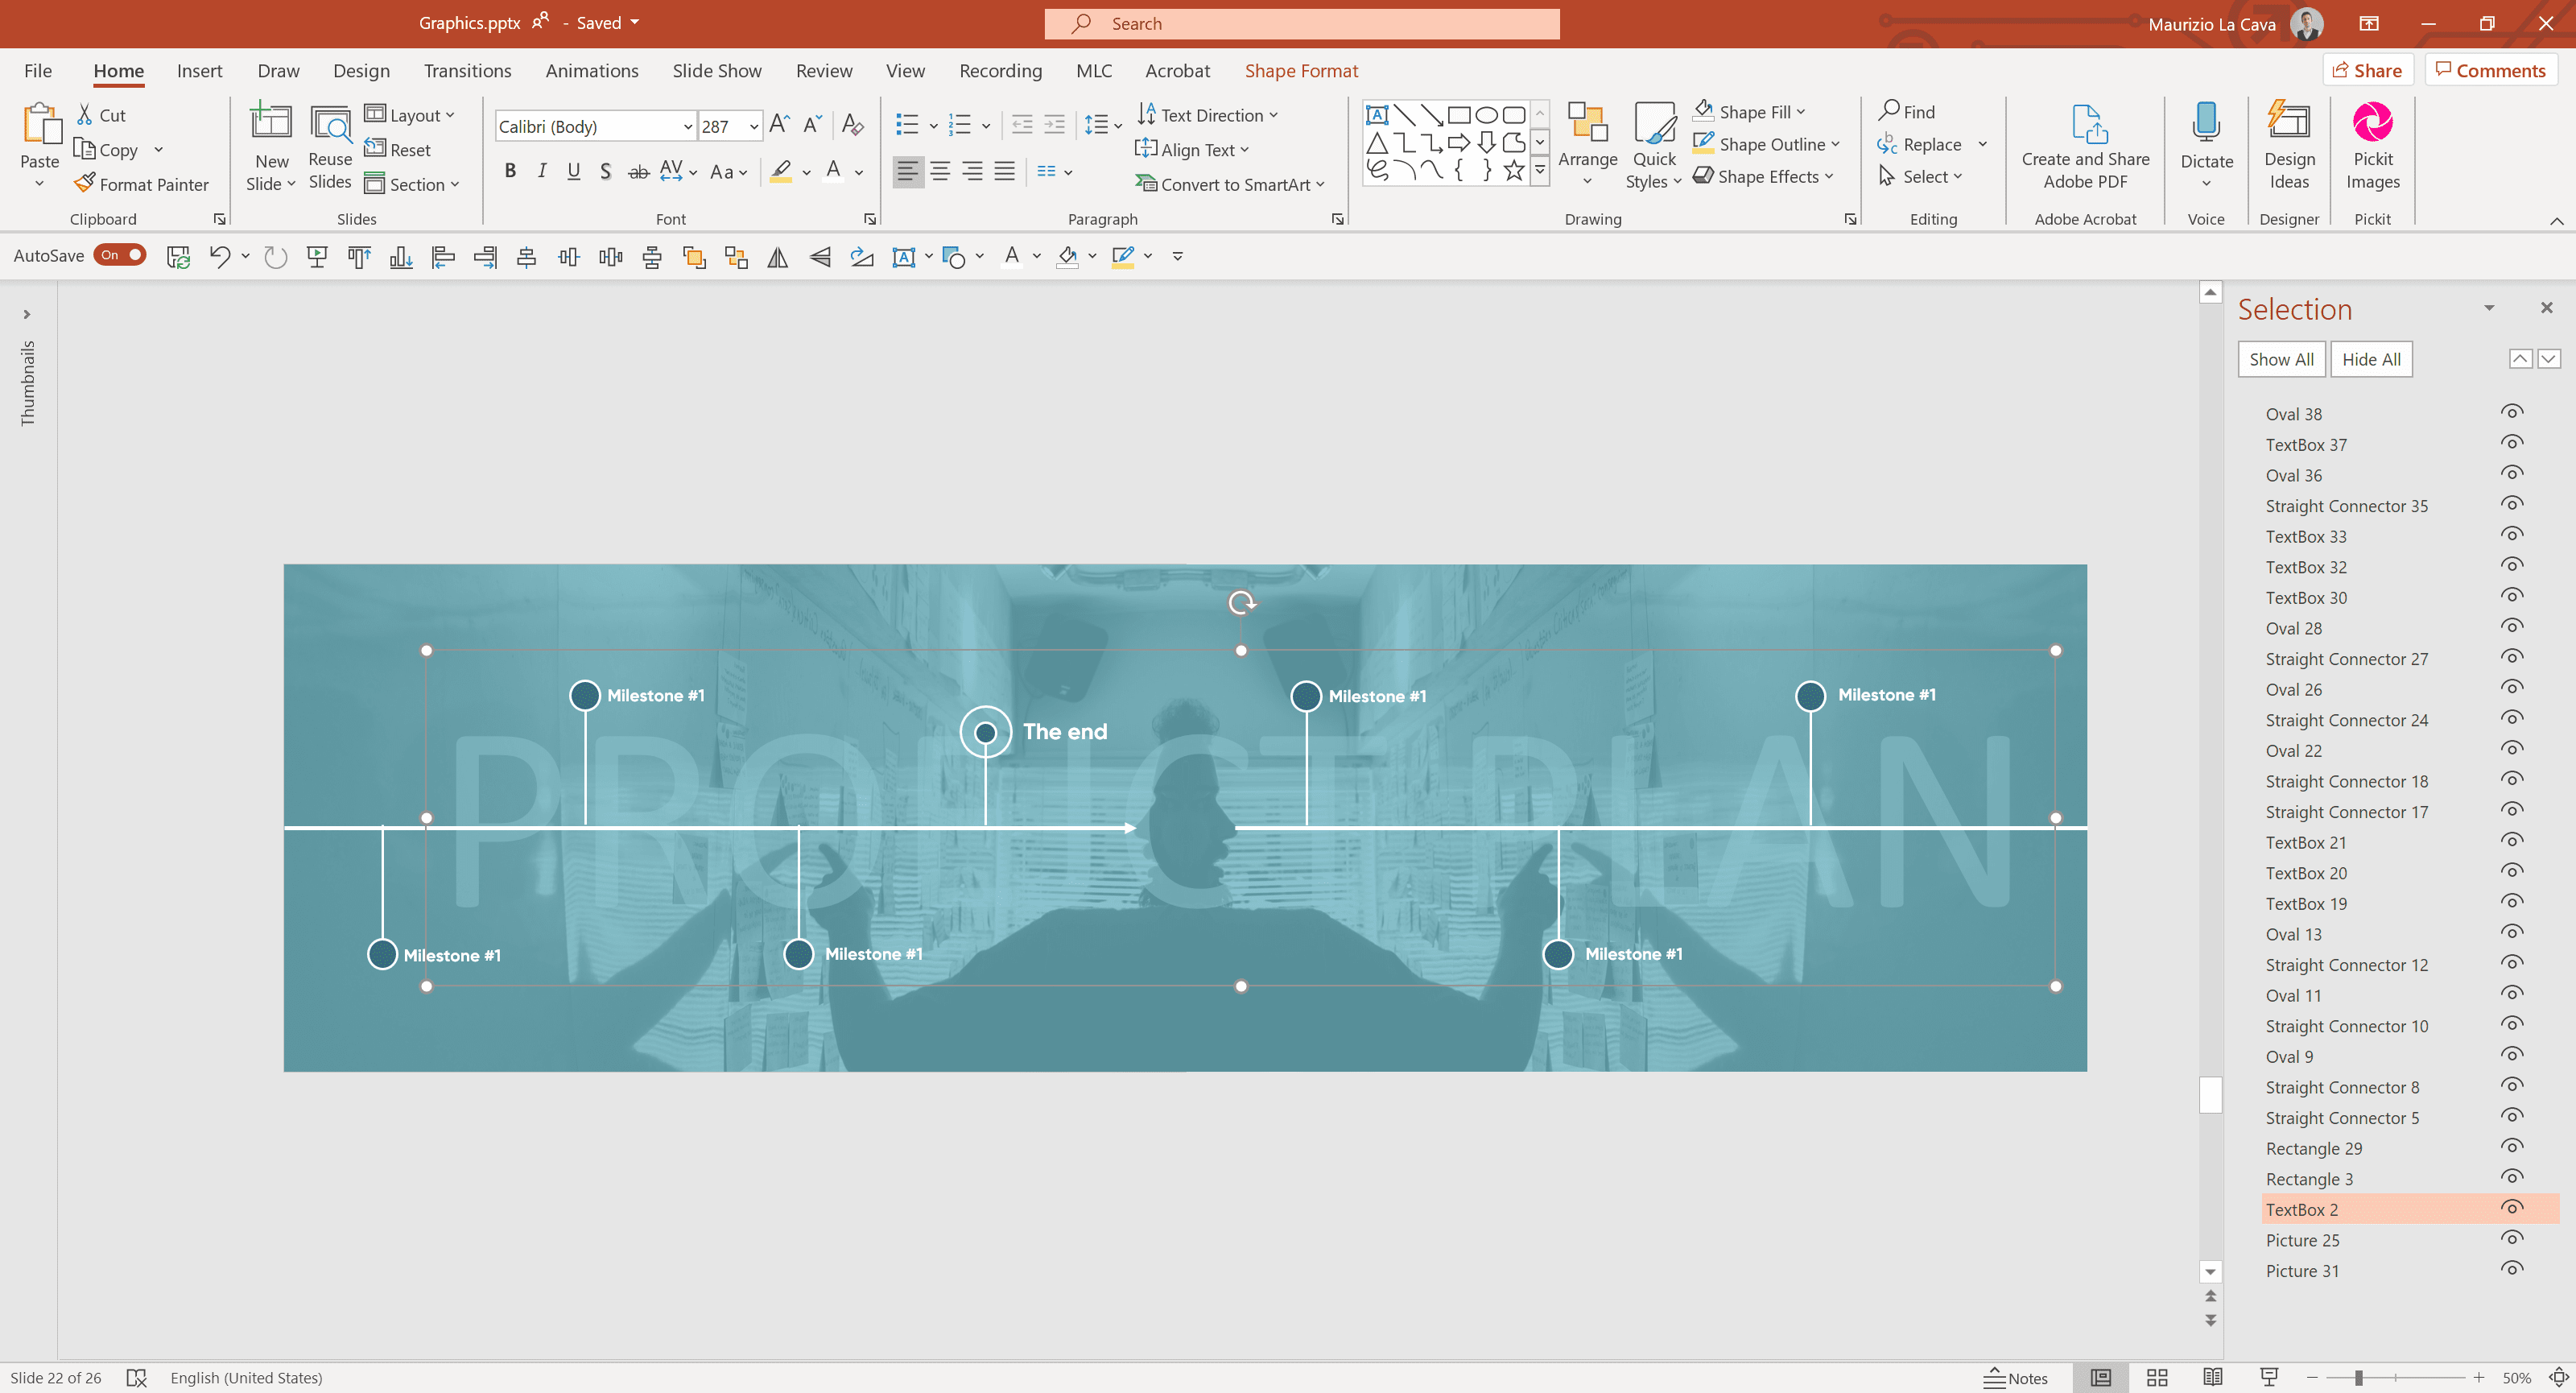
Make two groups: one with what you draw on the workspace and the other with everything that exceeds it (CTRL + G, or CTRL + SHIFT + H in the English version of PowerPoint).
Duplicate the slide (CTRL + D).
Select the two groups and use Swap Shapes from the MLC PowerPoint Add-in.
Where did the writing go?
Don’t worry, when you formed the groups it stayed behind because it couldn’t belong to both groups.
To make it reappear, you first have to split up the groups (CTRL + SHIFT + G).
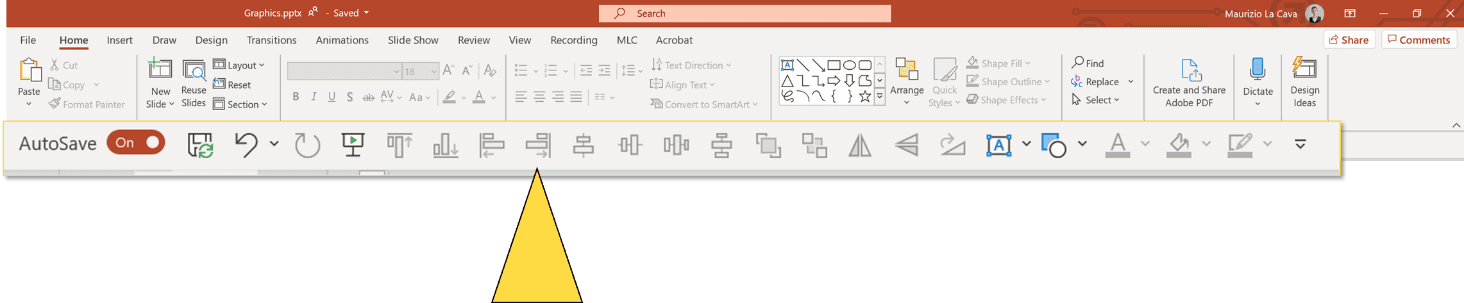
Open the Layers panel from Home > Select > Selection Pane and retrieve the text.
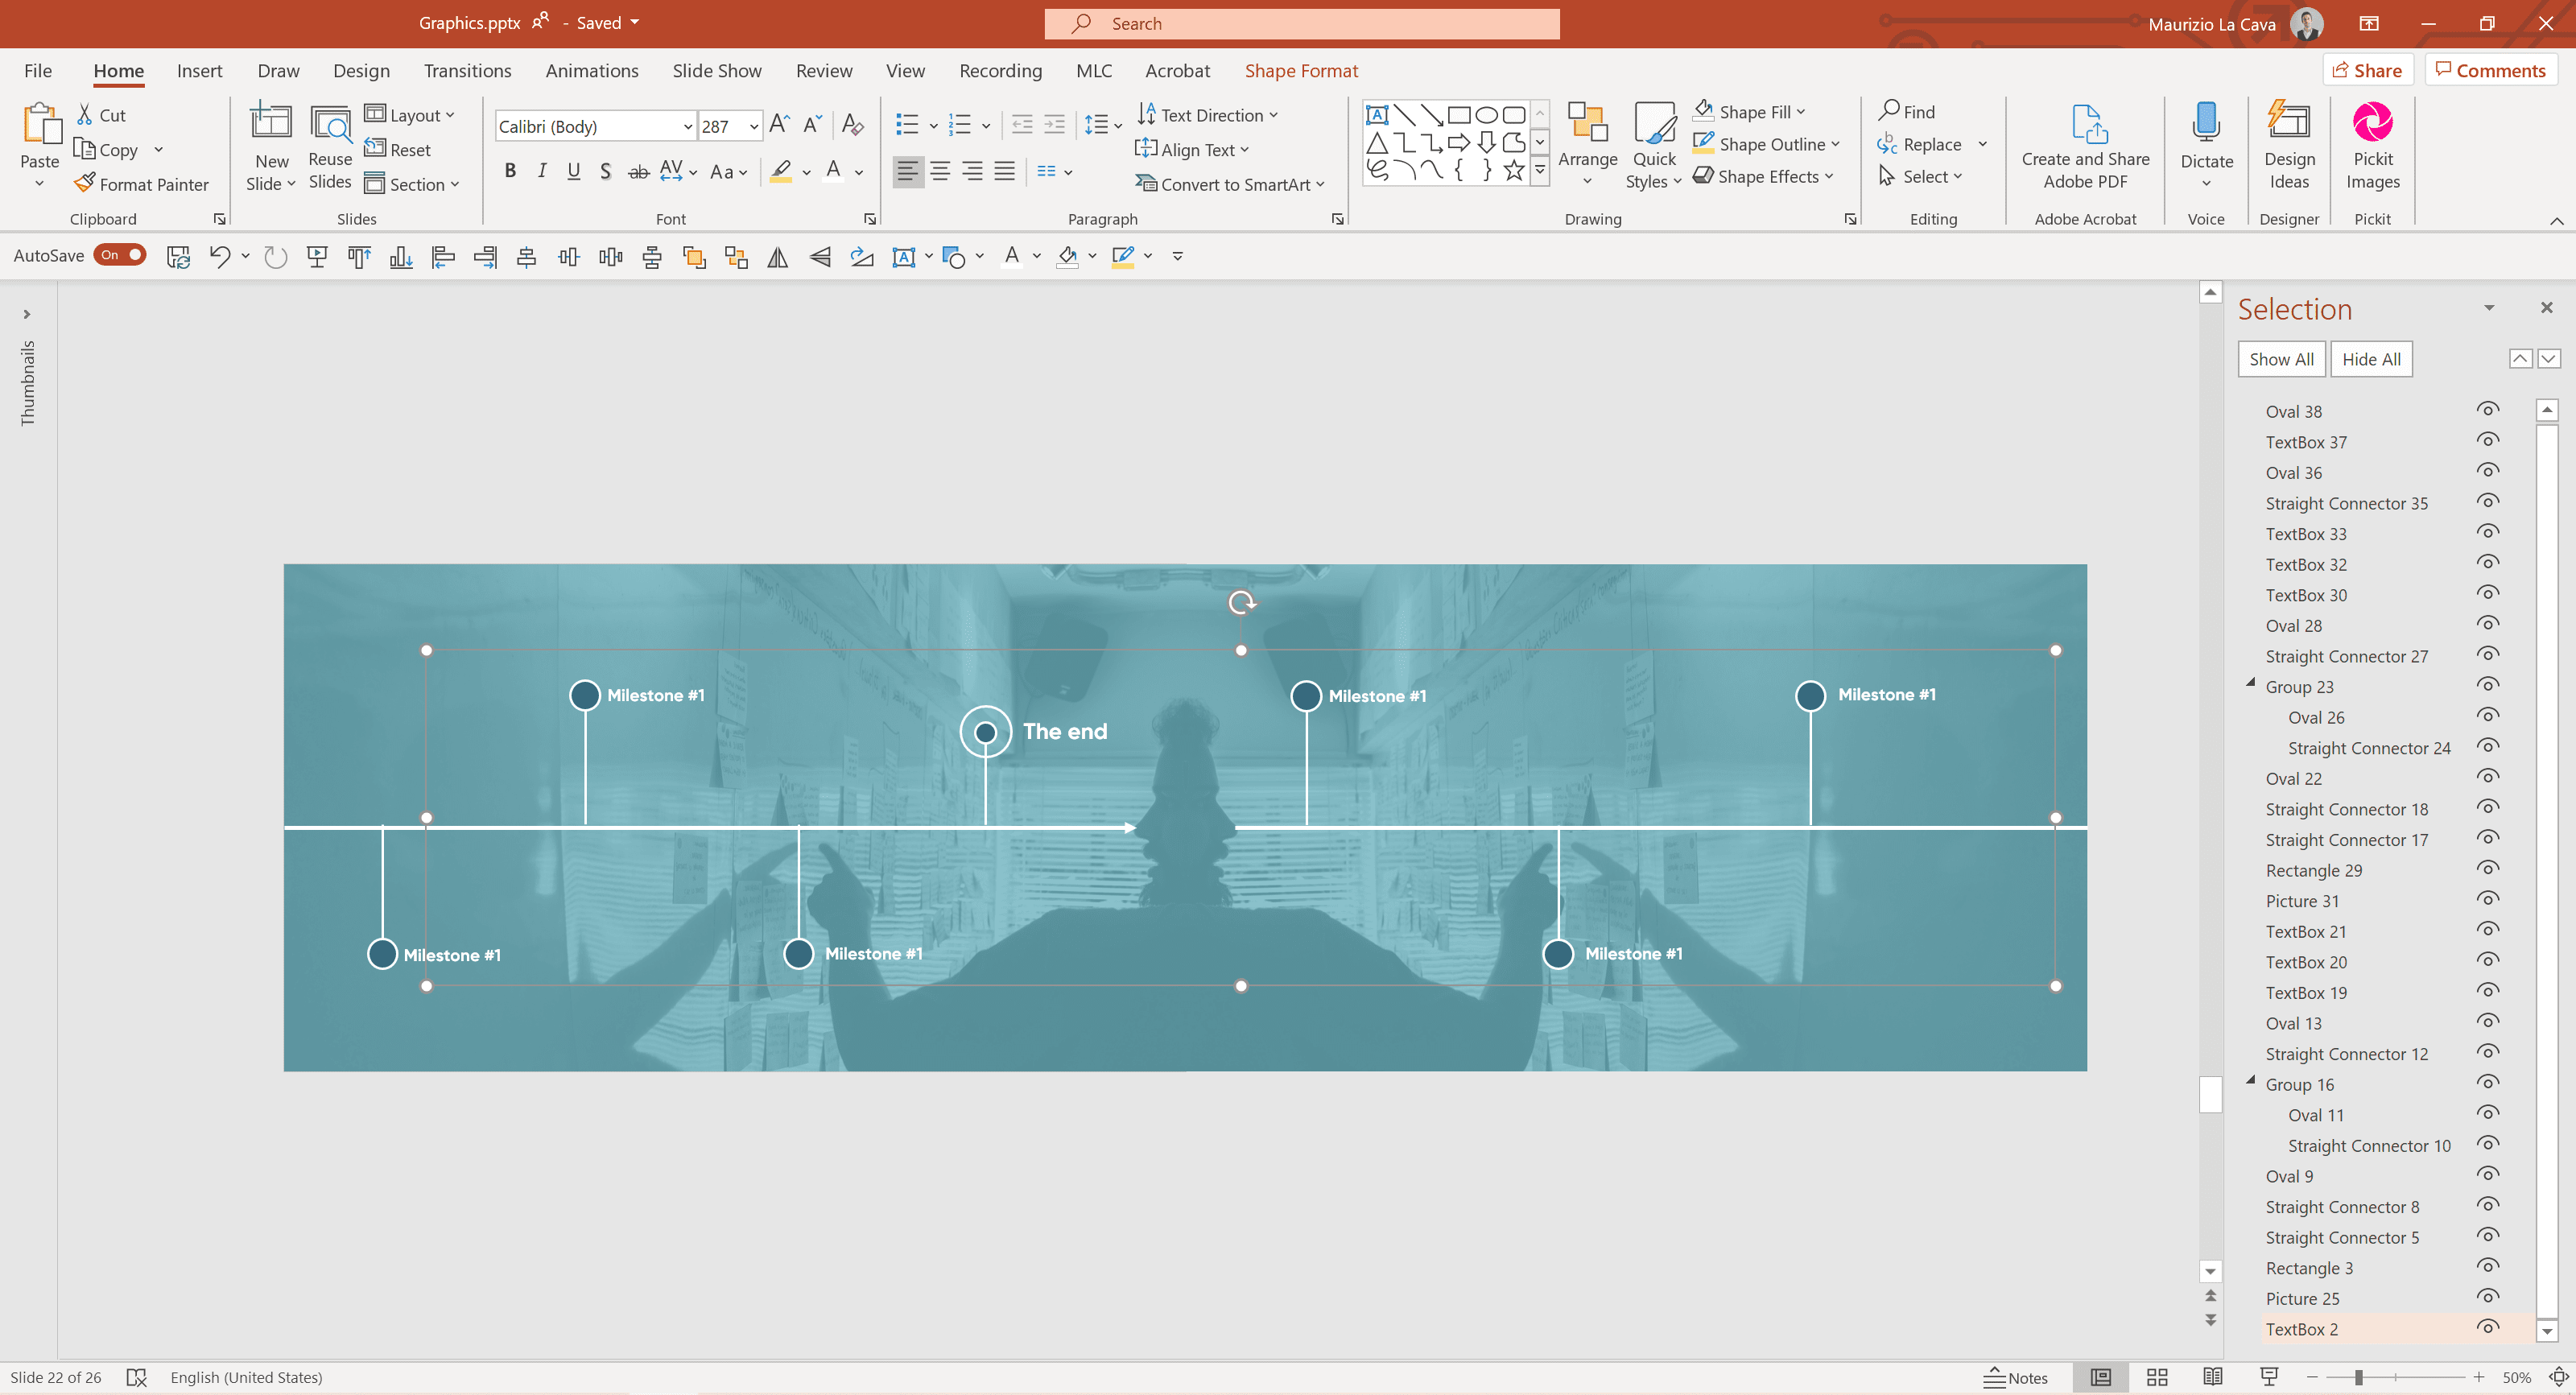
Wait! Maurizio, how did you find the writing so quickly in the middle of all those levels?
Easy, I looked for the TextBox that was behind everything – at the bottom of the list.
After selecting it, looking at the selection area I immediately understood that it was it.
You can leave the TextBox where it is, as long as you place it between images and transparent rectangles.
Now is the time to activate the transition.
Select the arrival slide, which is the second one, and apply a Push transition from right.
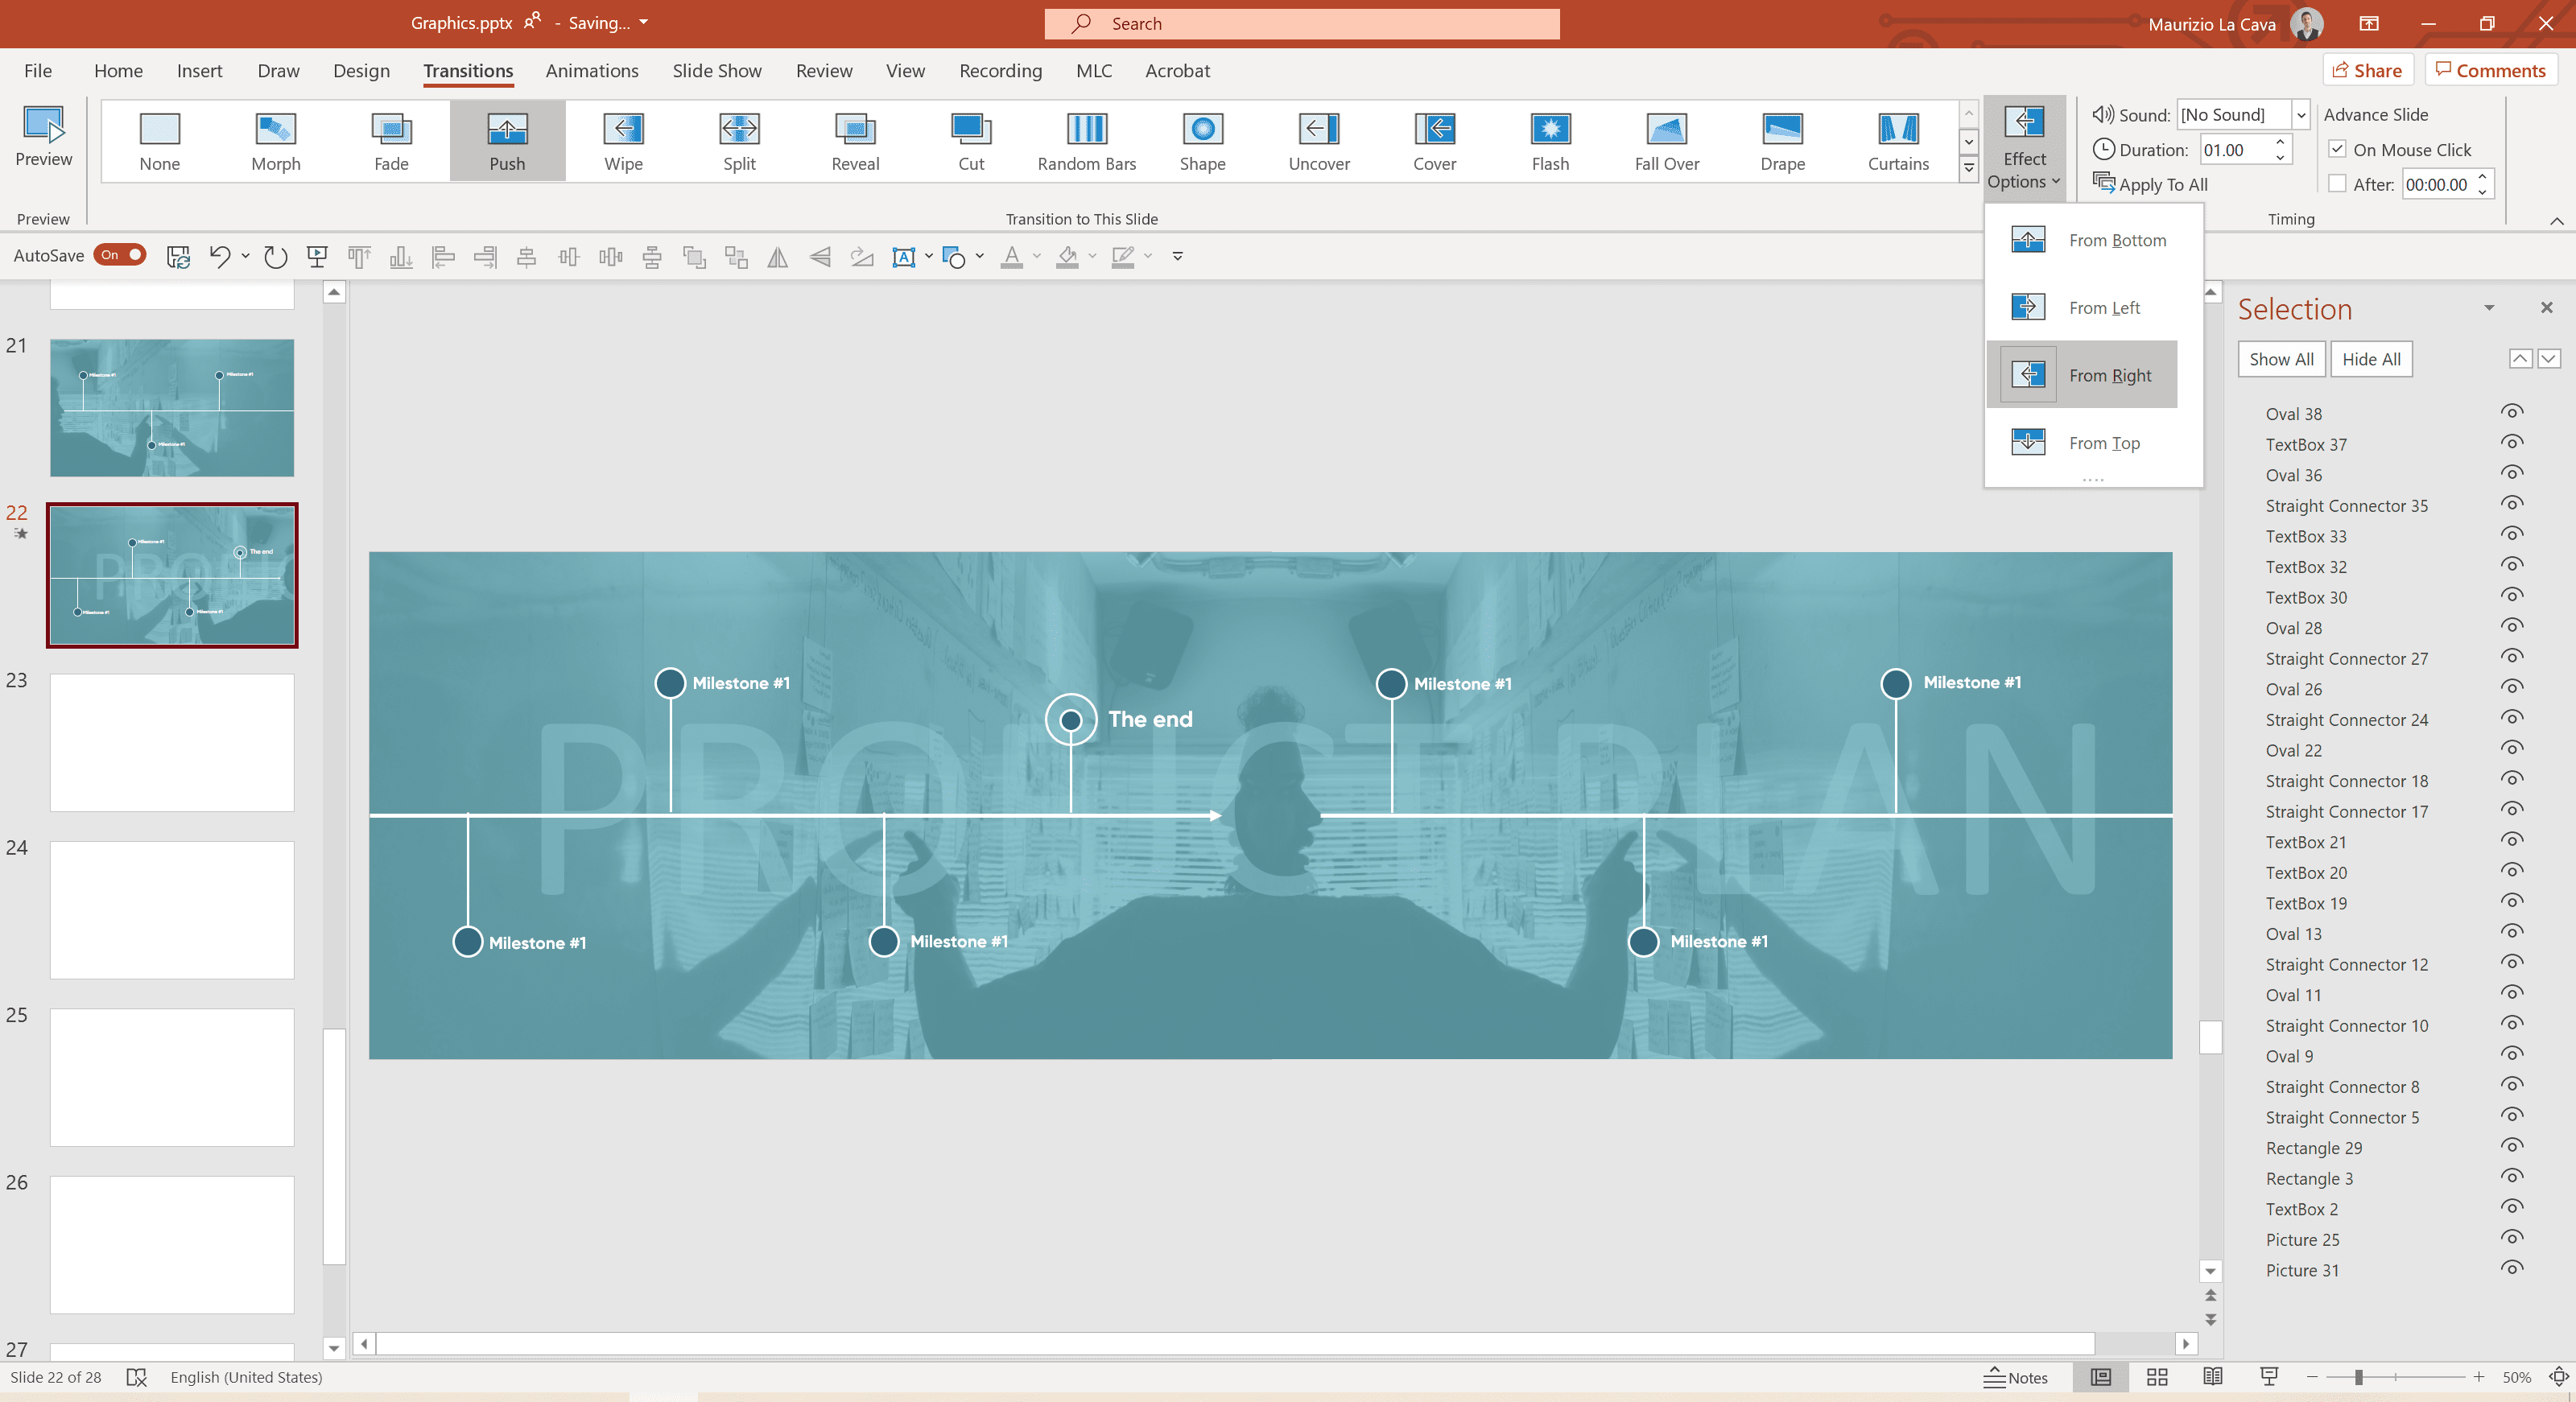
Do you understand why it is called cinema effect?
Because it is as if you were replicating the behavior of a camera that takes a slide and then moves on to the next one.
Timeline with Smart Art? Better not!
SmartArt significantly facilitates the information input process by providing you with a simple data entry interface and delegating graphic processing to ready-made PowerPoint templates.
The problem?
They haven’t been updated for years!
If you use a SmartArt you are going to recall a repertoire of values that evoke the past and a pre-packaged feeling.
Let’s say that if you are working on a presentation of a certain level, you don’t want your communication to be perceived as standard or cheap.
Will I still show you how they work?
Absolutely!
However, it’s a quick and effective tool that could get you out of trouble if you don’t need a presentation of too high a level.
The advantage of SmartArt is that it requires very little processing time, since it is already preset.
Go to Insert > SmartArt
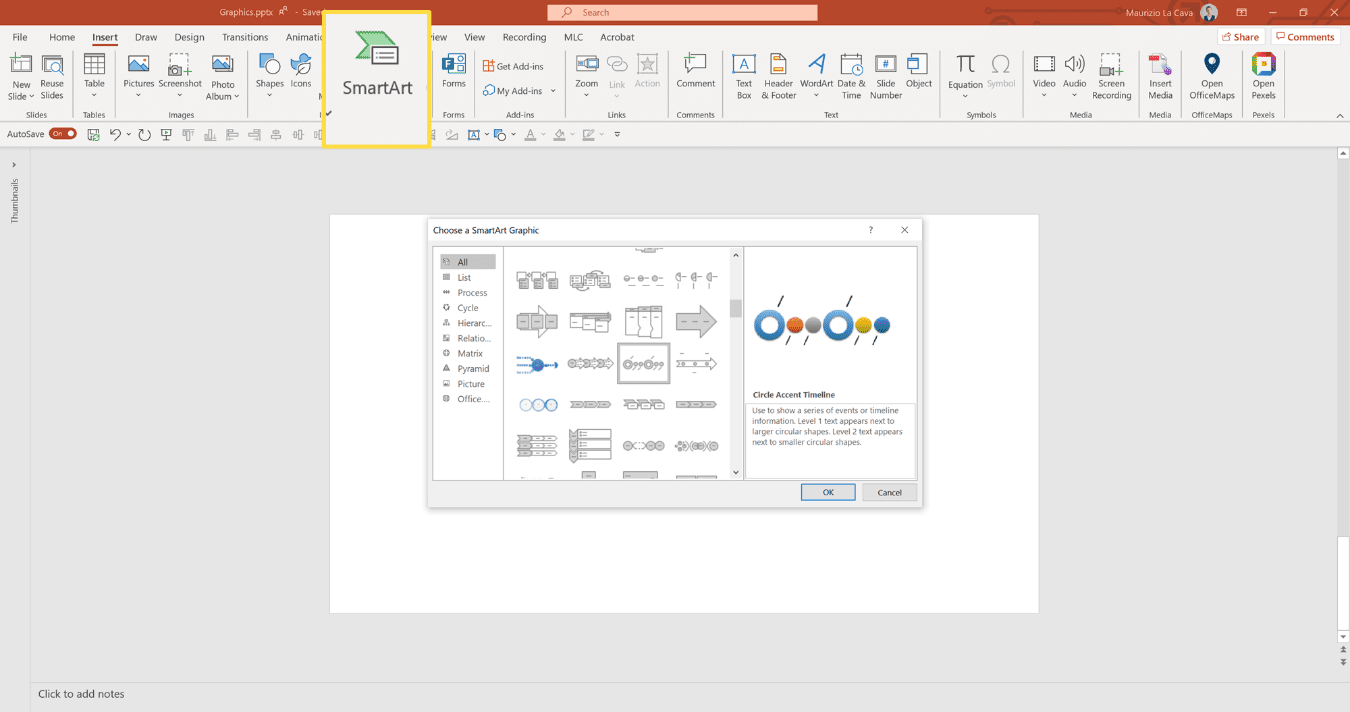
Select a timeline that suits you and insert it.
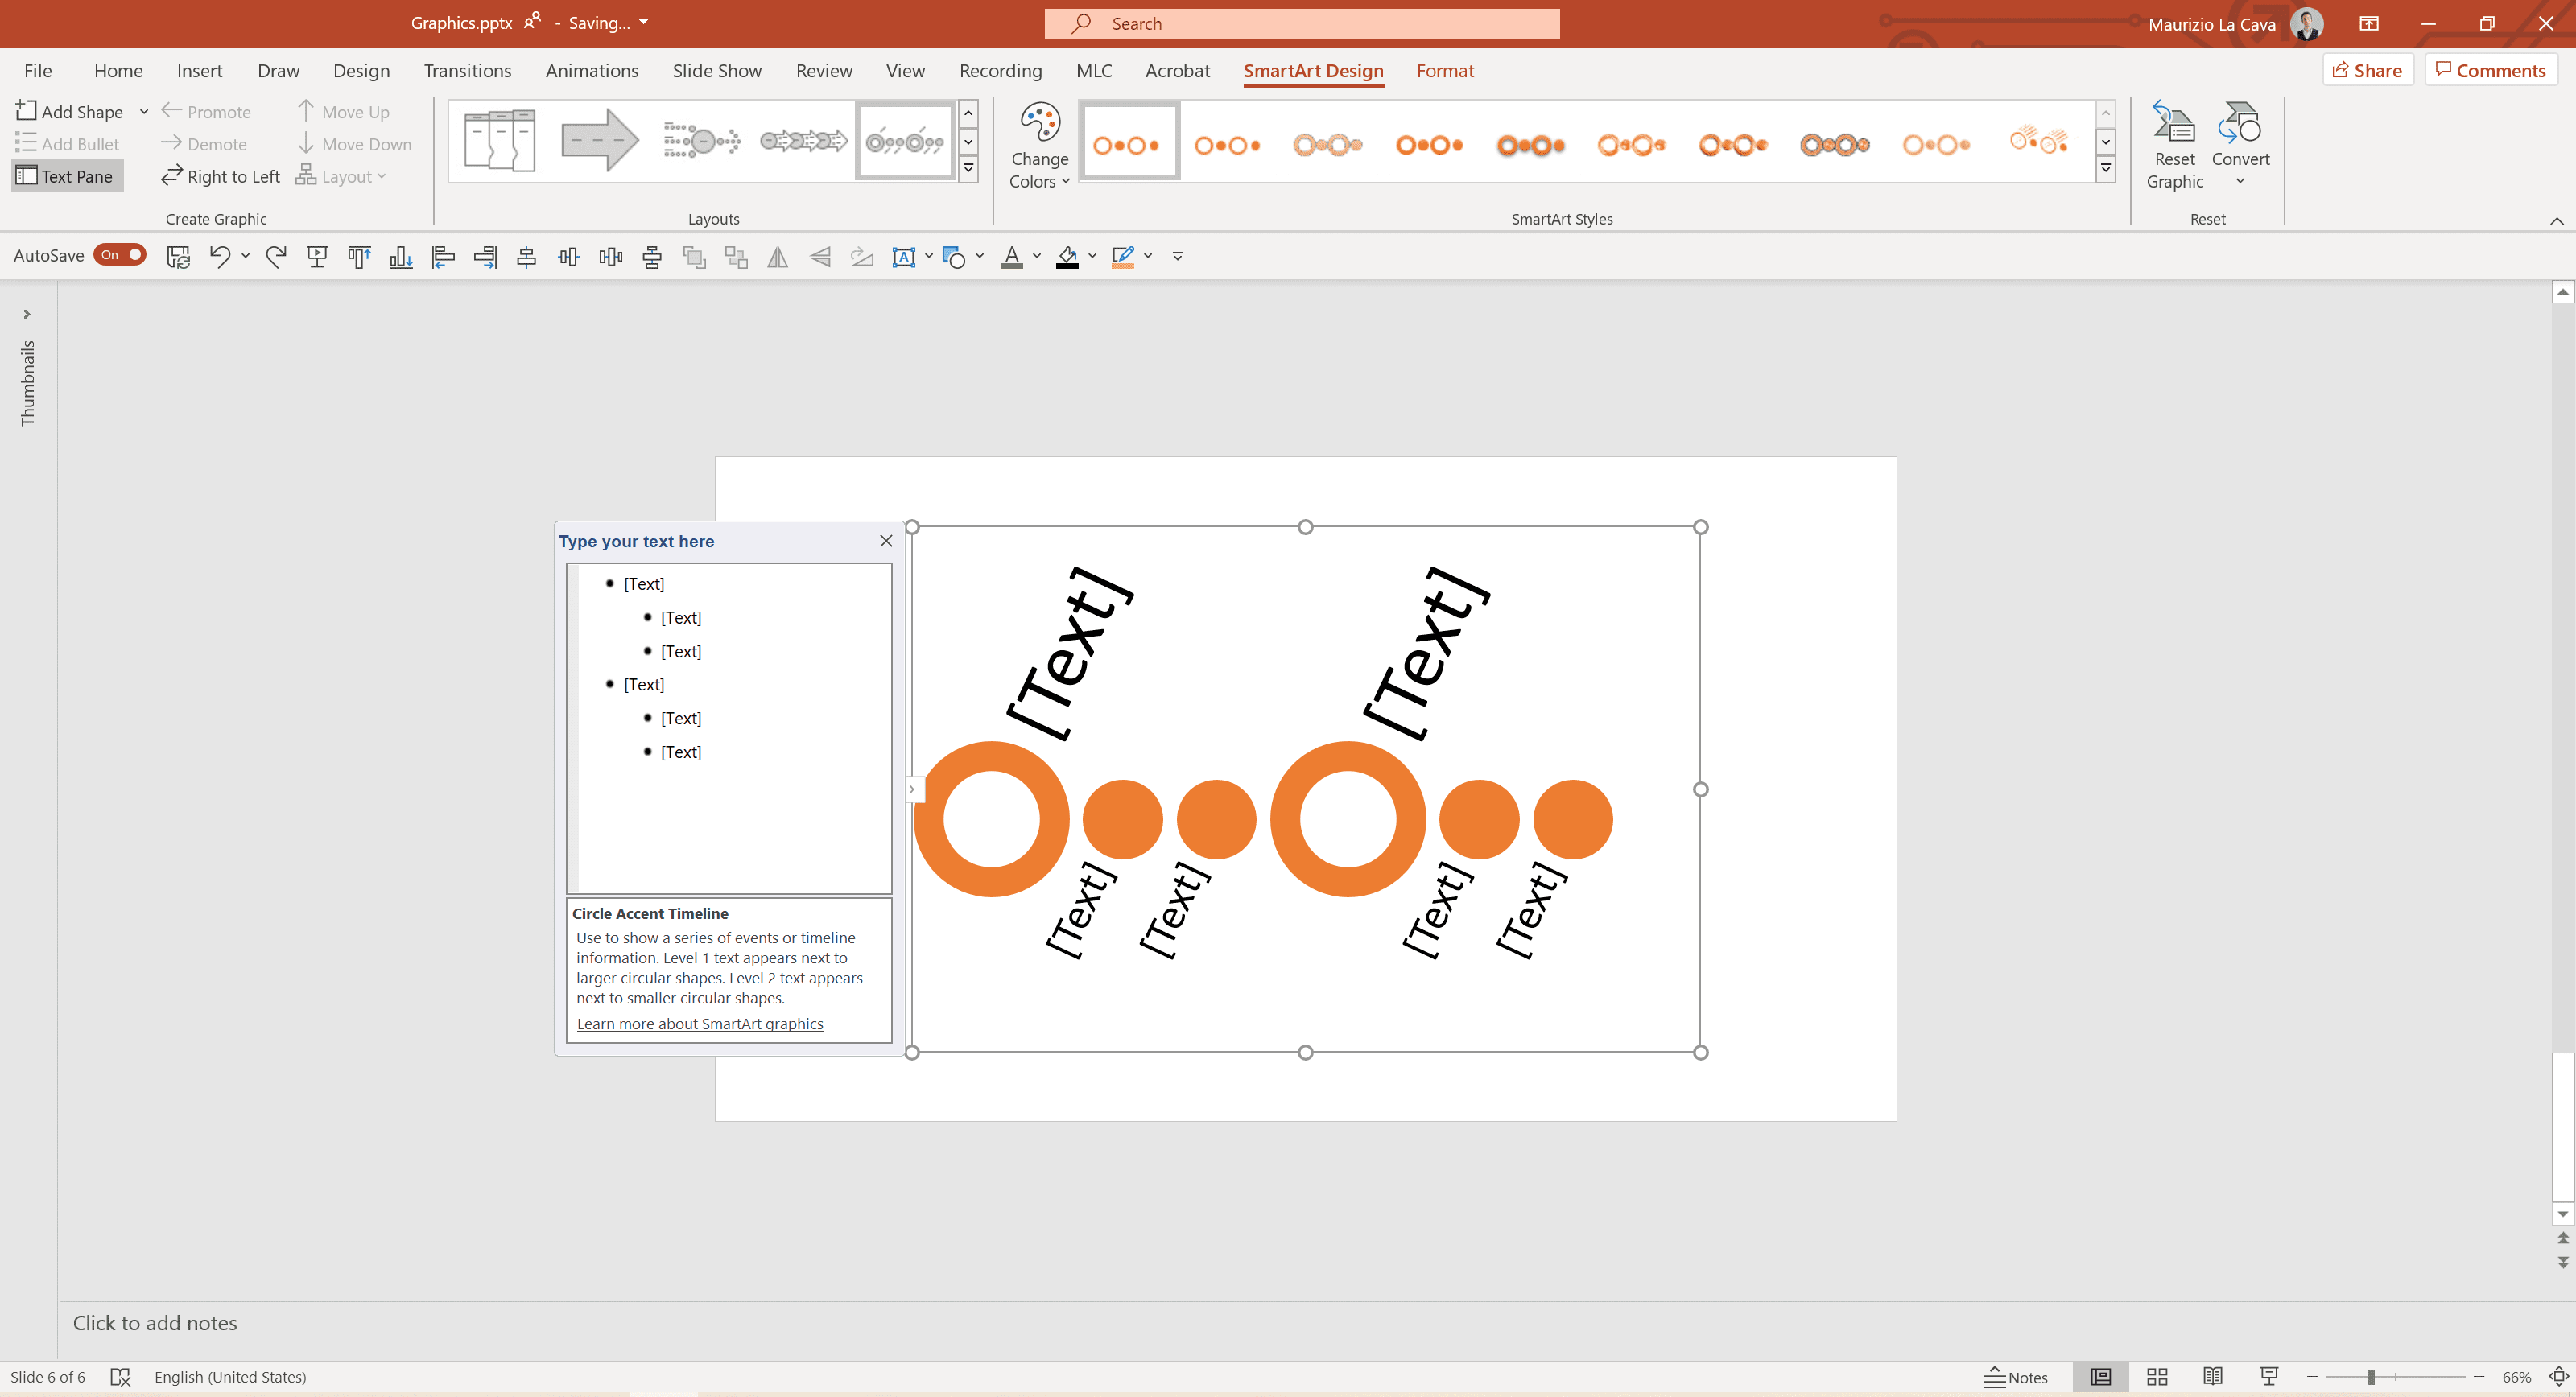
You will already be inside the SmartArt Design tab. At the beginning of the feature ribbon you will find the possibility to activate or deactivate the Text Pane.
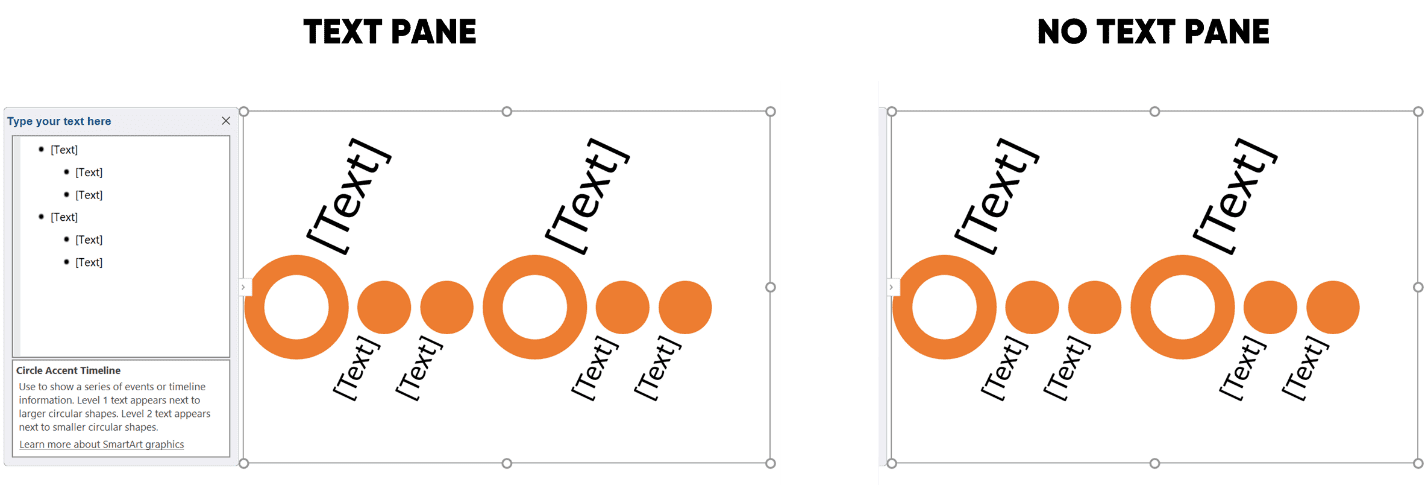
The Text Pane makes it easier for you to enter information.
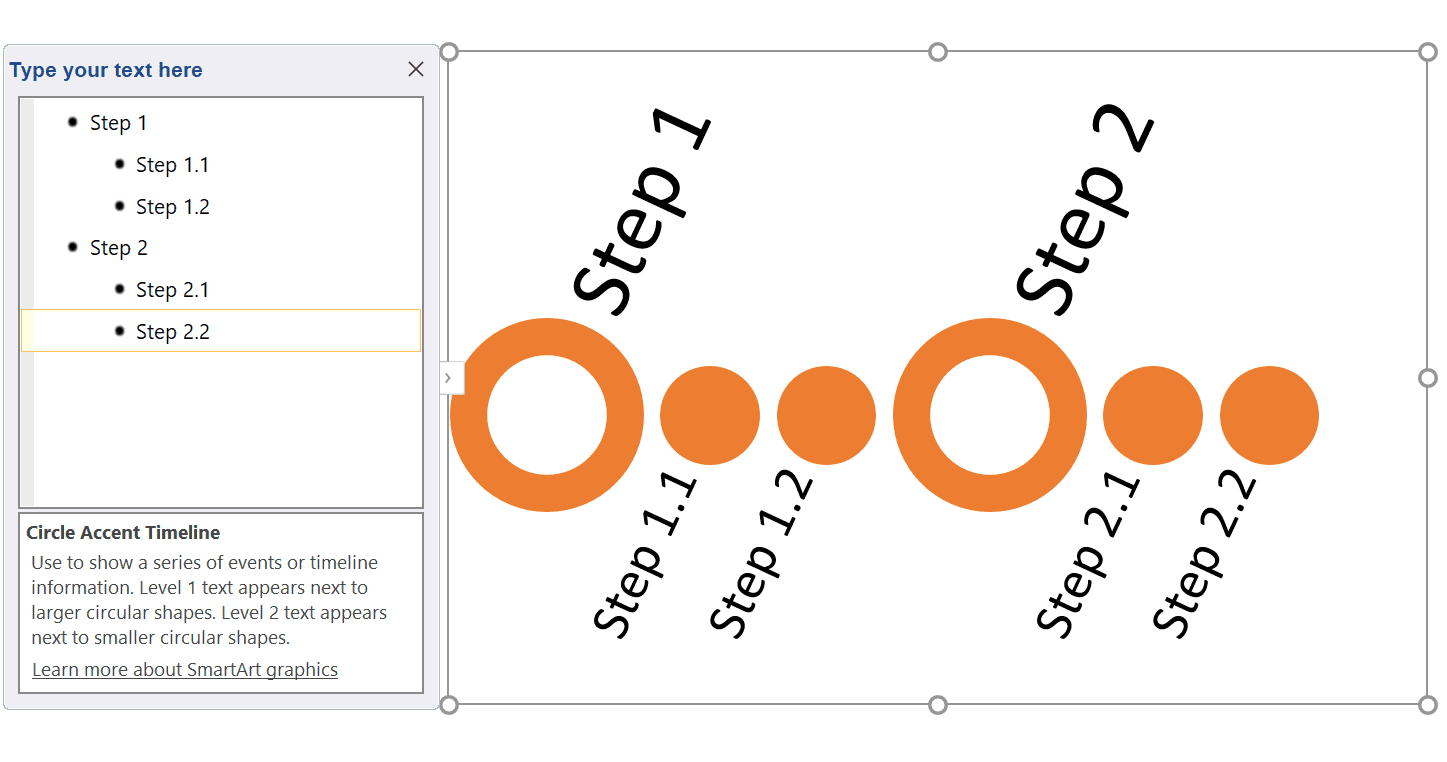
You could also write them directly in the text boxes, but you would lose the usefulness of the tool.
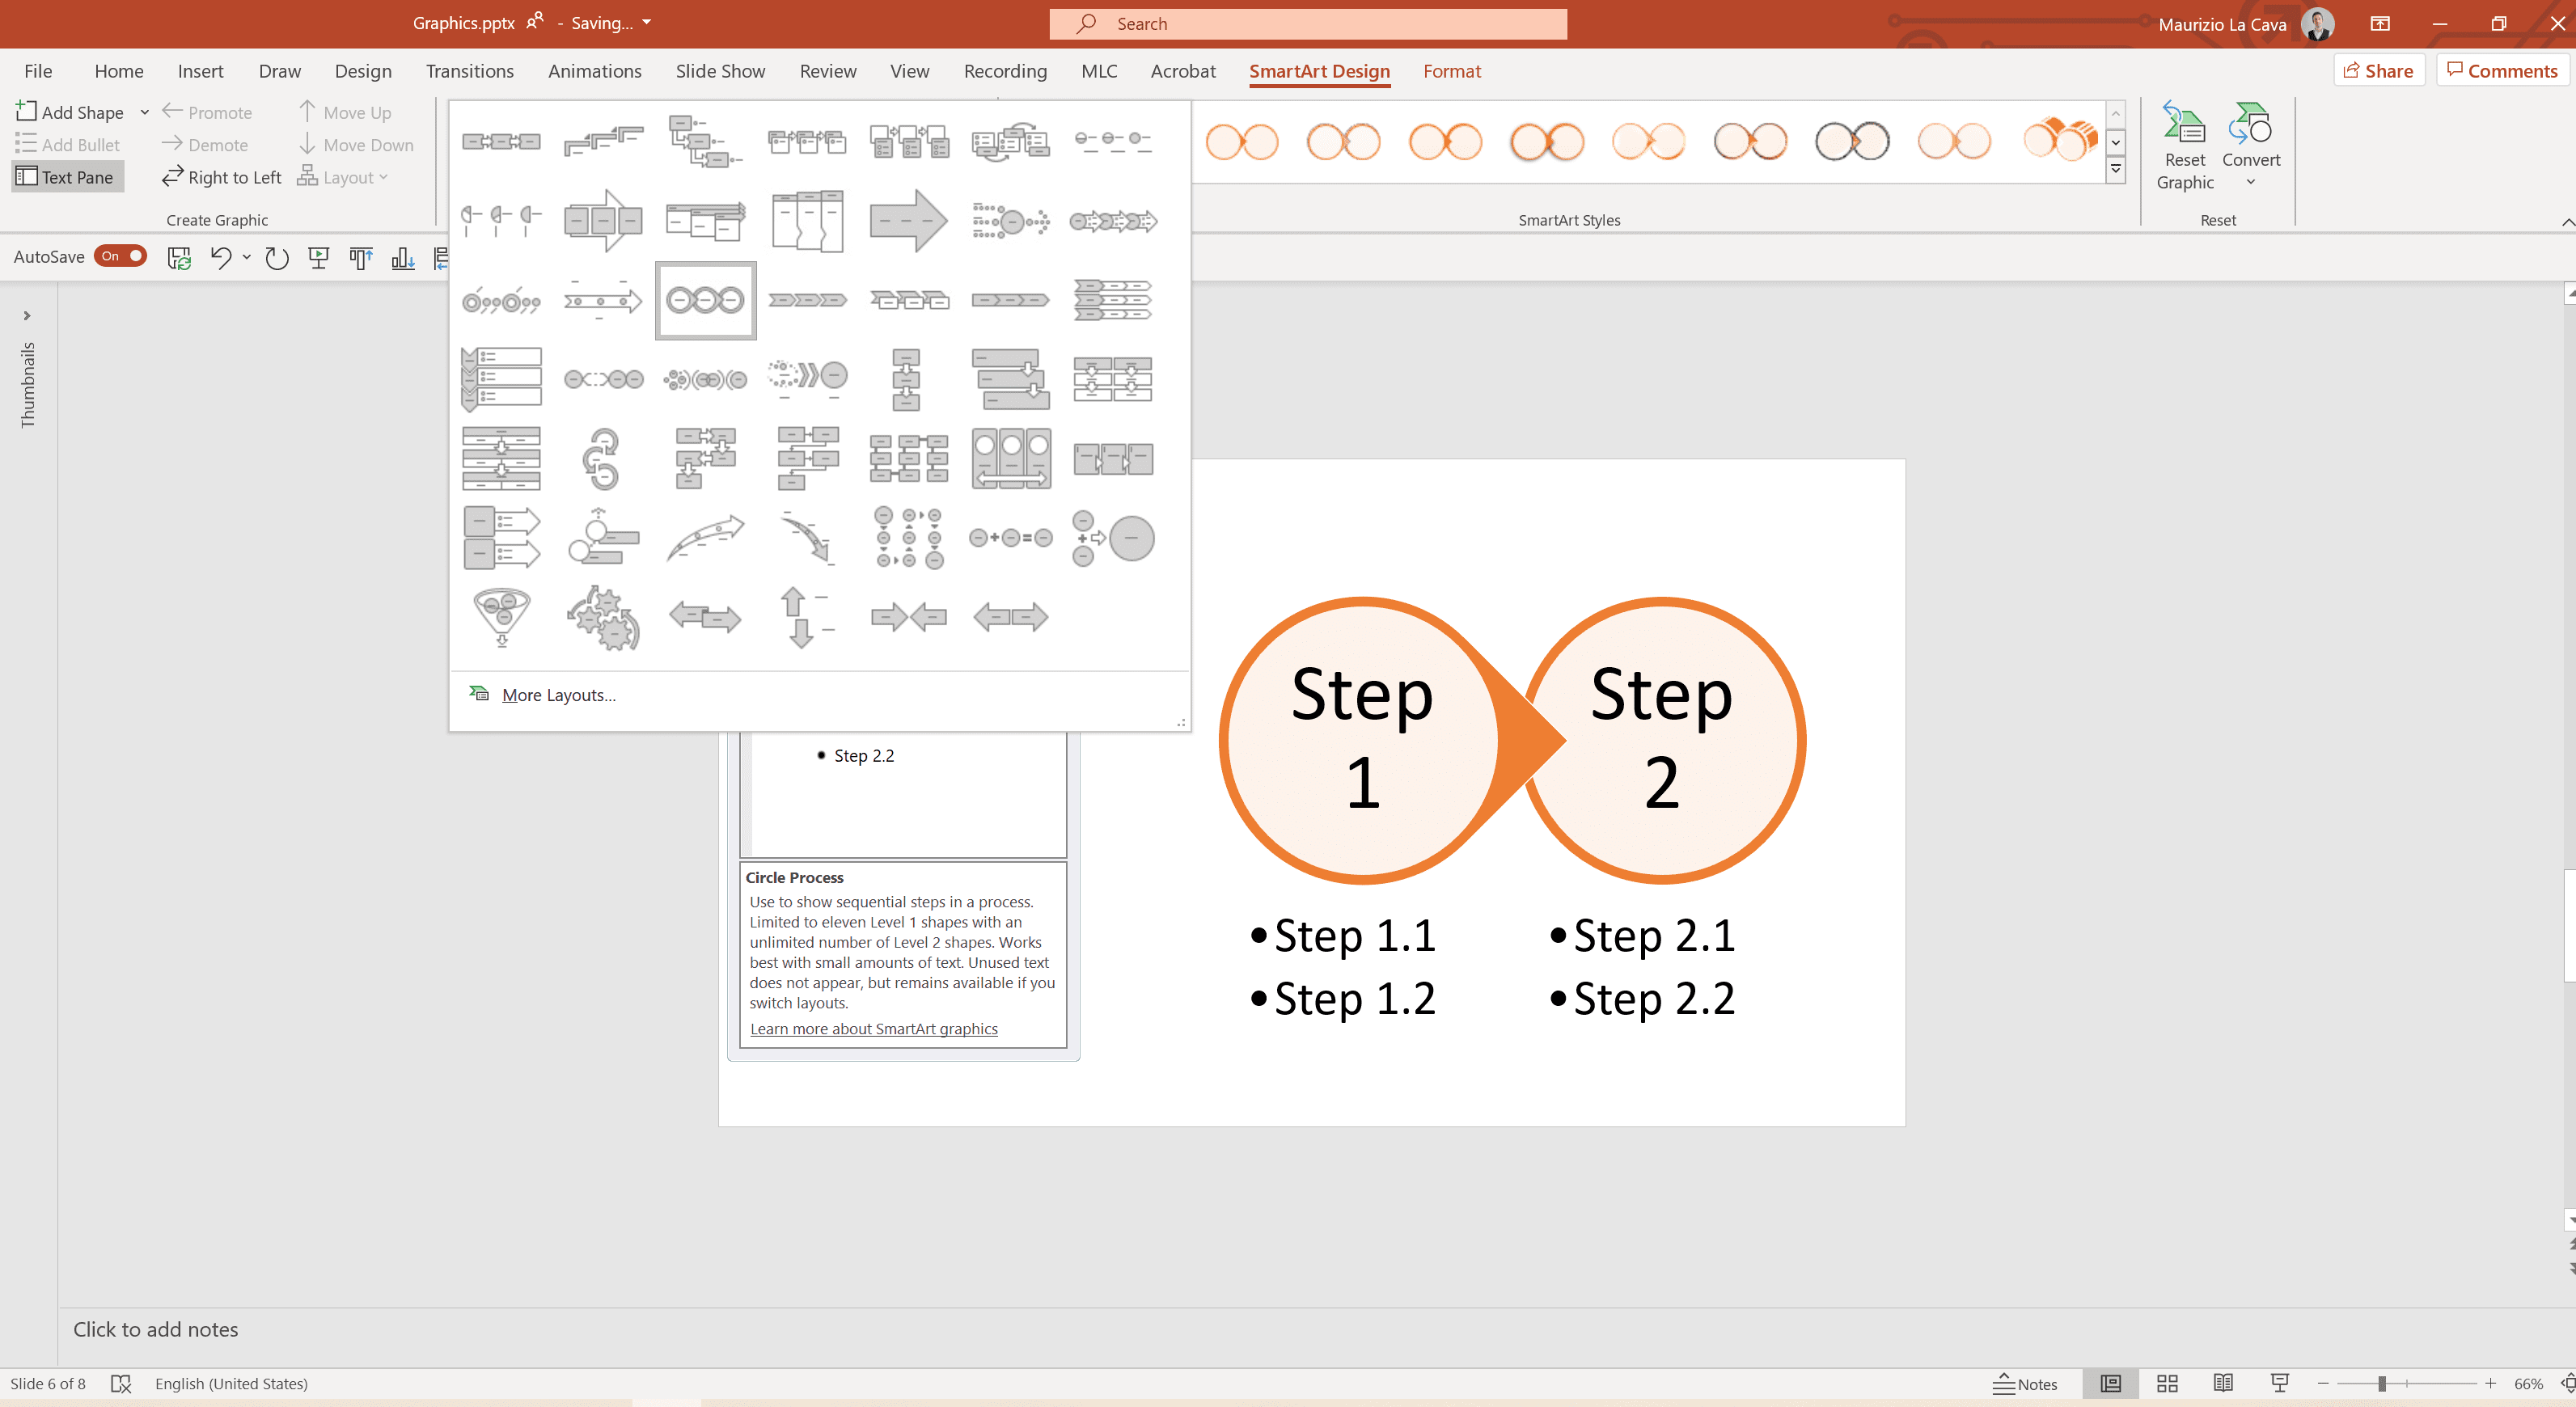
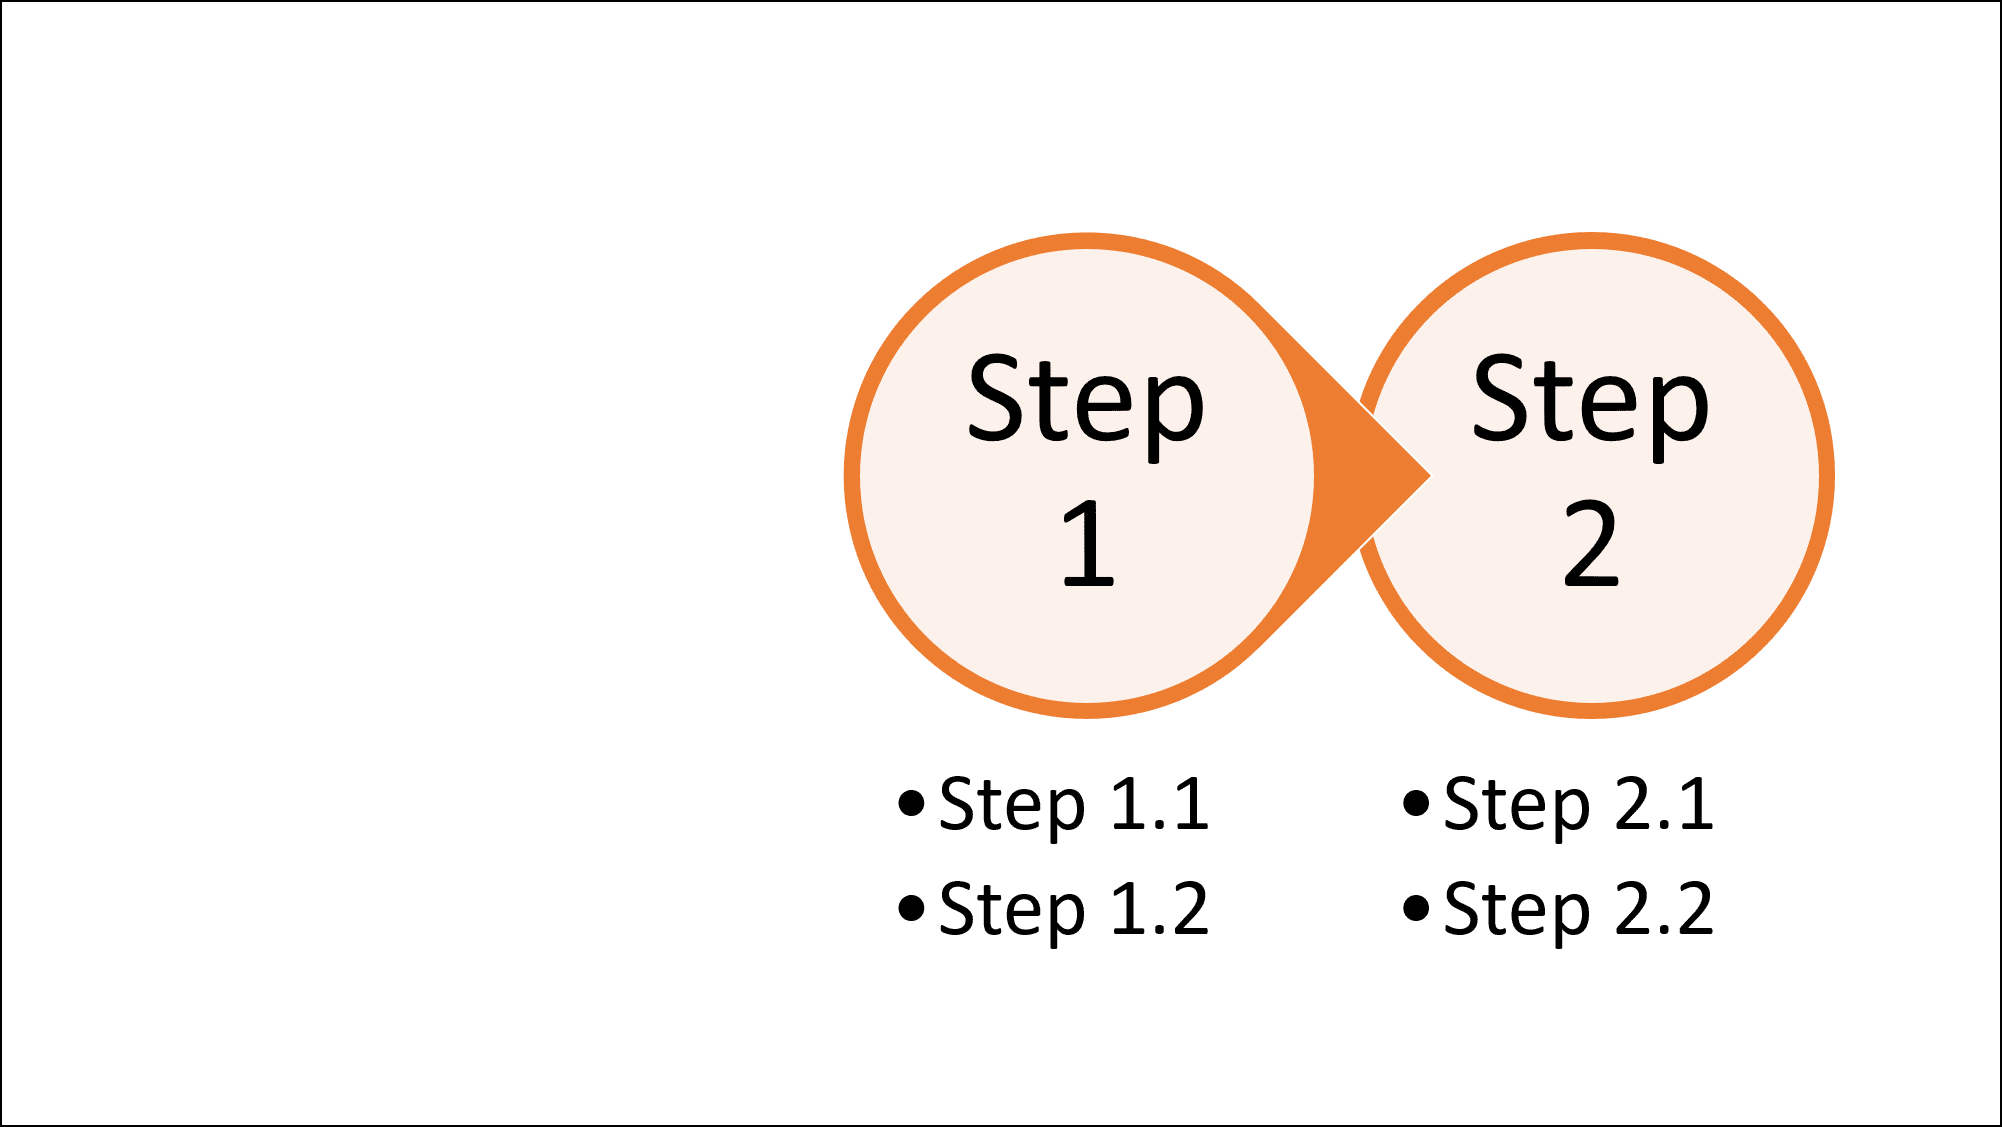
Once you have created the PowerPoint timeline, you can also change its layout to one that suits your needs.
Go to the layout menu and choose what you need.
PowerPoint will instantly adapt your timeline.
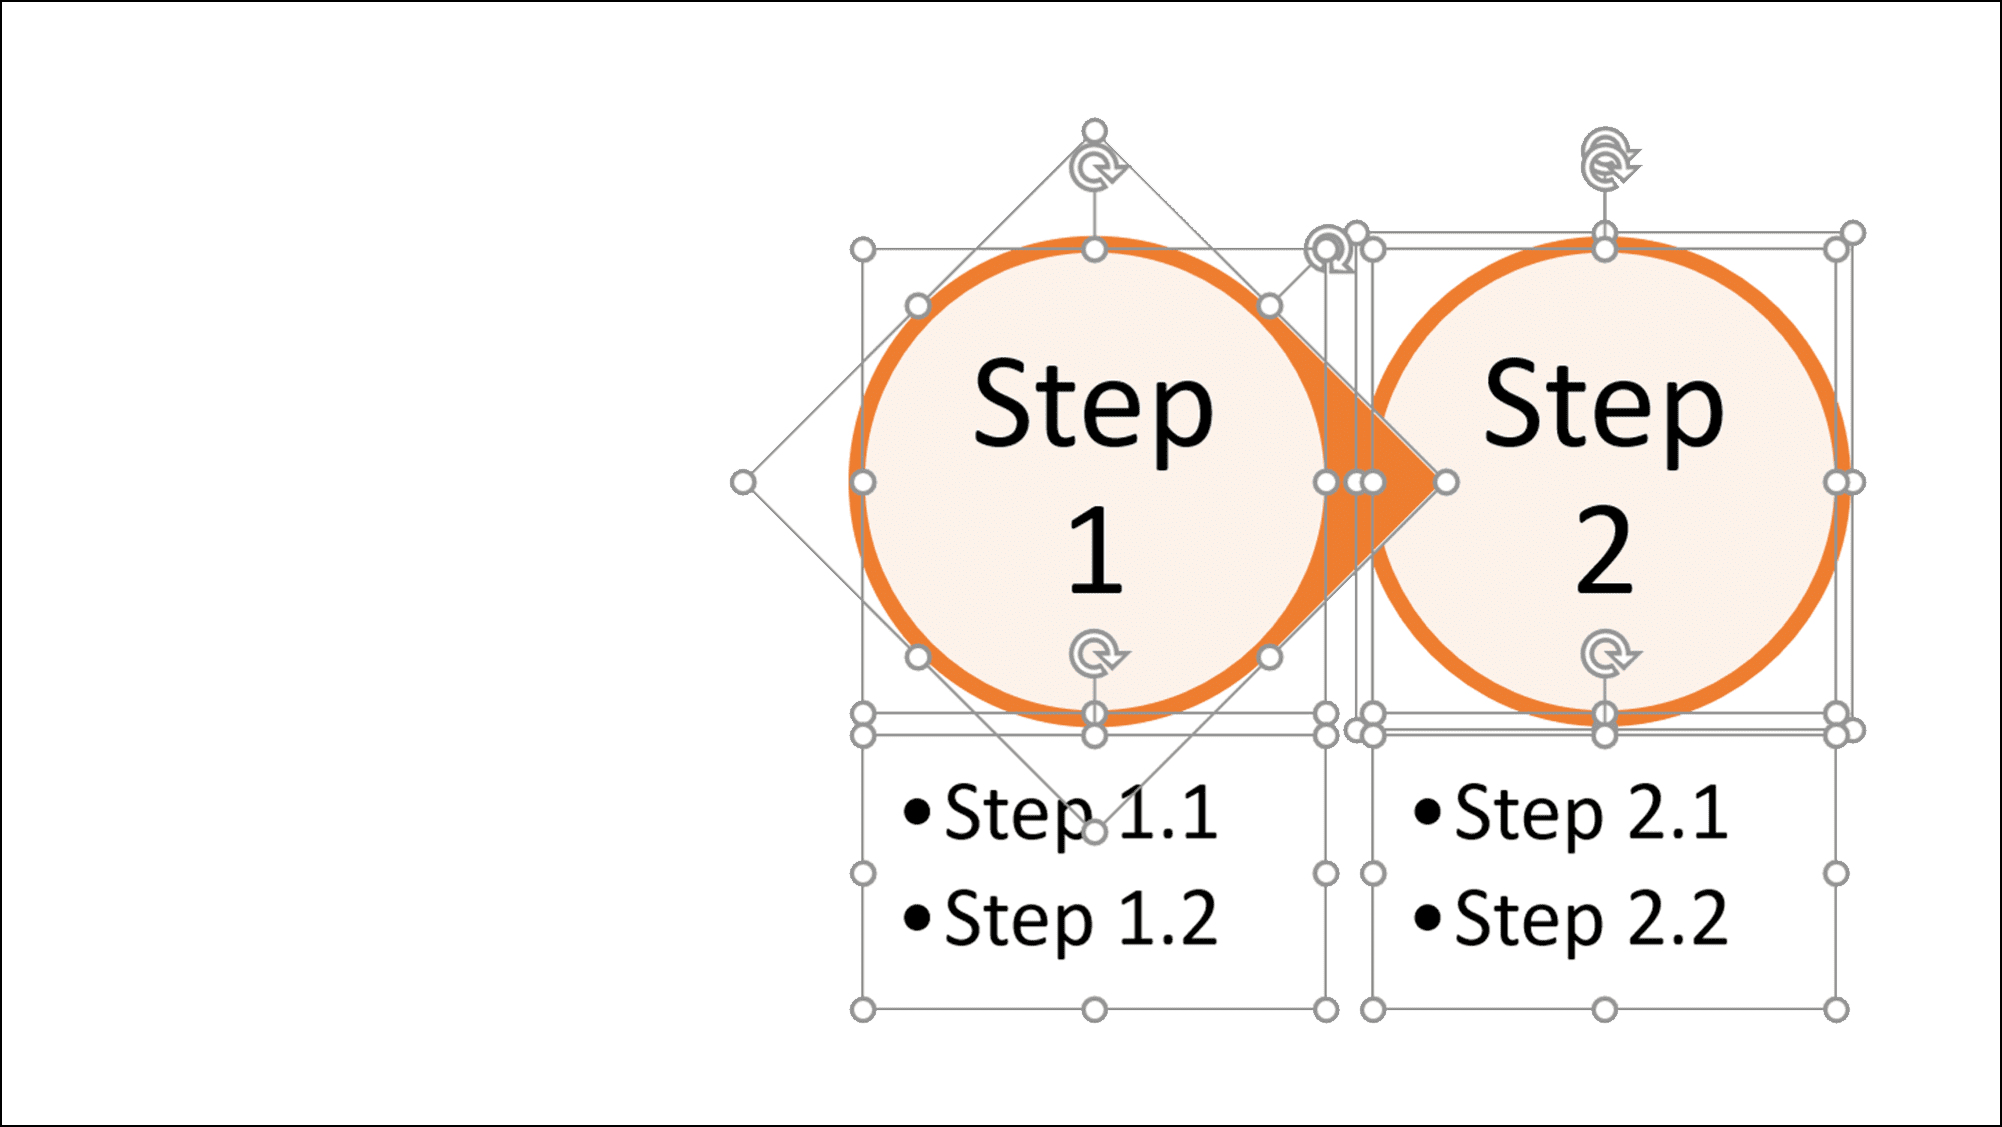
You can also convert a SmartArt to standard PowerPoint shapes.

In addition, by separating the group (CTRL + SHIFT + G) you can convert the SmartArt into a set of independent PowerPoint objects to facilitate editing or customization.
If you don’t have particular needs and you are satisfied with a standard timeline, SmartArt is definitely a very efficient tool to consider.
In summary
Timelines are powerful objects from a communication point of view because they allow you to visualize the temporal planning of events over time.
They are widely used in business and are often at the center of strategic decisions.
Therefore, it is important that you know how to implement them quickly and effectively.
We have covered several methods to create PowerPoint timelines, but if you know of a few more that are worth adding, please leave a comment.
Comments on How to create a Timeline in PowerPoint