The Table of Contents in PowerPoint is often used to give order and structure to the presentation.
Are you familiar with those elaborate virtual presentations where the topic is divided into several sections?
Here, those are the typical case.
Usually, first you create the sections of the presentation, and then you put the titles in the PowerPoint table of Contents, creating a slide that works as a summary.
During the presentation you could duplicate the diary slide several times, perhaps to introduce the following session.
This is even more true if you are presenting a part of the presentation and let other speakers present the rest.
Do you understand how important it is to distinguish one section from the other?
In this case it is even more true because it also facilitates the change of speaker by giving the audience a break between one and the other.
Unfortunately, the PowerPoint table of Contents is not always used properly.
Think of a speaker who relies on the agenda slide to remember what to say as he or she speaks.
That’s when the presentation takes control of the speaker. The audience will perceive that the speaker is not sufficiently prepared and will lose interest.
I remember an event where the speaker began the presentation with a rich 15-point agenda and spent the first half hour commenting on what she would tell us in the rest of the presentation point by point.
I felt as if I were watching a film whose end was revealed to me before I could even get to know the plot.
How can you think of keeping the audience’s attention after destroying any storytelling logic?

Learn how to create an attention-grabbing presentation using the logic of storytelling in the guide: Effective presentations: how to sell your ideas with presentations, give it a look.
Can you think of any other terrible examples of the use of the PowerPoint agenda you’ve witnessed?
Tell me about it in the comments, so we can build a complete guide to things you should avoid together!
DON’T HAVE TIME TO READ THE ARTICLE? DON’T WORRY, LET ME SEND YOU A COPY
How to create a Table of Contents in PowerPoint in the blink of an eye
If you have dedicated yourself to the preparation of the perfect presentation using the Lean Presentation Strategy Canvas, at the end of the information flow design phase you will have certainly identified the key sections of your presentation.
Let’s suppose that you are building a presentation based on 6 main sections.
Where would you start creating the agenda slide?
If you thought about starting from the agenda slide and then rewrite all the section titles, stop for a moment!

Think about it, is what you are doing totally wrong?
Actually, you could do it this way, but Lean Presentation Design is an extremely time-saving approach. So, I propose a much faster alternative.
Forget the agenda for the moment and start by creating the 6 section slides.
Wait, what is a section slide?
Let me explain, it is quite simple.
A section slide is used to mark the end of a section, or chapter, in the presentation and introduce the following one.
So, if you have 6 sections, you will have 6 section slides.
Have you created the 6 slides?
Always remember to insert the title in your placeholder.
Are you wondering what a placeholder is?
This makes me think that you are not familiar with the operation of PowerPoint’s Slide Master.
In that case, before proceeding, please give a quick read to my complete guide on the topic: PowerPoint’s Slide Master – the complete guide to use it at best.
Good!
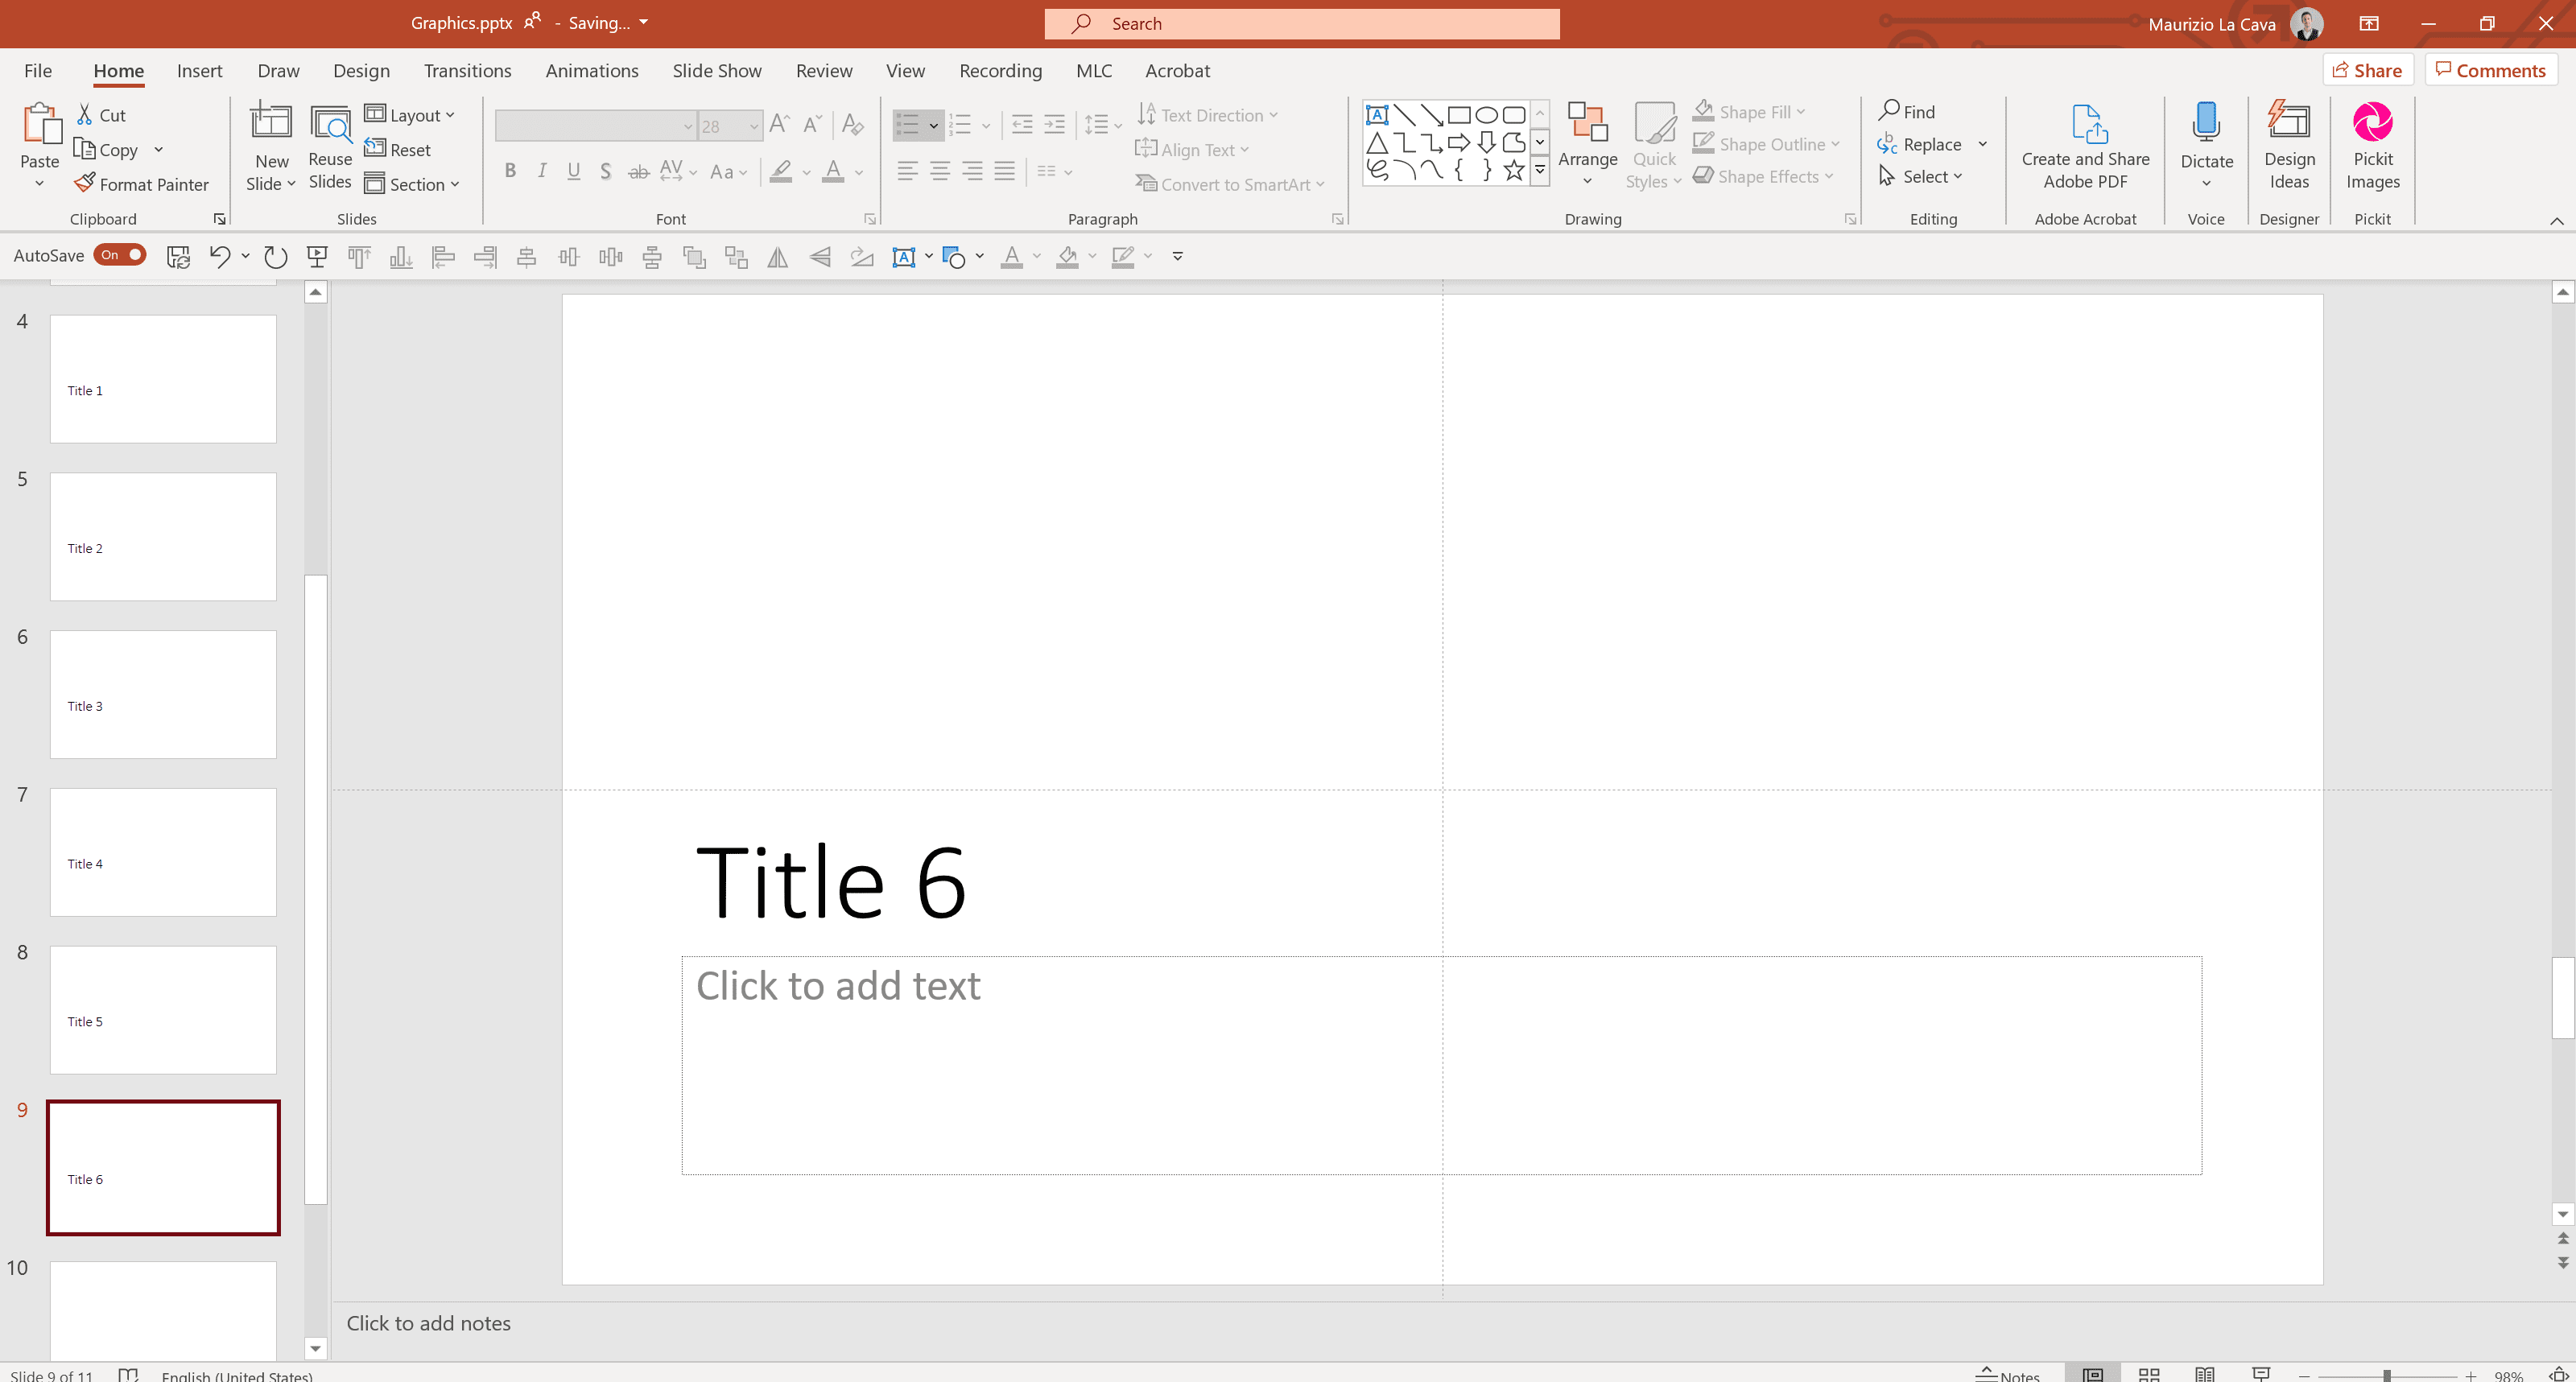
Now change the thumbnail display mode on PowerPoint.


The thumbnails have been converted into presentation outlines.
Copy the titles by selecting them with the mouse.
Paste them directly into the agenda slide.


Have you seen how fast it is?
This way you won’t have to rewrite all the titles section by section.
Give your Table of Contents a progression
So far, I have shown you how to build the agenda slide, but the sections were only populated by the title of the section itself.
In many presentations it is useful to communicate the sense of progression within the presentation flow.
To do this, you just need to design the section dividers differently by recalling the whole agenda and highlighting only the part you are introducing.
What does this mean?
Let’s go back to the previous example where you created the agenda slide in relation to the 6 section slides.
Delete the sections and duplicate the agenda 6 times.


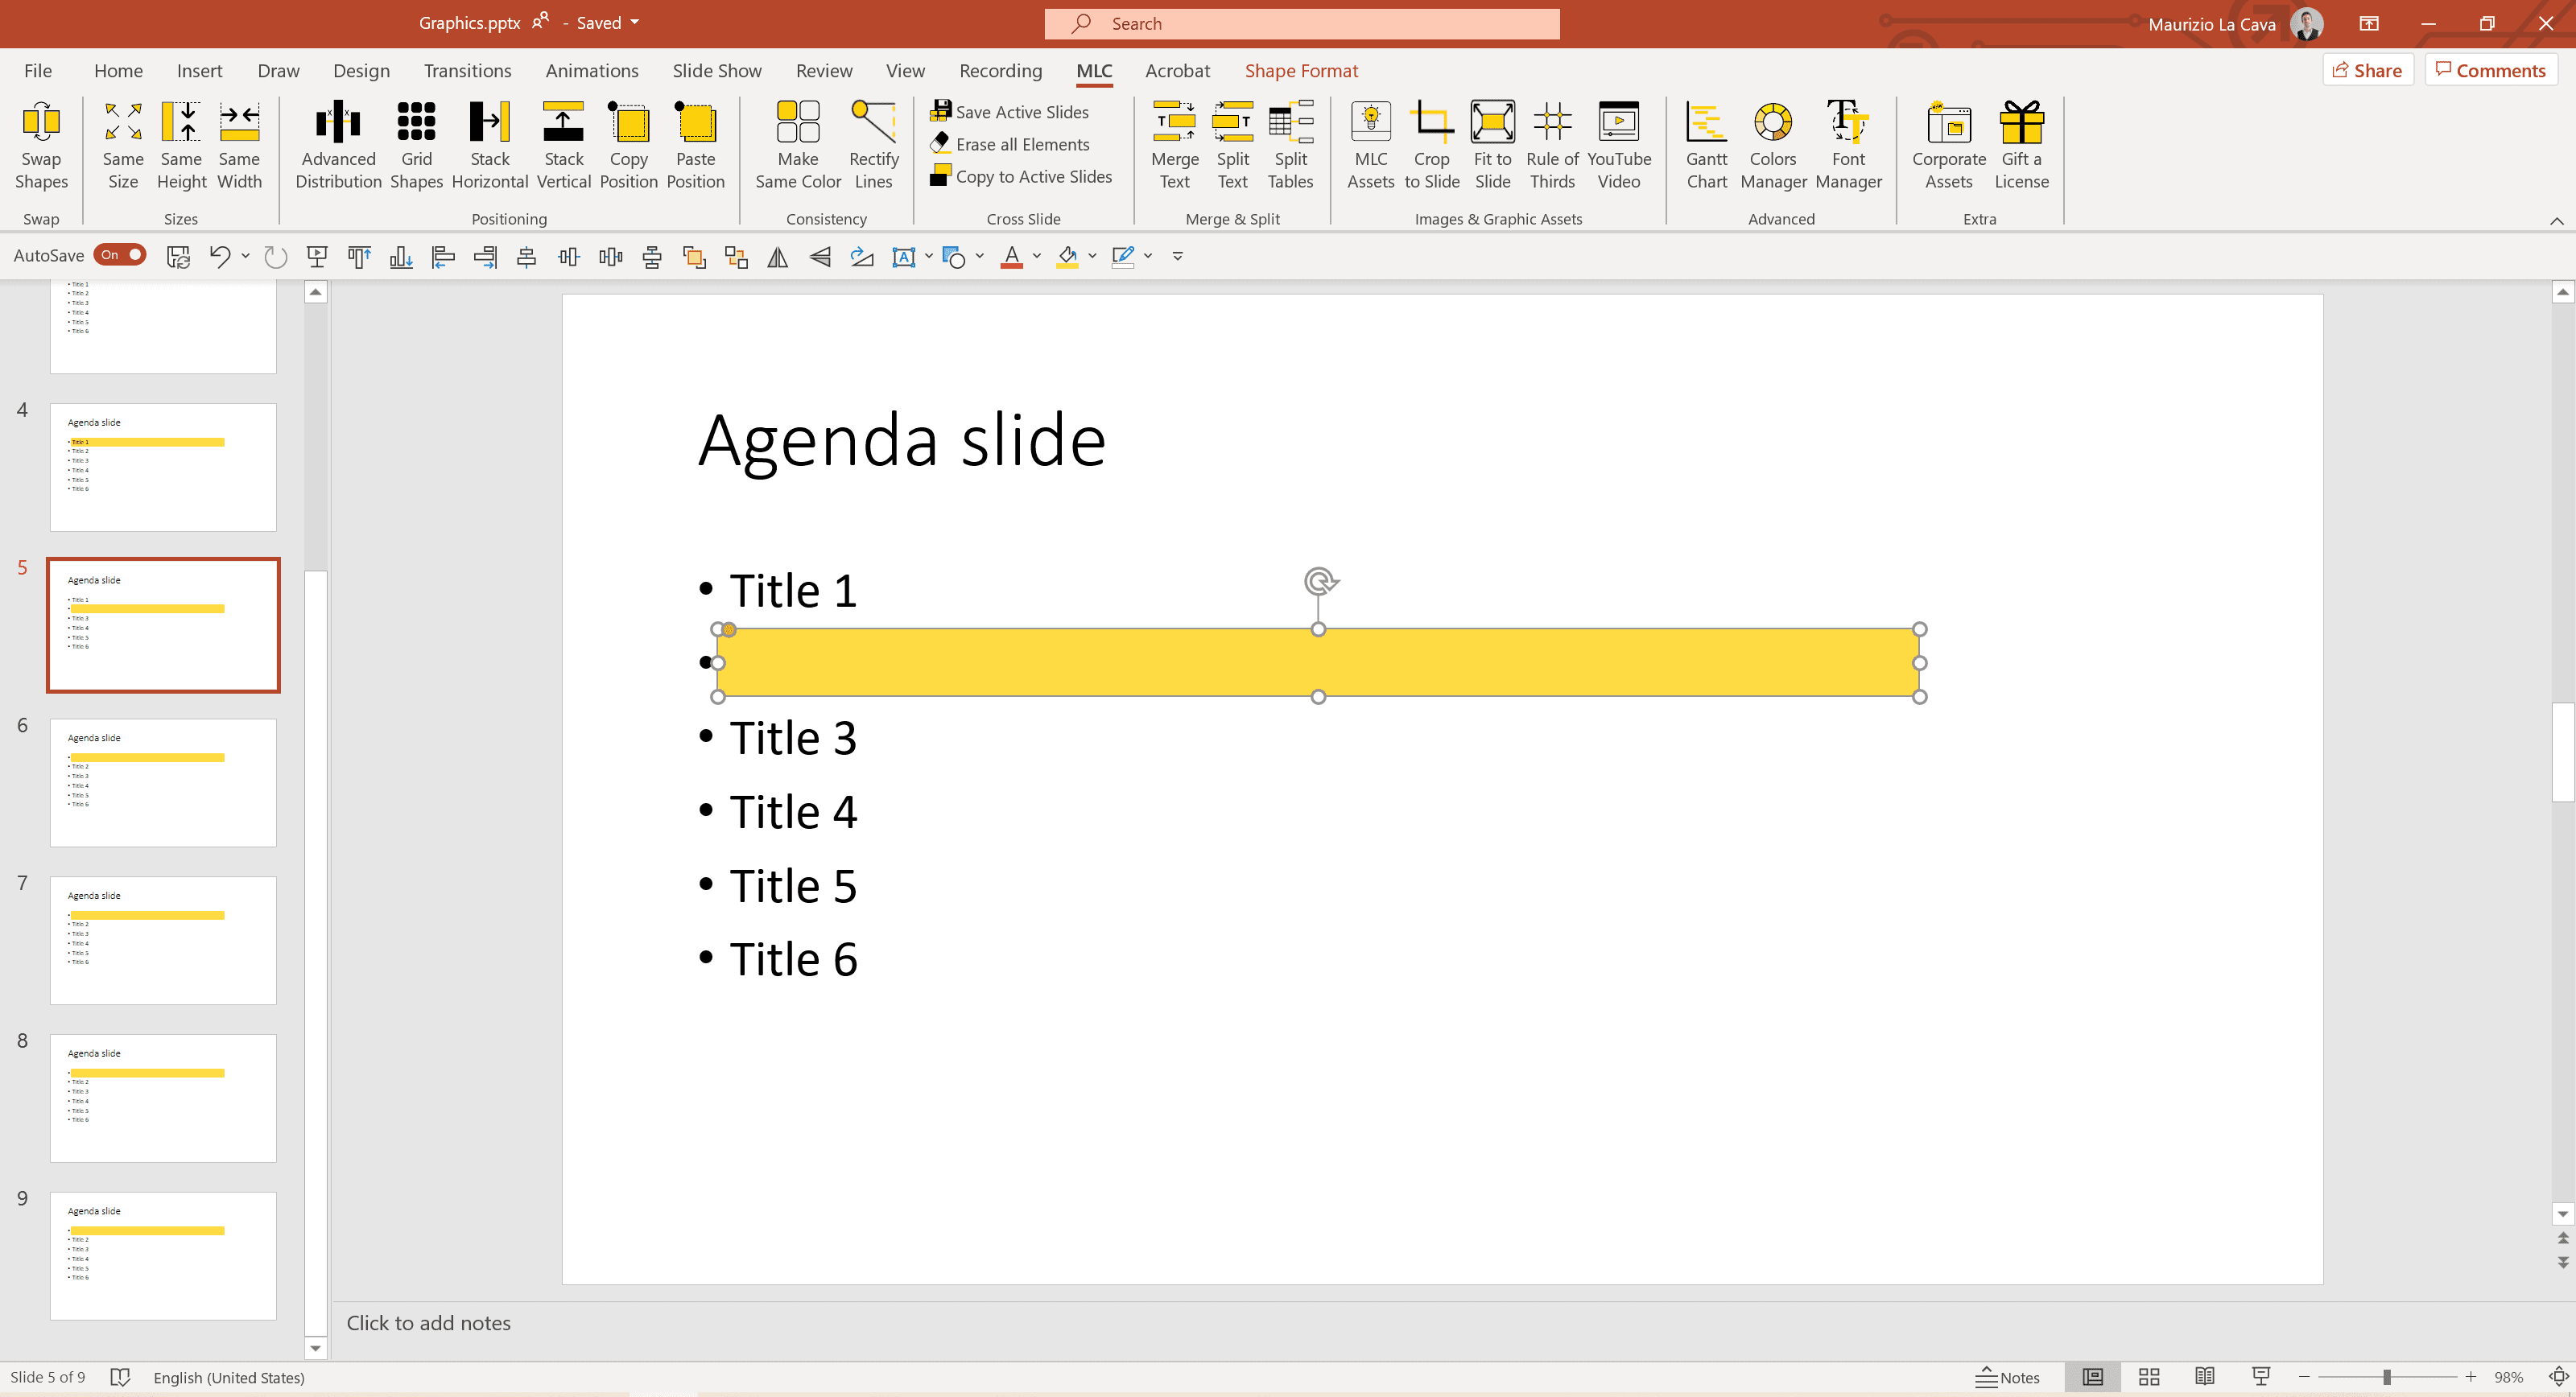
Now, leaving the first agenda slide clean, select the second and mark the first section title.

Replicate the highlight rectangle with MLC PowerPoint Add-in’s Copy to Active Slides. To do so, first select the rectangle and then click Copy to Active Slides.

Now, select the slides in which you want to paste the rectangle and click Paste to Active Slides.

Well done! You replicated the highlighted element in the blink of an eye, consistently and on all slides.
Enter the title 2 section slide and drag the rectangle vertically to maintain vertical alignment and highlight title 2.
Wait, Maurizio, how do I constrain the shift to the vertical axis without losing alignment with the previous slide?
Nothing simpler, hold down the SHIFT key on your keyboard while dragging the shape with the mouse.
There are some shortcuts in PowerPoint that can really reduce the time you need to create a presentation – if you’re not using them already, it’s time to get ready.
I’ll let you take a look at my list of favorite PowerPoint shortcuts.
Now all you have to do is to put the rectangle in the background, and you’re done!

Did you notice that the “put in background” for me is only one click away because it is located on my Quick Access Toolbar?
If you are wondering what the Quick Access Toolbar is, I can tell you that it is an essential tool to greatly speed up your work on PowerPoint.
It is not enough to just activate it – you need to organize an essential selection of features and organize them in the right order.
In hack #2 of the 10 hack guide to creating professional PowerPoint presentations I explain how to configure your Quick Access Toolbar to become super-fast with PowerPoint.
Have you configured your Quick Access Toolbar like mine?
Well, that’s good!
Now you are ready to replicate the step to finalize your section divider slides.

With this technique, the transition from one section to another will give the audience a sense of progression within your presentation flow.

Use the PowerPoint table of Contents as a starting point for a navigation system
The PowerPoint table of Contents contributes to the orientation of the reader of your presentations and promotes the free enjoyment of your content.
Are you wondering what I mean by free?
As we said, since there is no speaker to present, the order of use of the content is left to the reader – who will freely enjoy the information in the order he or she prefers.
Therefore, the PowerPoint table of Contents allows him or her to jump from one section to another.
But what happens when the reader is inside a section?
Slide section dividers mark the end of one section and the beginning of another, but they are of no help once you are inside a section.
For this reason, section dividers are only one of the basic components of an effective navigation system.
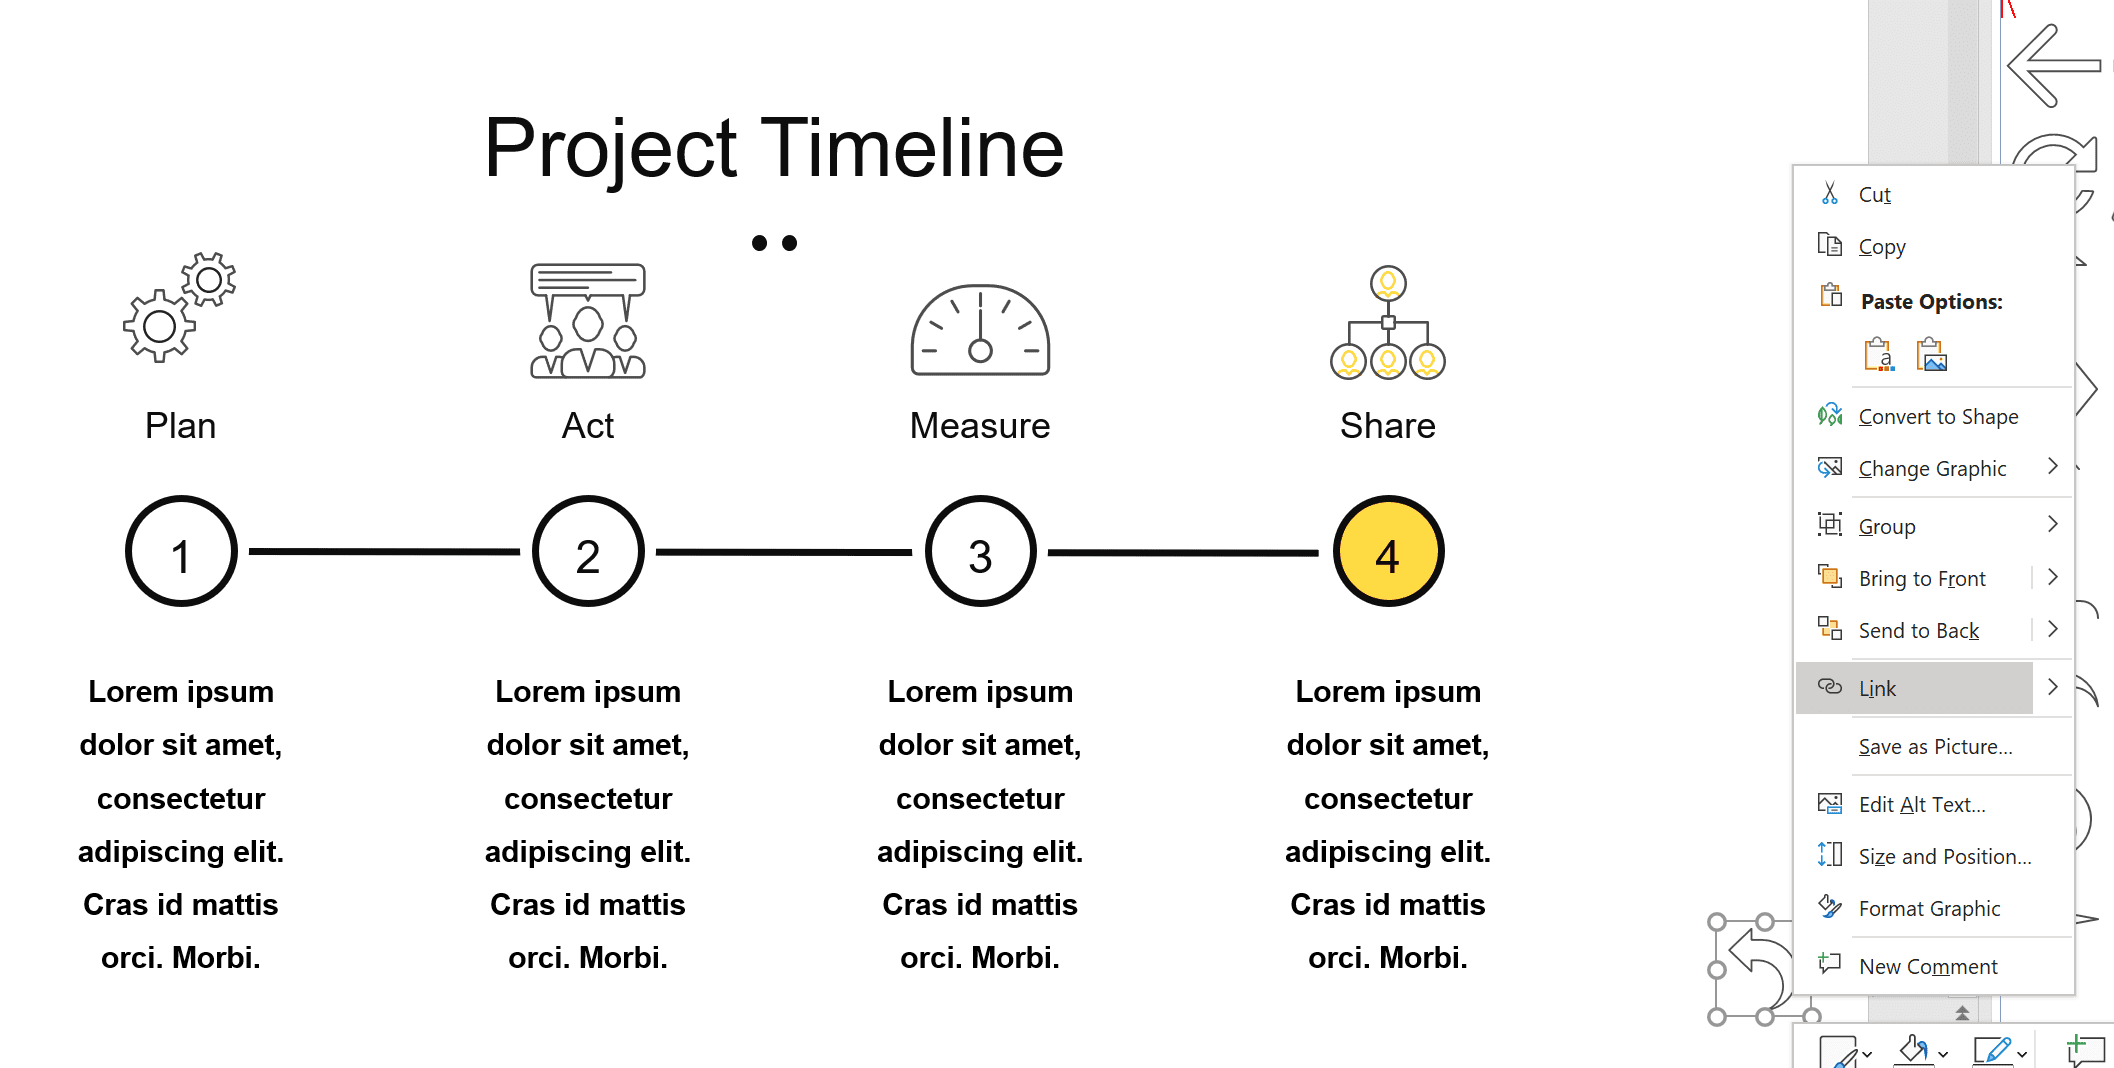
Imagine presenting a project roadmap in timeline format.

Each step of the roadmap will become a section divider.

Each section divider will obviously have to highlight the section it introduces.
That’s easy so far, right?
Now comes the good part.
To continue guiding the reader inside the section it is important to introduce the navigator.
Wait, Maurizio, what is a navigator?
Nothing simpler, follow me and I will explain.
Capture the visual elements of a section divider, group everything, shrink and place them on the section slides.

See the small navigator at the top of the slides?
That small but ingenious graphic element allows the reader to know, slide after slide, the section within which he or she is located.
This way, the reader can decide to go forward or backward flipping through the slides having a clear perception of the exact point where he is, in relation to the whole presentation.
PowerPoint table of Contents – sample layouts to use in your presentations
For MLC PowerPoint Add-in users our team has created a new Asset: Agenda.
There you can find several Agenda templates, which could be edited for your personal taste or corporate needs.
Let’s see together how it looks and works.
Click on the Graphic Asset in the MLC PowerPoint Add-in ribbon:

At the right side of PowerPoint, you will see a window with tabs. Click on Agenda and explore the templates!

I will select one of these samples, and it will be opened in a new slide:

Here it is. First, I will find a proper picture for the background of the title. For that, I will use another MLC Asset: Images.
I typed out “Agenda” and chose one picture out of the tons of high-quality pictures our Add-in provides.
When selected, just click on the image and it will appear inside the placeholder.


As you can see, now our picture is covering the title and seems too bright. I will change the transparency of it to 50%:

Now we have to place the picture behind the Title and the grey rectangular (which is used to make the Title stand out). You can do it through “Arrange – Send to Back” or using a shortcut: Ctrl + Shift + [.

Have a look: much better now!

As I mentioned before, everything could be moved and edited inside the template. So, let’s rework it a little bit.
Our templates are made the way one of the points is always highlighted. Let’s highlight another point and choose a different color palette for this slide.
P.S.: Don’t forget, that if you want to change colors or fonts throughout the whole presentation, you’d better be using MLC PowerPoint Add-in Color Manager and Font Manager. These two functions will save so much time for you. If you’ve never heard of them, I invite you to watch an explanatory video:
Back to Agenda: I will ungroup the elements for us to edit the slide easier. Select everything on the slide manually or using the shortcut Ctrl + A. Then, click the right button of the mouse and select “Ungroup” or Ctrl + Shift + G.

Now I will highlight the first point and make it green.
Moreover, I will use another Asset of MLC PowerPoint Add-in: Icons. I will look for a flag icon to mark the “Start“.

I chose one of them and made it green too.


Simple and fast. I didn’t make dramatical changes, but, as you can see, you can use MLC Asset Agenda easily and adapt it to your needs.
Create a dynamic PowerPoint table of Contents with hyperlinks
The PowerPoint table of Contents can become a real dynamic navigation system within your presentation.
In PowerPoint, you can assign a link to another slide for each text box.
Simply link each section item to the corresponding section divider to create an interactive and clickable menu.
Wait, what are you talking about?
I’ll show you with an example.
Select the text box for the first section and with a right click of your mouse you enter the Link menu.

At this point, you can now link to an external document, a slide, or an email address.

Select “Place in This Document” and choose the slide to link.

You only need to look at the preview to know that it is the right slide.
Repeat this action for the 4 sections.
This way, every time the user clicks on the linked text box, he will automatically be taken to the corresponding section divider.

To complete the browsing experience, you can also introduce a return button to the PowerPoint table of Contents.
This way you will offer the user a complete navigation system where he can move from one section to another by clicking on the corresponding section name.
When you create interactive documents, like this one, the ideal solution would be to export and send the document in PDF format.
How can you export a PowerPoint to PDF?
It’s very simple.
Go to File > Export and choose one of the available options of your setup.

Use the brand-new PowerPoint Zoom feature to create a dynamic PowerPoint table of Contents
To create a dynamic PowerPoint table of Contents you can also take advantage of the Zoom feature, recently released on PowerPoint.
Drag your slide thumbnails directly onto an empty slide.


Each drag will become an image that links to the reference section.
Quickly rearrange the thumbnails into a grid with MLC PowerPoint Add-in’s Grid Shapes feature.
For example, let’s create a 2×2 grid with a distance of 40pt both vertically and horizontally.

Wait, how exactly does this Grid Shapes feature work?
It’s very simple, watch this video.
Once the thumbnails are ready, group and expand the shape group in order to have a better graphic impact.

Each time the user clicks on a thumbnail, the zoom effect will start, giving the impression of plunging into the clicked slide and allowing the user to navigate through the presentation.
When to use a PowerPoint table of Contents in presentations?
If you have read my Create effective PowerPoint presentations with Neuro presentation design guide, you will know that there are 2 types of presentations:
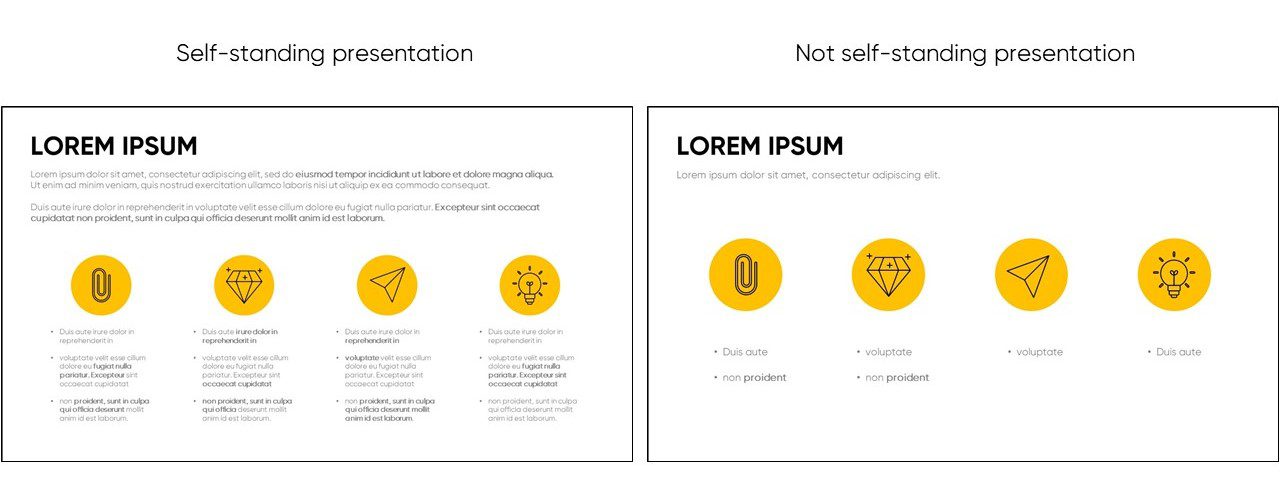
Self-standing presentations are real documents designed to be read.
You know what I mean?
I’m talking about those company presentations that are directly sent by email and that will never be presented.
How often do you realize self-standing presentations for yourself or your superiors?
If it happens often, don’t worry, you are not the only one and, thanks to the techniques of Lean Presentation Design, you can design an effective experience for an audience that does not include a speaker.
Non self-standing presentations, on the other hand, are designed to support a speaker who will present them to his audience.
It is said that a good self-standing presentation is a presentation that does not speak for itself.
The fundamental difference between these 2 types of presentations is that in the case of not self-standing presentations it is the speaker who dictates the information flow that the audience will follow, while in self standing presentations it is the reader who can choose to alter the flow of the presentation and jump from one section to another.
Think about it, how many times will you jump from one section of a presentation to another in order to find the specific information you were looking for?
Personally, I believe that our role in designing a presentation is to maximize the experience of the content for the audience.
What am I telling you?
That if people want to jump from section to section in your presentation, you will have to help them do it. There is no need to hinder them so that they follow the flow that you have designed for them, because you will not be there to control them and, in the end, people will follow their survival instinct – trying to save as much time as possible.
A good navigation system is extremely useful in these circumstances.
So, what to do with a not self-standing presentation?
If you have ever seen me present, you will know that, for me, a presentation is a moment of dialogue with my audience.
Therefore, try to eliminate as much as possible your listener’s feeling of receiving a prepared presentation and in doing so, go out of flow, improvise and always look at the people you talk to without ever turning around to look at your slides.
Can you guess where I’m getting at?
You will certainly have a predefined flow that you have specifically designed for the occasion, but make sure you narrate it without making it explicit or saying that you are following it.
Basically, you will have to avoid expressions like: “Now let’s talk about, now let’s see, in the next section we will see, etc…”
Do you understand?
So, you will use an agenda with a complete navigation system in self standing presentations and you will never have an agenda in not self-standing presentations, which you will directly present by guiding your audience through the flow in the most natural and spontaneous way possible.
This way, you will never be interrupted by the agenda slides that will force you to introduce the next section – and your conversation will flow naturally.
In summary
The PowerPoint table of Contents can mislead and strain the audience by ousting the speaker during his speech.
However, when used correctly, the PowerPoint agenda slide is a powerful tool for designing an effective experience for the reader.
Learn how to design a complete navigation system to facilitate the enjoyment of the content in all the presentations you deliver that you do not plan to present.
If you want to go one step further, you can enhance the PowerPoint table of Contents by making it dynamic thanks to the use of hyperlinks or the ZOOM feature.
And to elevate your slides beyond basic structure and create real visual impact, you might consider exploring our PowerPoint presentation design services that help you turn complex content into clear, persuasive presentations
Comments on How to create Table of Contents in PowerPoint